4. Open
the charging door and then
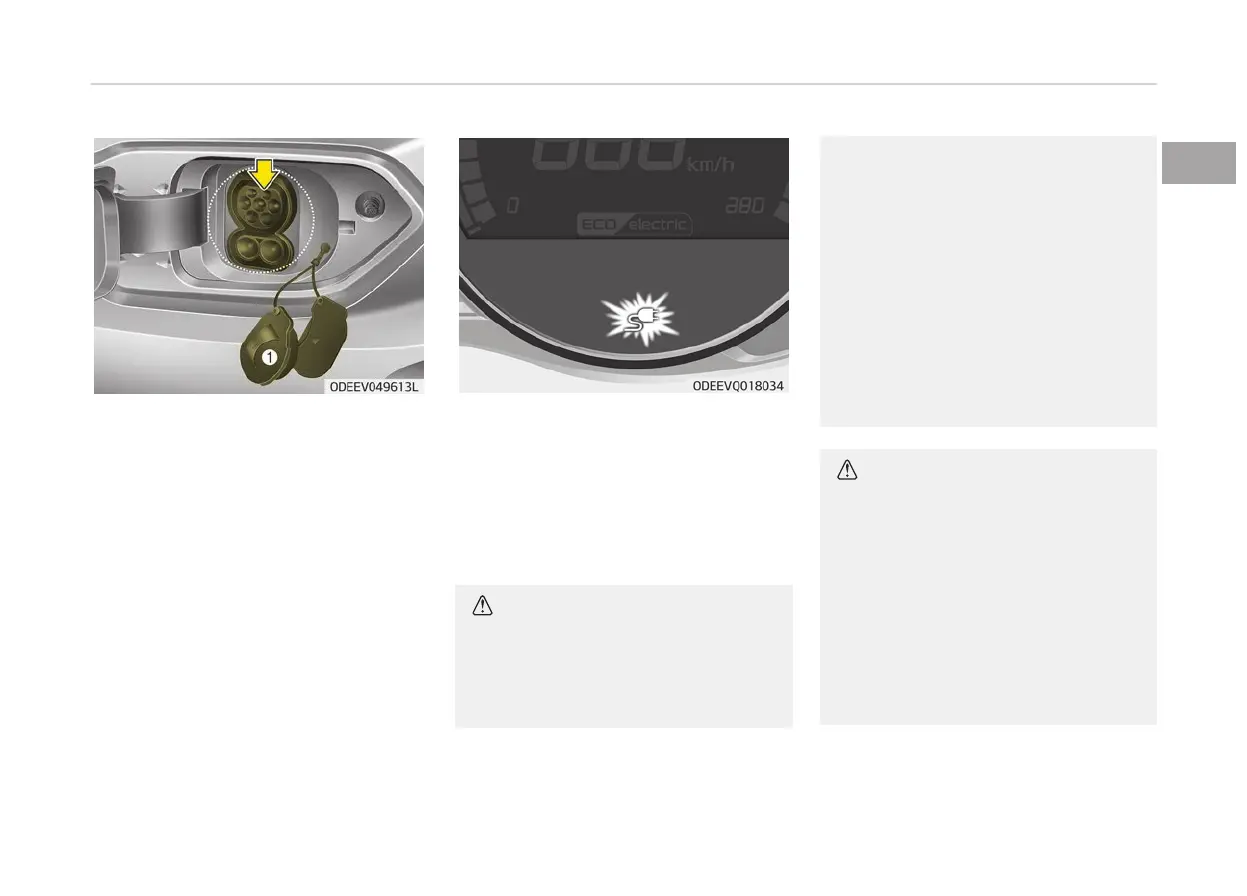
open the cover (1) of the charging
inlet.
5. Check whether there is dust or for‐
eign substances inside the charging
connector and charging inlet.
6. Hold the charging handle and con‐
nect it to the vehicle DC charging
inlet. Push the connector all the
way in. If the charging connector
and charging terminal are not con‐
nected properly, this may cause a
fire.
❈ Refer to the manual for each type
of DC Charger for how to charge
and remove the charger.
❈ The shape of the charging connec‐
tor may vary depending on the
manufacturer.
7. Check
if the charger indicator lamp
in the instrument cluster in turned
ON.
Charging doesn’t start when the
charging indicator lamp is OFF.
When the charging connector is not
connected properly, reconnect the
charging cable to charge it again.
CAUTION
• Charge your car only when the
shifter
dial is placed in P (Park)
for the safety.
(Continued)
(Continued)
• You can start charging when the
POWER
button is in the OFF po‐
sition and the shifter dial is in P
(Park).
After charging has started, you
can use electrical components
such as the radio by pressing the
POWER button to ACC or ON po‐
sition.
• You cannot move the shifter dial
other
than P (Park) while charg‐
ing.
CAUTION
To control the temperature of the
high
voltage battery while charging,
the air conditioner is used to cool
down the battery which may gener‐
ate noise from operation of the air
conditioner compressor and cooling
fan. Also, the air conditioner’s per‐
formance may be degraded during
summer due to operation of the
cooling system for the high voltage
battery.
1-29
1
Electric vehicle guide
 Loading...