6. Once
the charging current setting is
complete, start charging according
to Trickle Charge procedure.
*¹: MAX 10A: 10A, 8A, 6A
*²: MAX 8A: 8A, 7A, 6A
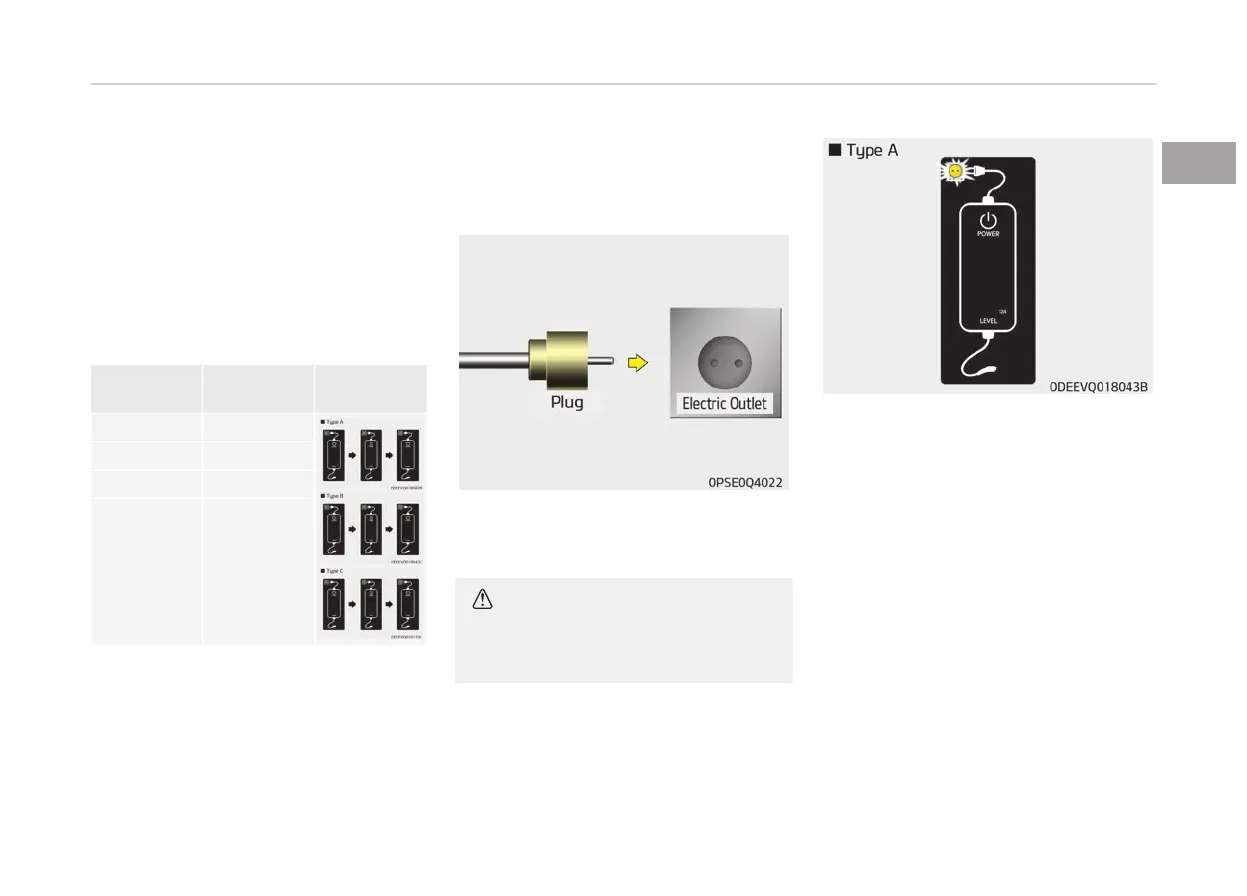
❈ Examples of ICCB Charging Current
Setting
(However, examples are only for refer‐
ence and situations may vary depend‐
ing on the surrounding environment.)
Outlet cur‐
r
ent
ICCB charge
level
Control box
display
14-16A 12A
13-12A 10A
11-10A 8A
9-8A 7A or 6A
Trickle charge
How to connect portable charging
cable (ICCB: In-Cable Control Box)
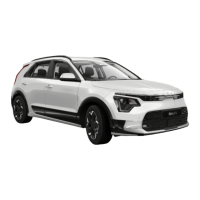
1. C
onnect the plug to a household
electric outlet.
CAUTION
If the outlet is aged, damaged or
cracked, do not use it.
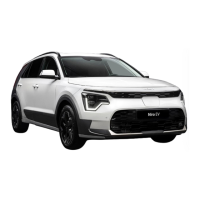
2. Check
if the power lamp (green) on
the control box turns ON.
3. While the brake pedal is pressed,
engage the parking brake.
4. Turn OFF all switches, place the
shifter dial in P (Park). If you try to
charge while the shifter dial is not
placed in P (Park), it will automati‐
cally move to P (Park).
However, charge the battery only
when the shifter dial is placed in P
for safety reasons.
❈ Make sure that the plug is not
loosely put into the outlet. (If it is
loose, it may generate heat.)
1-33
1
Electric vehicle guide