15. Perform some temperature measurements
15.1. Perform a measurement of ambient temperature
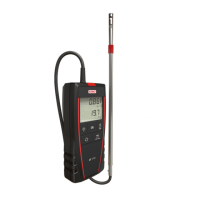
➢ Connect a Pt100 temperature probe (available as option) on C1 connection on the top of the analyser.
➢ Turn on the instrument
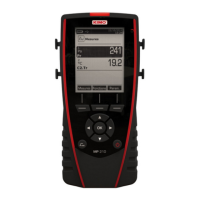
Home screen is displayed with measurement menu highlighted.
➢ Press OK.
The analyser performs the auto-zero: remaining time and a progress bar display on the screen. However it is possible to
reach the temperature menu during the auto-zero.
➢ Go to “Ambient Temp.” with the keypad then press OK.
The temperature detected by the Pt100 probe is displayed on the analyser.
15.2. Perform a measurement of flue gas temperature
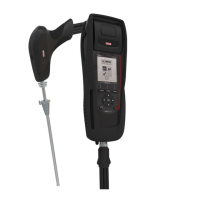
➢ Connect the flue gas probe on the analyser.
➢ Turn on the analyser.
Home screen is displayed with measurement menu highlighted.
➢ Press OK.
The analyser performs the gas auto-zero: remaining time and a progress bar display on the screen. However it is possible to
reach the temperature menu during the auto-zero.
➢ Go to “Flue gas Temp.” with the keypad then press OK.
The screen displays the flue gas temperature detected by the thermocouple probe of the flue gas probe.
15.3. Perform an ambient temperature measurement with the internal sensor
➢ Turn on the instrument
Home screen is displayed with measurement menu highlighted.
➢ Press OK.
The analyser performs the auto-zero: remaining time and a progress bar display on the screen. However it is possible to
reach the temperature menu during the auto-zero.
➢ Go to “Internal Temp.” with the keypad then press OK.
The screen displays the NTC temperature detected by the analyser.
15.4. Perform a Flow/Return temperature measurement
➢ Connect 2 thermocouples Velcro type (ref. : SKV 150) or lamella contact (ref. : SKCT) probes on the Kigaz.
➢ Turn on the instrument.
Home screen is displayed with measurement menu highlighted.
➢ Press OK.
The analyser performs the auto-zero: remaining time and a progress bar display on the screen. However it is possible to
reach the temperature menu during the auto-zero.
➢ Go to “Flow/Return Temp.” with the keypad then press OK.
The screen displays the T1 temperature and the T2 temperature and the delta of temperature (ΔT) detected by the analyser.
15.5. Link the measurement to a customer
When the measurement has been performed, it is possible to link it to a customer registered in the analyser or to a customer
unregistered in the analyser that must be created.
➢ Press the “Save” function button.
The analyser displays the list of recorded customers.
➢ Select a customer with up and down arrows then press OK or create a customer (see page 23) then select it.
The analyser displays the list of available boilers.
➢ Select the boiler with up and down arrows then press OK or create a boiler (see page 24) then select it.
The analyser backs to the measurement screen.
15.6. Add the measurement to a group
The group function has to be activated (see page 18).
Once the measurement is linked to a customer and a boiler, it is possible to add it in a group in the instrument, or create a group:
The analyser proposes to add the measurement to a group.
➢ Go to YES and press OK.
➢ Go to the required group with the arrows and press OK, or create a group (see page 25).
32 Perform some temperature measurements