18. Perform a CH
4
measurement
There are two possibilities to perform a CH
4
measurement:
• With an internal sensor (optional)
• With a SDFG external probe (optional).
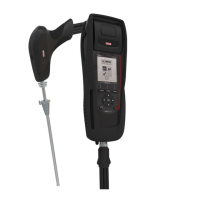
18.1. Perform the measurement with the probe
➢ Connect a CH
4
probe on C1 connection on the bottom of the analyser.
➢ Turn on the analyser.
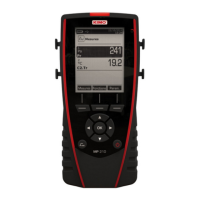
➢ Go to the “Measurement” menu with the keypad then press OK.
The analyser performs the auto-zero: remaining time and a progress bar display on the screen. However it is possible to
reach the gas leak detection menu during the auto-zero.
➢ Go to “Gas leak detection” with the keypad then press OK.
➢ Press OK to launch the measurement.
If the probe is connected for more than 1 minute, the measurement screen appears and indicates the concentration and
places it on a bargraph.
If the probe has just been connected, the screen indicates the remaining time of warming.
The measurement begins, the analyser displays the CH
4
level.
18.2. Perform the measurement with the sensor
➢ Turn on the analyser.
➢ Go to the “Measurement” menu with the keypad then press OK.
The analyser performs the auto-zero: remaining time and a progress bar display on the screen.
➢ Go to “Flue gas” with the keypad then press OK.
The measurement begins, the analyser displays the CH
4
level.
18.3. Link the measurement to a customer
When the measurement has been performed, it is possible to link it to a customer registered in the analyser or to a customer
unregistered in the analyser that must be created.
➢ Press the “Save” function button.
The analyser displays the list of recorded customers.
➢ Select a customer with up and down arrows then press OK or create a customer (see page 23) then select it.
The analyser displays the list of available boilers.
➢ Select the boiler with up and down arrows then press OK or create a boiler (see page 24) then select it.
The analyser backs to the measurement screen.
18.4. Add the measurement to a group
The group function has to be activated (see page 18).
Once the measurement is linked to a customer and a boiler, it is possible to add it in a group in the instrument, or create a group:
The analyser proposes to add the measurement to a group.
➢ Go to YES and press OK.
➢ Go to the required group with the arrows and press OK, or create a group (see page 25).
The analyser backs to the measurement screen.
18.5. Print the results
It is possible to print the results on the ticket:
➢ Press the “Print” function button.
Results are printed on the ticket.
See page 17 for the printing configuration.
36 Perform a CH4 measurement