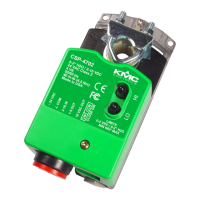
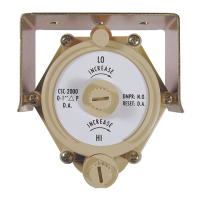
To set the rotational limits, do the following
1 Turn the controller over so you have access to the back.
2 Manually rotate the actuator fully clockwise as viewed from the back.
3 Remove the stop screw from its storage location and clean any debris from the
threads.
4 Insert the screw into the correct stop position hole.
5 Tighten the screw only until the head touches the plastic in the bottom of the recess.
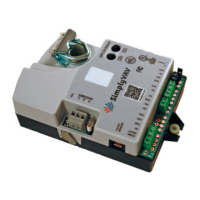
Mounting on a VAV terminal box
Mount the controller inside of a metal enclosure. To maintain RF emissions specifications,
use either shielded connecting cables or enclose all cables in conduit.
Mount the controller directly over the damper shaft. A minimum shaft length of 2.0 inch
(51mm) is required.
Note: SimplyVAV controllers are designed to directly mount to 3/8 to 5/8inch (9.5to16mm)
round or 3/8 to 7/16 inch (9.5to11 mm) square damper shafts.
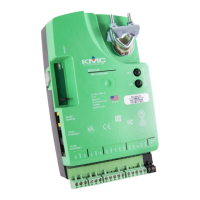
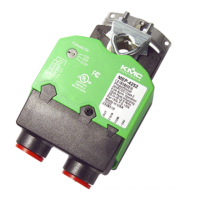
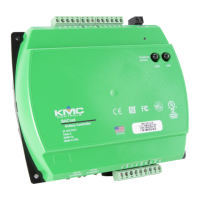
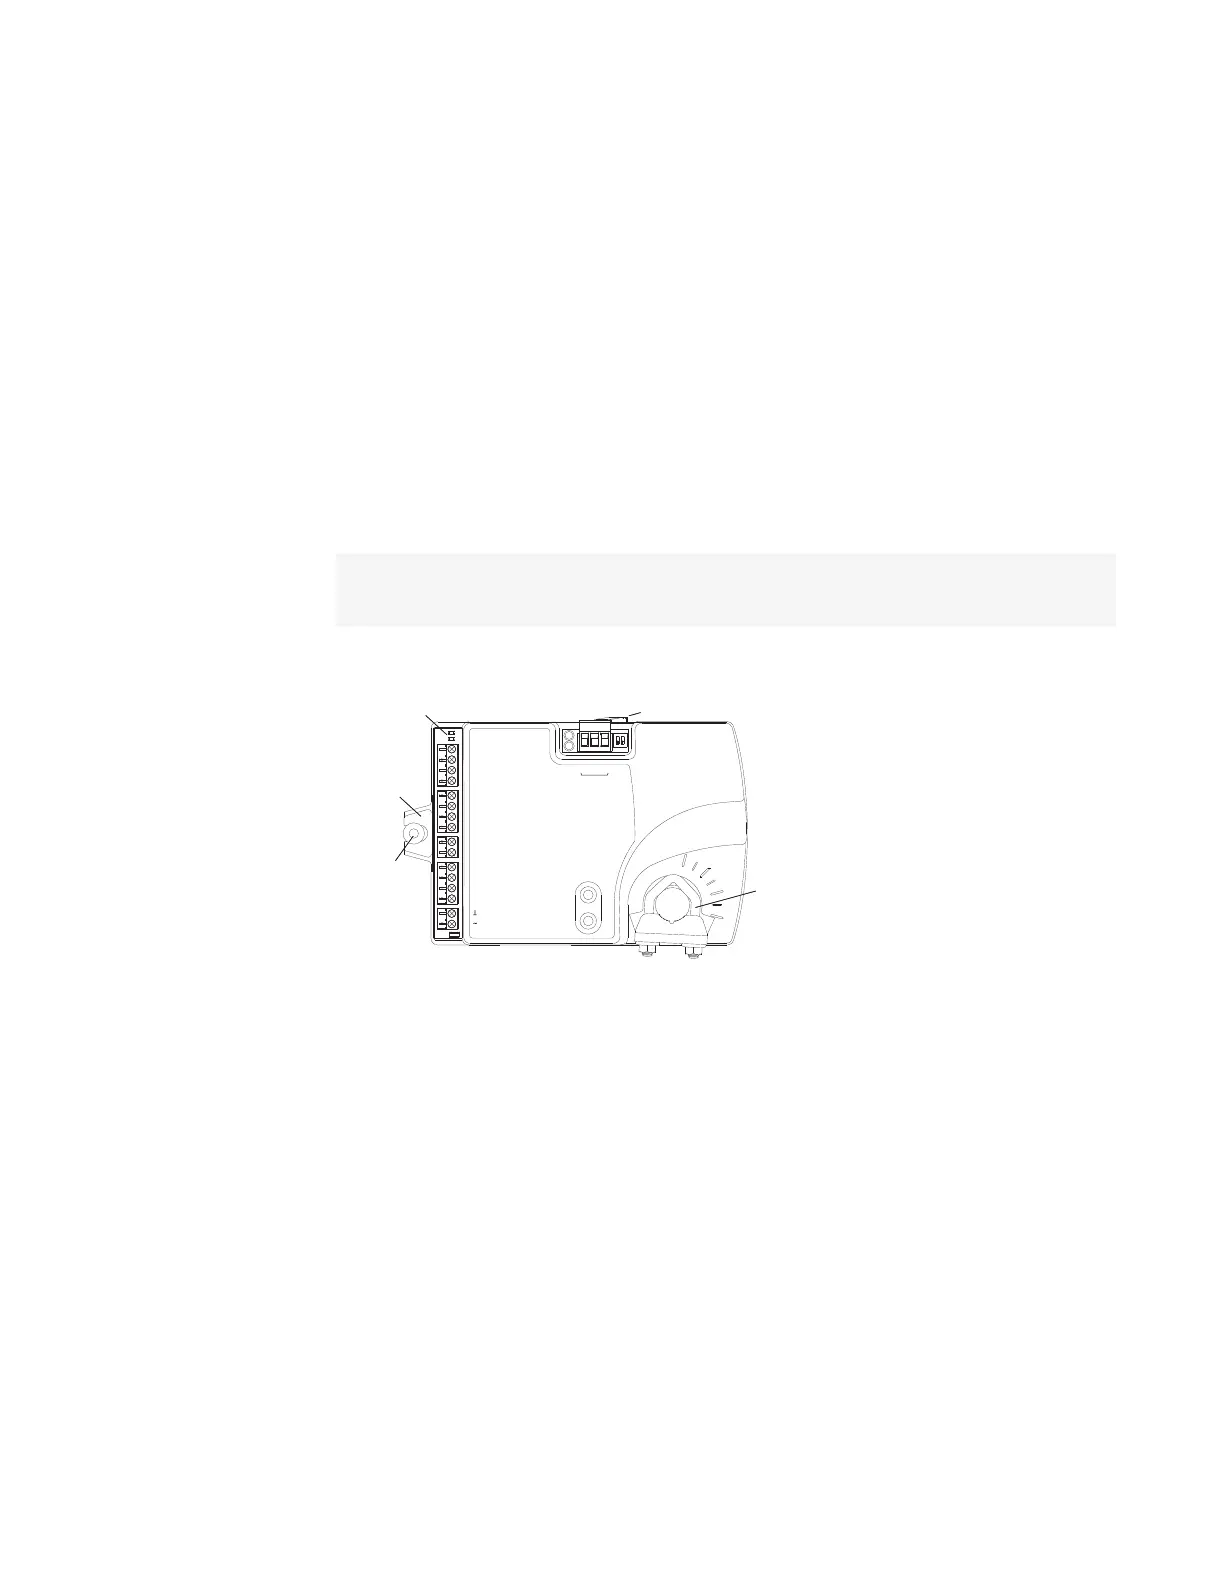
Illustration 2–2 Controls and indicators
ON CTS
1 2
COMM
READY
AI1
AI5
GND
AO4
AO3
SC
BO8
BO5
BO6
SC
BO7
24VAC
AI6
GND
AI7
T-STAT/
SENSOR
-A
+B
S
EOL
BACnet MS/TP
Status LEDs
Mounting
tab
Mounting
bushing
Gear clutch button
Drive hub
and V-bolt
Mount the controller as follows:
1 Manually rotate the damper on the VAV box to the fully open position.
2 On the controller, press the gear clutch button and rotate the drive hub in the same
direction that opened the damper. Turn the hub until it reaches a rotation limit.
3 Loosen the nuts on the V-bolt until the damper shaft can fit through the collar.
4 Place the controller over the damper shaft.
5 Finger tighten the nuts on the V-bolt to position the shaft in the drive hub.
6 Center the mounting bushing in the mounting tab and fasten it with a #8 sheet metal
screw.
7 Evenly tighten the V-bolt nuts on the drive hub to 30-35 in-lbs.
Section 2: Installing the controllers KMC Controls, Inc.
14 Revision H
 Loading...