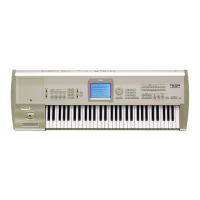
292
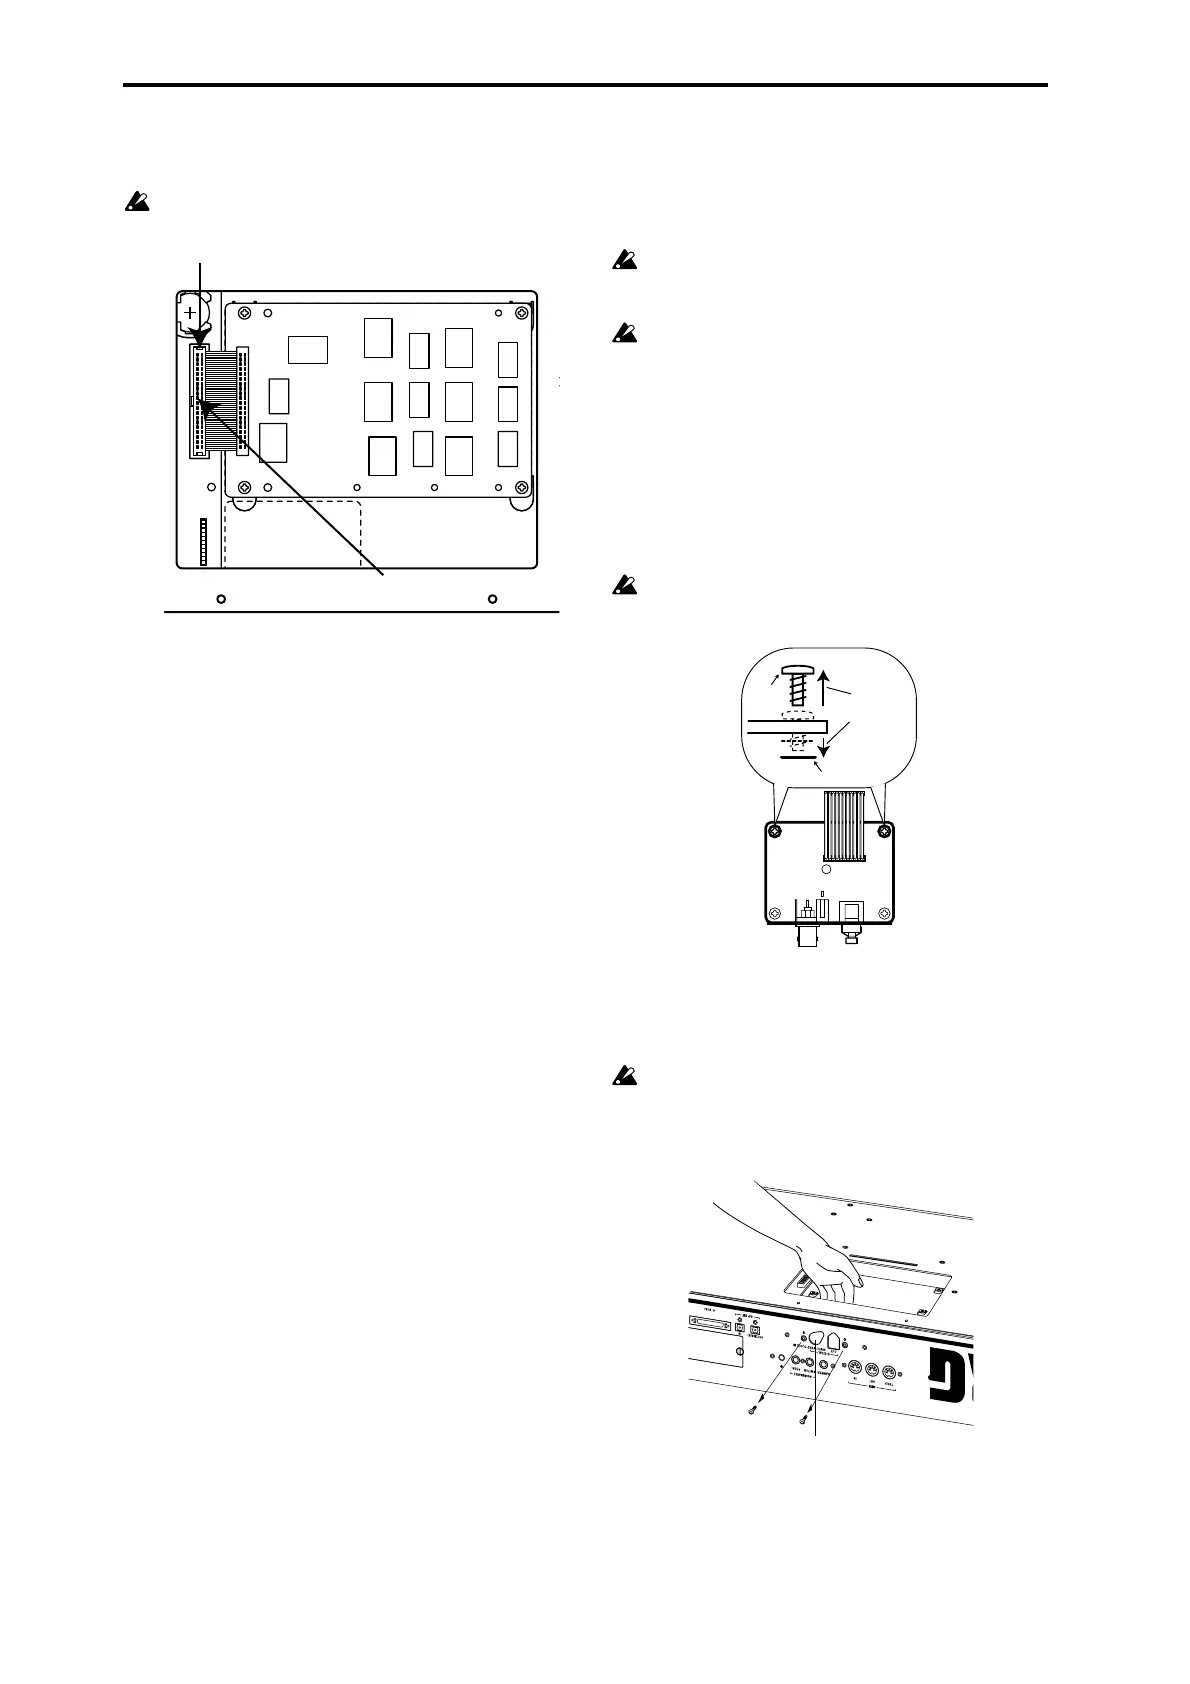
0 Plug the cable into the connector as shown in the dia-
gram. Press the cable firmly in until it stops.
Do not touch any part of the circuit board other than
the connector in which the cable is being inserted.
A Reversing the procedure by which you removed the
EXB-MOSS/EXB-DI cover, reattach the cover.
B When all steps have been completed, turn on the power
and make sure that the EXB-MOSS has been installed
correctly. (“Checking after installation” ☞p.287)
C After you have verified that the EXB-MOSS was installed
correctly, load the data from the floppy disk included
with the EXB-MOSS. (☞BG p.65)
Installing the EXB-DI
Before you perform the installation, be sure to read the fore-
going section “Safety precautions” and “Please note when
installing an option board/memory.”
While performing the installation, be careful of any
sharp or pointed edges of the TRITON STUDIO or the
option board.
You must leave the AC power cable disconnected until
you have completed all steps of installing the option
board.
1 Remove the EXB-MOSS/EXB-DI cover as described in
steps
1–5 of “Installing the EXB-MOSS.”
2 Verify the location where the EXB-DI will be installed.
(☞“Installing the EXB-MOSS” step
6)
3 Remove the EXB-DI from its bag.
4 Remove the two screws and washers from the two cor-
ners of the board
Be careful to save the screws that you remove. Some
models that can use the EXB-DI, will require these two
screws.
5 Remove the two screws holding the (DI) cover that
blocks the installation opening of the EXB-DI, and
remove the (DI) cover. The two screws you removed will
be used to fasten the EXB-DI.
The (DI) cover you removed will not be used. Take it
out so that it is not left inside the TRITON-Rack. The
cover you removed should be kept in a safe place, since
it will be needed if you later decide to remove the EXB-
DI.
Rear panel
Press in all the way
Connector
Washer
Screw
Remove
screw and
washer.
Cover (for DI)