Initial Operation 6
Adapting universal shaft 6.3
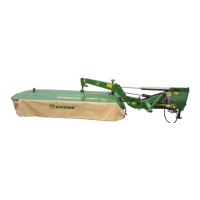
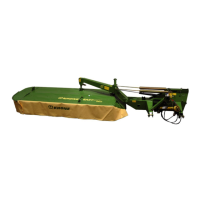
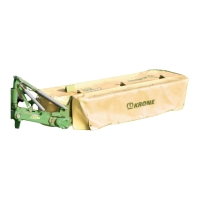
ActiveMow R 200
Original Operating Instructions 150000521_04_en 39
Ball sleeves of category I (cat. I)
Unscrew the cylinder screws (2).
Pull out the shorter lower link pin (3), turn it by 180° and insert it from the outside.
Insert the longer lower link pin (1) to the inside up to the next borehole.
Secure both lower link pins (1,3) with the cylinder screws (2).
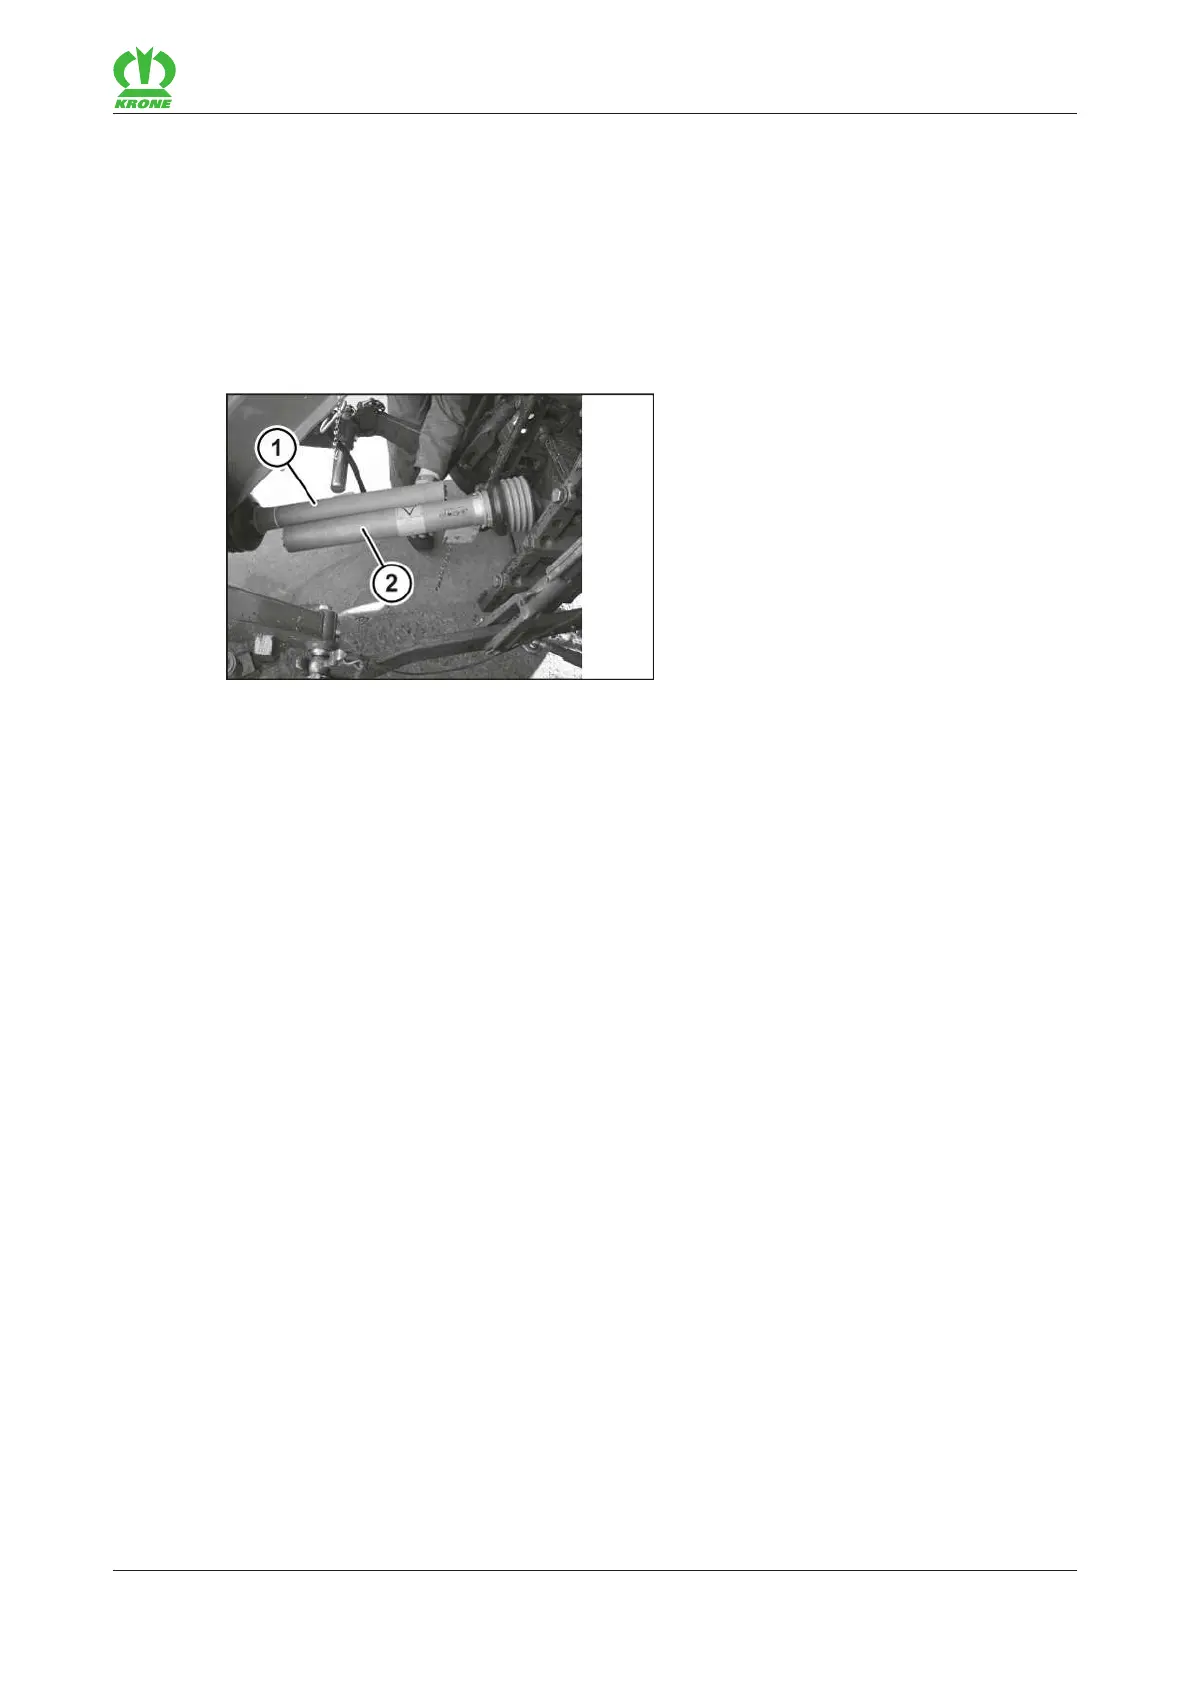
6.3 Adapting universal shaft
KMG000-047
ü The machine is connected to the tractor, refer to page40.
Raise machine until the PTO shaft end of the tractor and the drive shaft of the machine are
on the same height.
Lower machine into working position.
Shut down and safeguard the machine, refer to page24.
Disassemble the universal shaft.
Install one half each (1, 2) on tractor side and on machine side.
Shorten section tubes and guard tubes.
NOTICE:Material damage caused by failure to achieve profile overlap! There must be an
overlap (shift length) of the profile tubes and guard tubes of at least 200 mm in any
operating position. For further information see the operating instructions of the universal
shaft manufacturer.
Check the overlap of profile tubes and guard tubes.
 Loading...