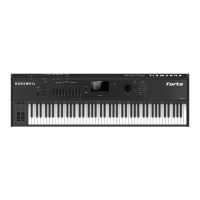
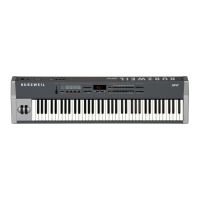
Chapter 4
Programming SP2
Editing Setups
This section will help you understand and tame the most powerful feature of the SP2, Setup,
throughafewexamples.
•Therearethreebasicstepsineditingsetups.
1. In Setup mode, press [‐/No] button and [+/Yes] button at the same time. The display will
show“S00”thatmeansDefault Setupisselected.Press[Edit]button.The blinking LED in
thebuttonindicatesthattheSP2isinEditingmode.
<Figure4‐15DefaultSetupisSelected>
2. [‐/No]and[+/Yes]button,orSoundSelect buttonsintheCategoryregion,selectasetupto
be edited and then, edit parameters such as Key Range, Velocity Range or Transpose if
necessary.
3. Afterediting,storethechangeswiththeassociatedsetup.
The Structure of Setup
Before we begin with the details of setup editing, you may want to know how setups are
constructed.
Basically, a setup is a combination of up to 4 distinct programs which can be individually
playedondifferentregionsoftheSP2’skeyboard.Eachregioniscalleda“Zone”.Eachzonehas
itsownparametersetwhichdefineMIDItransmitchannel,controllerassignmentandkeyrange
oftheassignedprogram.
AlthoughtheSP2canreceiveMIDIdataononlyonechannelatatimewhenusingwithexternal
MIDIdevices,the SP2willremaptheincomingdatafromtheexternaldevices sothatyoucan
usethesetup’sfourzonestogether.Thefourthzoneisfixedtodrumandpercussionsounds.
The SP2 has two special setups you need to check out. They are template setups with basic
settings,whichareveryconvenientforcreatingnewsetups.
• Special Setups
Naturally, you can edit any setup you want, changing values of any of dozens of available
parameters. However, the existing setups often hav e complex interaction between several
parameters.Changingthevalueofoneparametercanhavegreaterimpactthanyouanticipated.
Consequently,we’vemadeaveryhandytemplatesetupforyourconvenience.
4-8
 Loading...