2FB/2FC-4
1-6-35
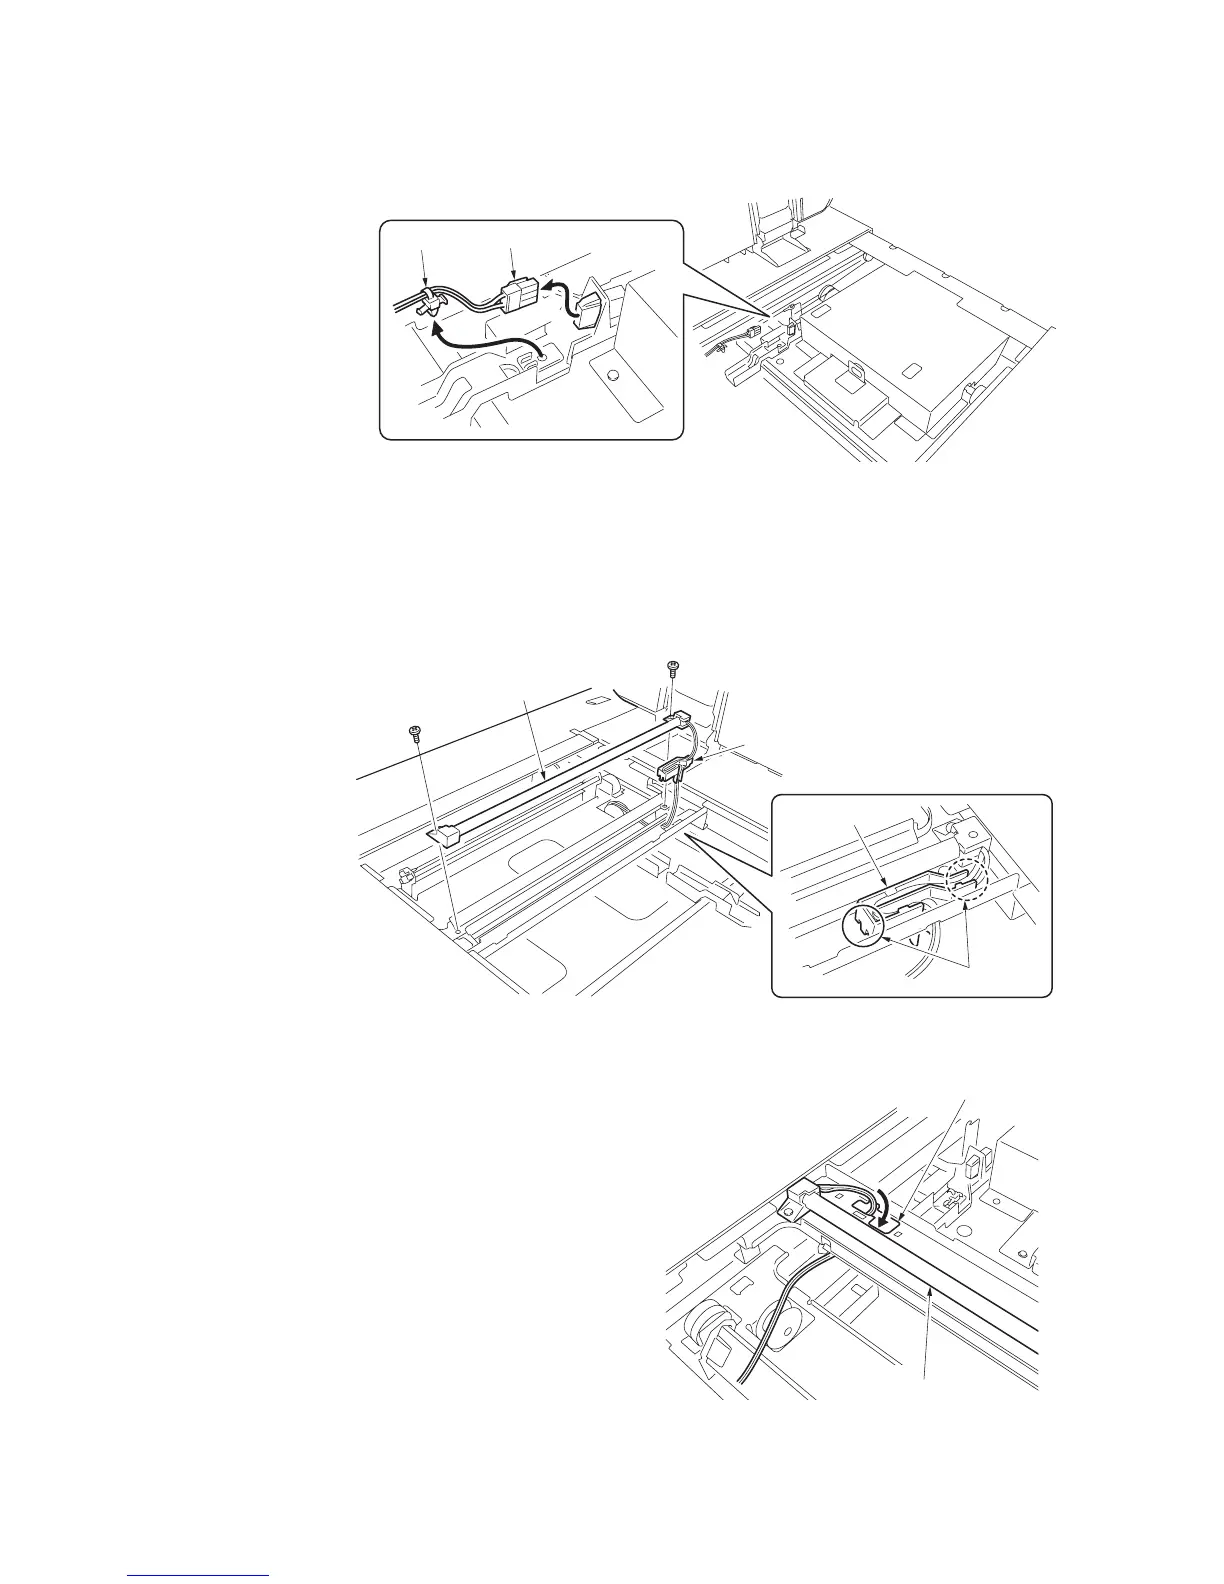
6. Remove the connector and band inside the
scanner unit.
* Cut out the band using nippers.
Figure 1-6-66
7. Release the inserted parts of wire guide and
then remove the guide from the mirror 1
frame.
8. Remove two screws holding the exposure
lamp and then remove the lamp.
9. Remove the wire guide from the wire of the
exposure lamp.
Figure 1-6-67
10. Replace the exposure lamp.
11. After letting the wire of the exposure lamp
pass in the wire guide hole of the mirror 1
frame, refit the exposure lamp using two
screws.
Figure 1-6-68
Connector
Band
Exposure lamp
Wire guide
Wire guide
Inserted parts
Exposure lamp
Wire guide hole
 Loading...