OBD & Battery Analysis Scanner
- 10 -
Cranking Test
1.
Connect the clamp to the battery
before the engine starts. Red clip
connects positive (+) terminal and
black clip connects negative (-).
2.
From main menu of battery test,
use the Up/Down button to select
Battery Test, then press OK.
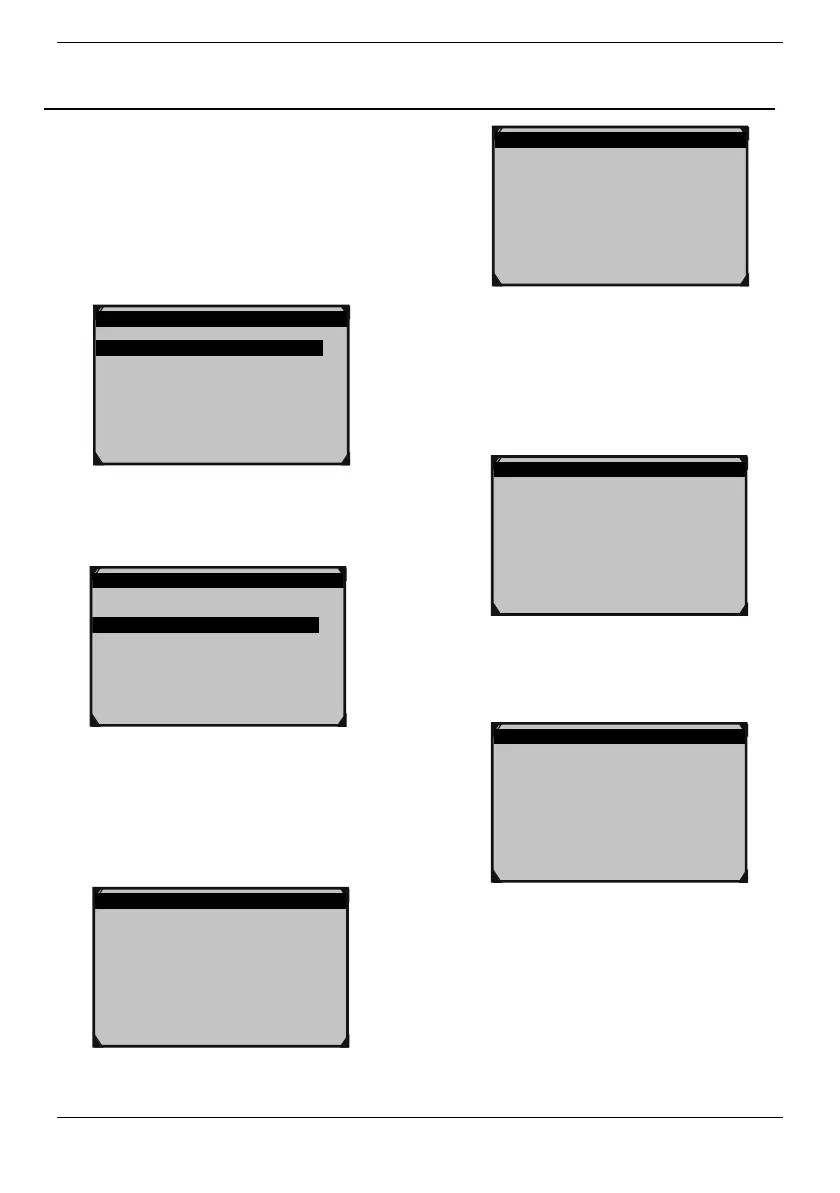
Main Menu 1/4
1.Battery Test
2.Quick Test Ah
3.Review Data
4.Print Data
Figure20
3.
Use the Up/Down button to select
Cranking Test, then press OK.
Battery Test 2/3
1.Battery Test
2.Cranking Test
3.Charging Test
Figure21
4.
Starting the engine as prompted,
tester will automatically complete
the cranking test and display the
result.
Cranking Test
Start Engine
Cranking Test
RPM Detected
Figure23
5.
Normally, cranking voltage value
lower than 9.6V is regarded as
abnormal and it is ENTER if it is
higher than 9.6V. Test result of the
tester includes actual cranking
voltage and actual cranking time.
Cranking Test
TIME 780ms
CRANKING NORMAL
10.13V
Figure24
6.
When cranking test is abnormal,
battery test result will also be
displayed at the same time.
Cranking Test
TIME 780ms
CRANKING LOW
10.13V
Figure25
7.
This is for the convenience of the
maintenance personnel to quickly
know the whole state of the starting
system according to the data. After
testing finished, do not shut down
the engine, press OK to enter
Charging Test.