LEGOeducation.com
EV3 Brick Interface
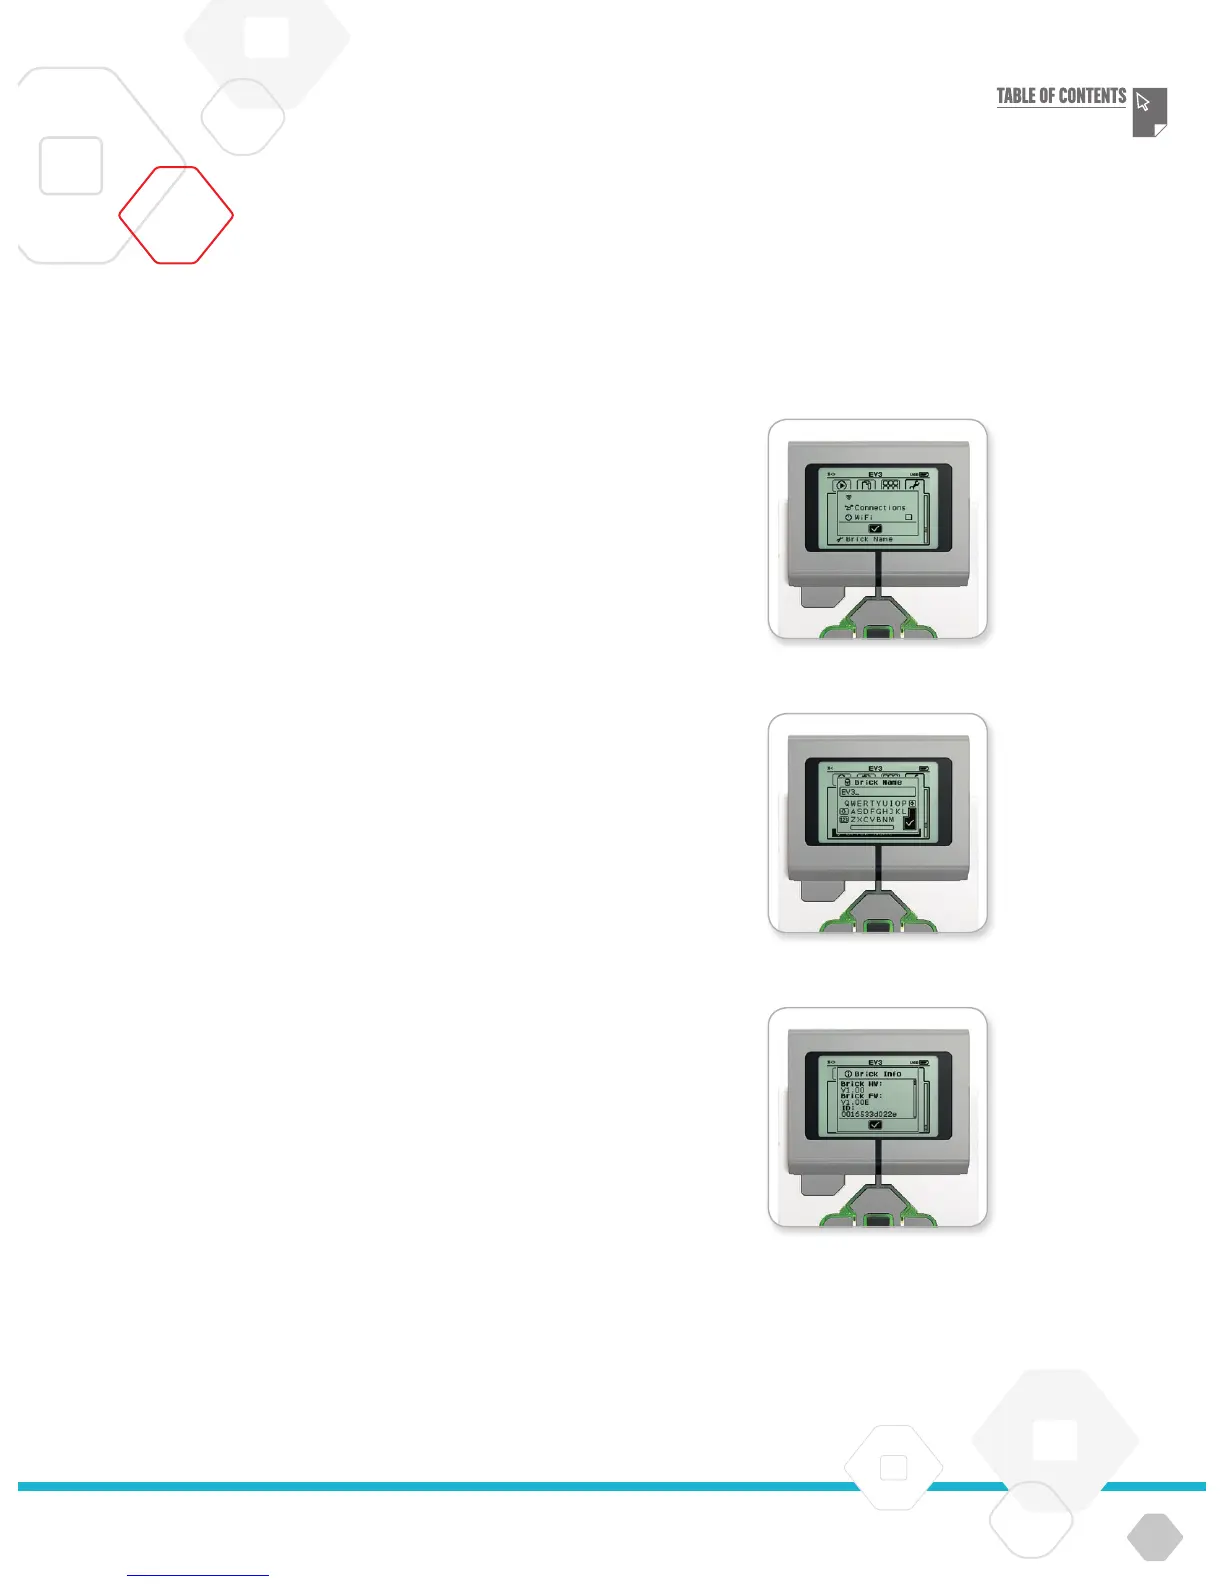
WI-FI
This is where you enable Wi-Fi communication on the EV3 Brick and
connect to a wireless network. After selecting Wi-Fi on the Settings
screen, use the Up and Down buttons to select the word ‘WiFi’ and
press the Centre button for OK. A check mark will appear in the WiFi
box. Wi-Fi is now enabled on your EV3 Brick, and a Wi-Fi icon will
be shown in the top left of the EV3 Brick Display.
To go back to the main Settings screen, press the Down button until
the check mark at the bottom of the screen is highlighted, then
press the Centre button for OK.
For information on how to connect your EV3 Brick to a wireless
network, see the Connecting the EV3 Brick to Your Computer section
on page 24.
Note: Wi-Fi connectivity to the EV3 Brick is not supported in the EV3
Programming App.
BRICK NAME
This menu allows you to view and change the name of the EV3 Brick.
Go to the Settings screen and navigate to the Brick Name menu
using the Down button. Press the Centre button.
The current EV3 Brick name is displayed. To change it, use the Up,
Down, Left, and Right brick buttons to enter the new name. Finally,
highlight the Enter key on the display keyboard and press the Centre
button to save the new EV3 Brick name.
Note: The Brick Name feature requires firmware V1.07 or above.
BRICK INFO
When you need to know the current technical specifications of your
EV3 Brick, such as hardware and firmware version and EV3 Brick
OS build, this is where you will find that information. This is also
where you can find out how much free memory you have available.
Brick Name
Brick Info
Enable Wi-Fi
EV3 TECHNOLOGY