Service Manual JET3
Rev. 1.0 141
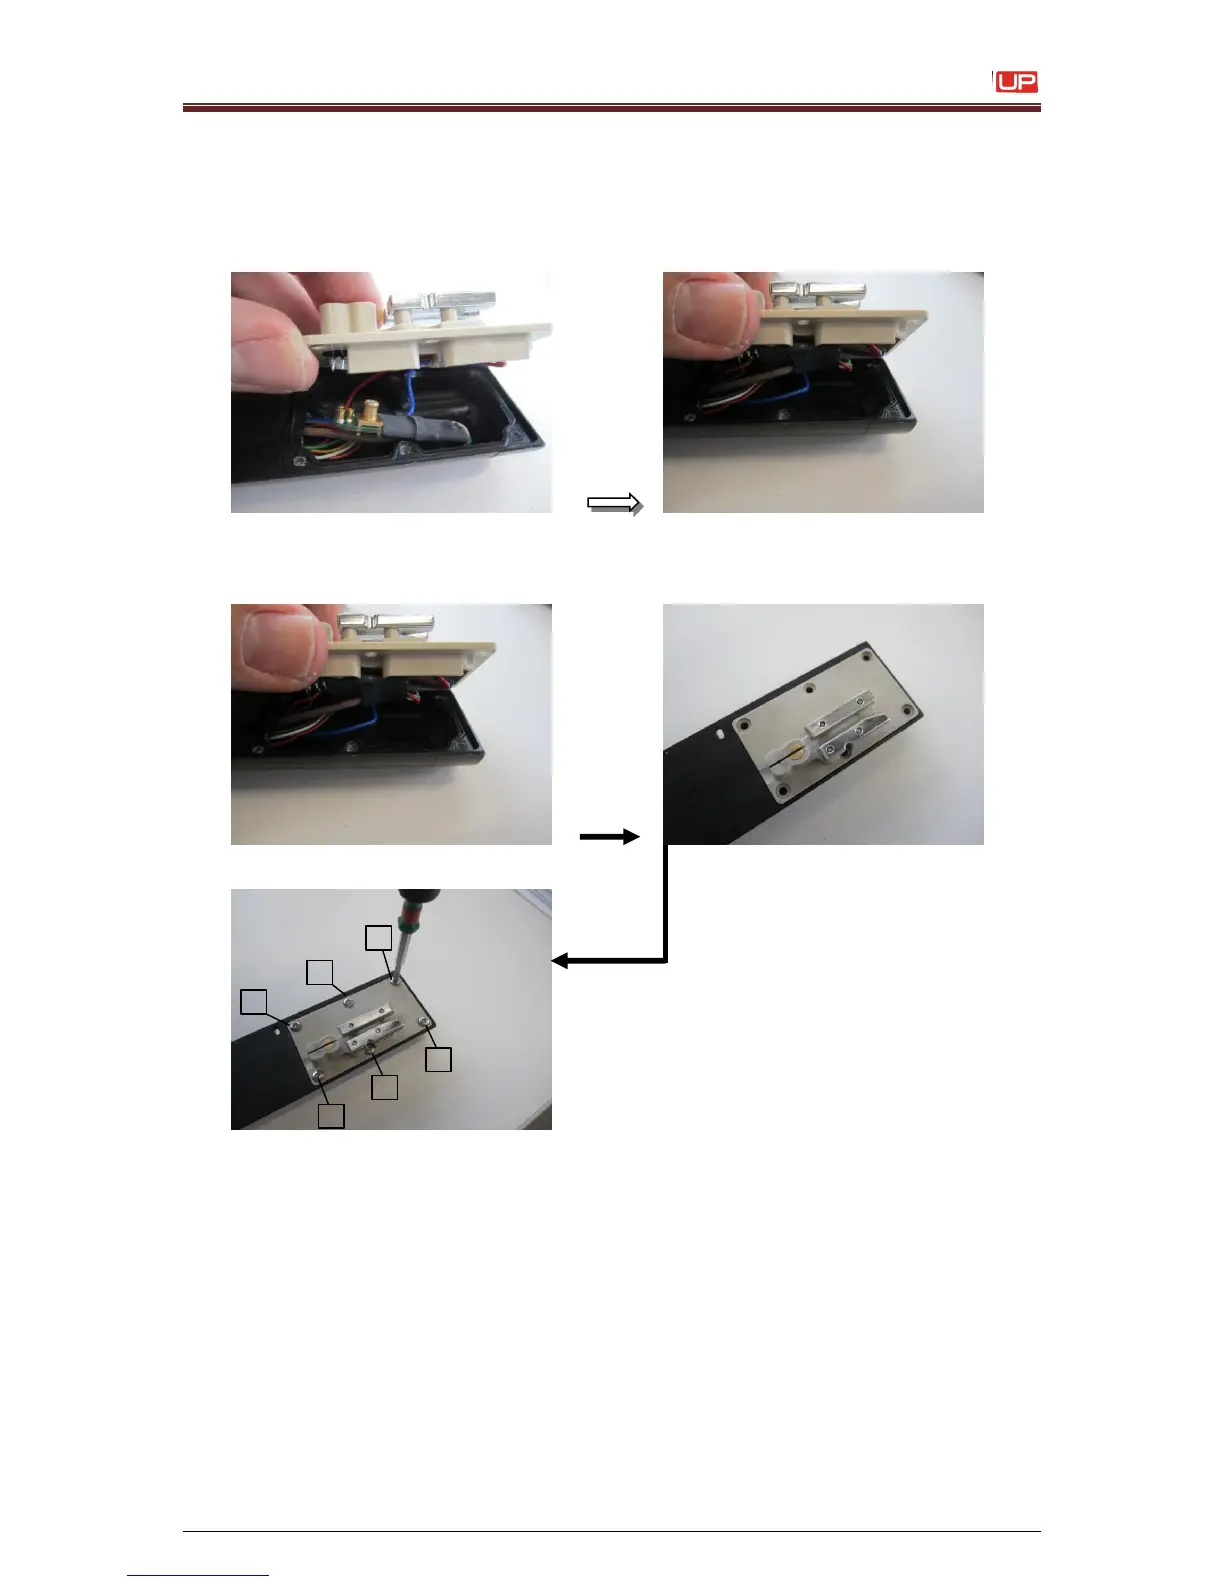
10. Connect the charge-board on the electrode block
Attention:
Take care that PINS not dismantle, when you connect the charge-board on
electrode block!
Attention:
Take care, when you put the electrode block in the print head, that no cable
jammed!
Also take care, that all 6 torx screws fixed with a torque allen key
(inside a blade for torx T8 and 0,18Nm)!
Please note the torsional moments in chapter Torsional moments for
SK6 on page 99
(You will find Torque Allen key 55-004557K + Blade for Torx T8 55-004559K in
our Spare Parts and Accessories Catalog)