26
Leica mojo3D, System Installation
Alternatively using the embedded magnetic strip, the mojo3D GPS antenna
can simply be attached on a metallic roof of the vehicle.
4. Route the cables through existing grommets if possible; if not, modification may
be required to route the cables to the desired location. If creating a new entry
point, use a grommet to protect the cables.
• The cables must not be cut, kinked, or bent tightly, as their performance will be
degraded and system failure may result.
• Cables should be routed neatly back to the mojo3D.
• The antenna must be mounted horizontally and not on an angle to ensure best
GPS reception possible.
• If the mojo3D is to be connected to a Leica mojoRTK, the mojo3D GPS antenna
is not required, however the cell modem antenna is still required.
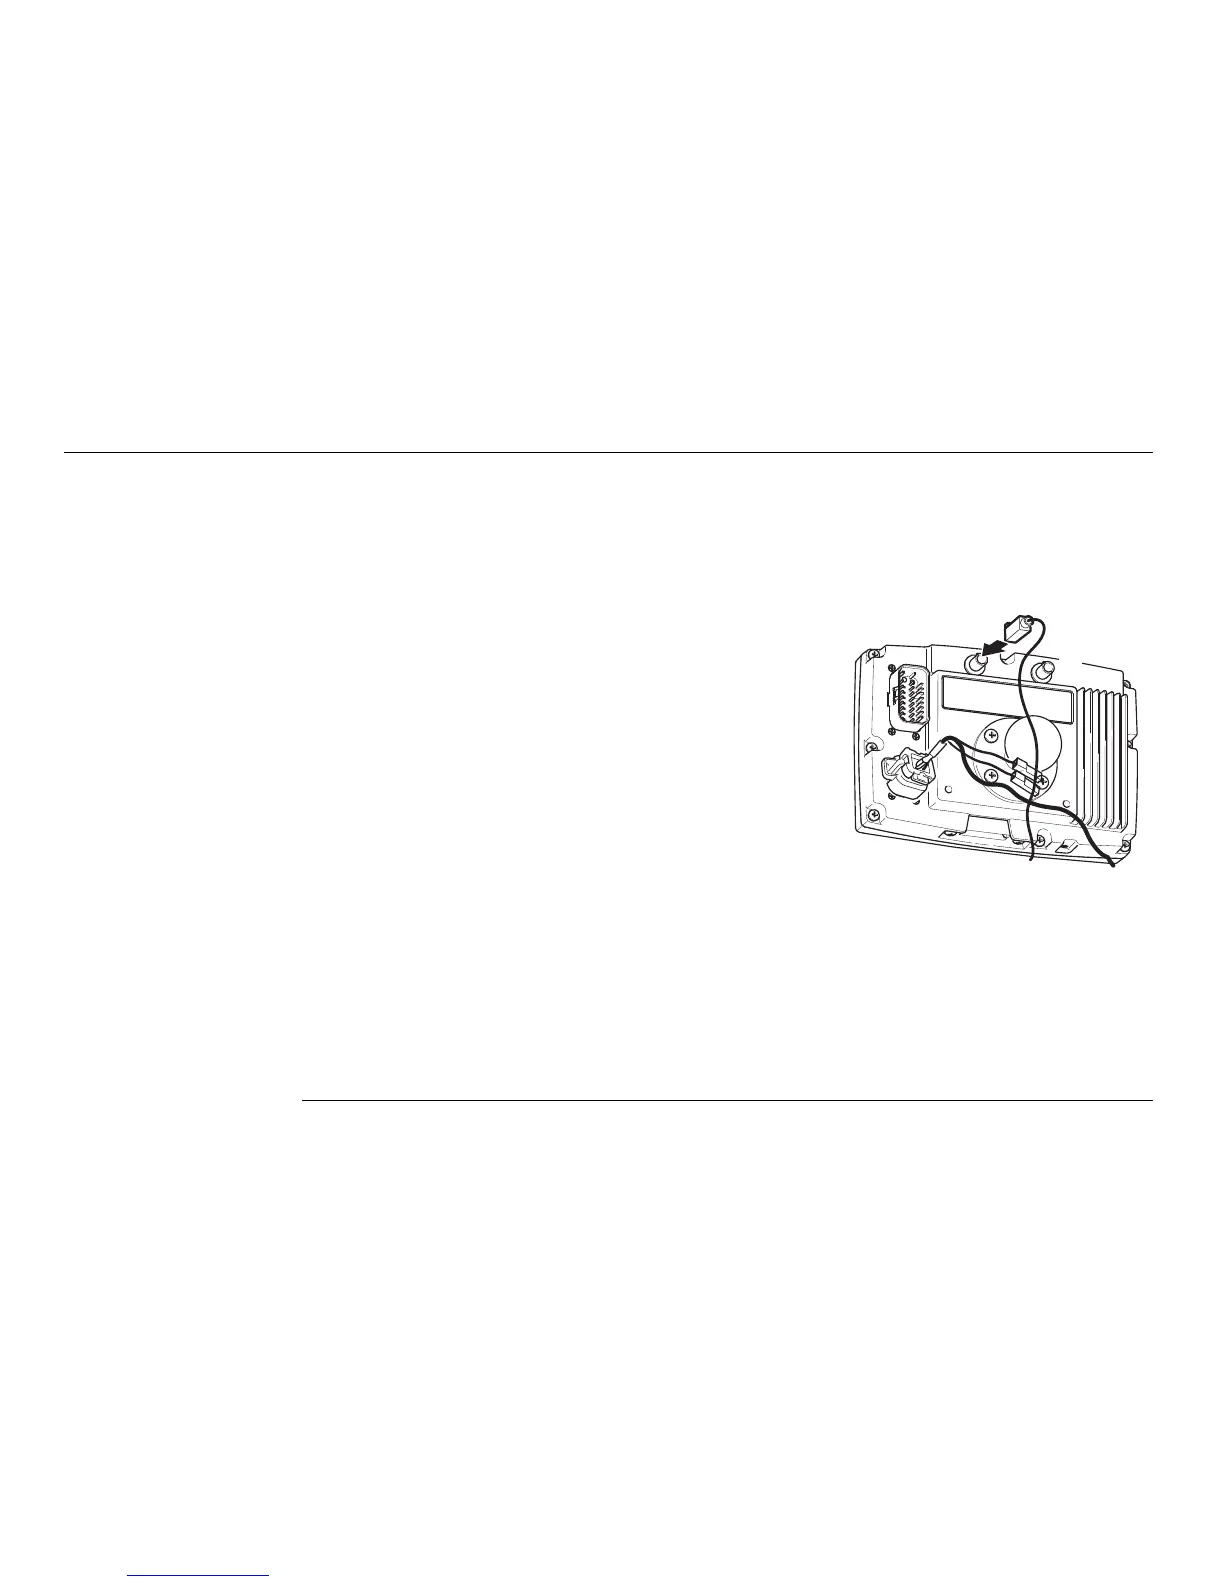
5. Connect the blue GPS antenna cable to the blue
connector on the rear of the mojo3D display. The
antenna connectors and sockets on the Leica
mojo3D are colour coded to ensure correct
connection.
 Loading...