70
Leica mojo3D, Setting Guidance Types
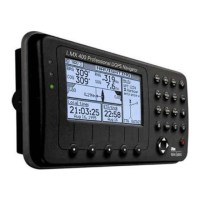
4.2 A+ Heading Guidance
General informa-
tion
Setting A+ heading
guidance, step-by-
step
To set up A+ heading guidance, carry out the following steps:
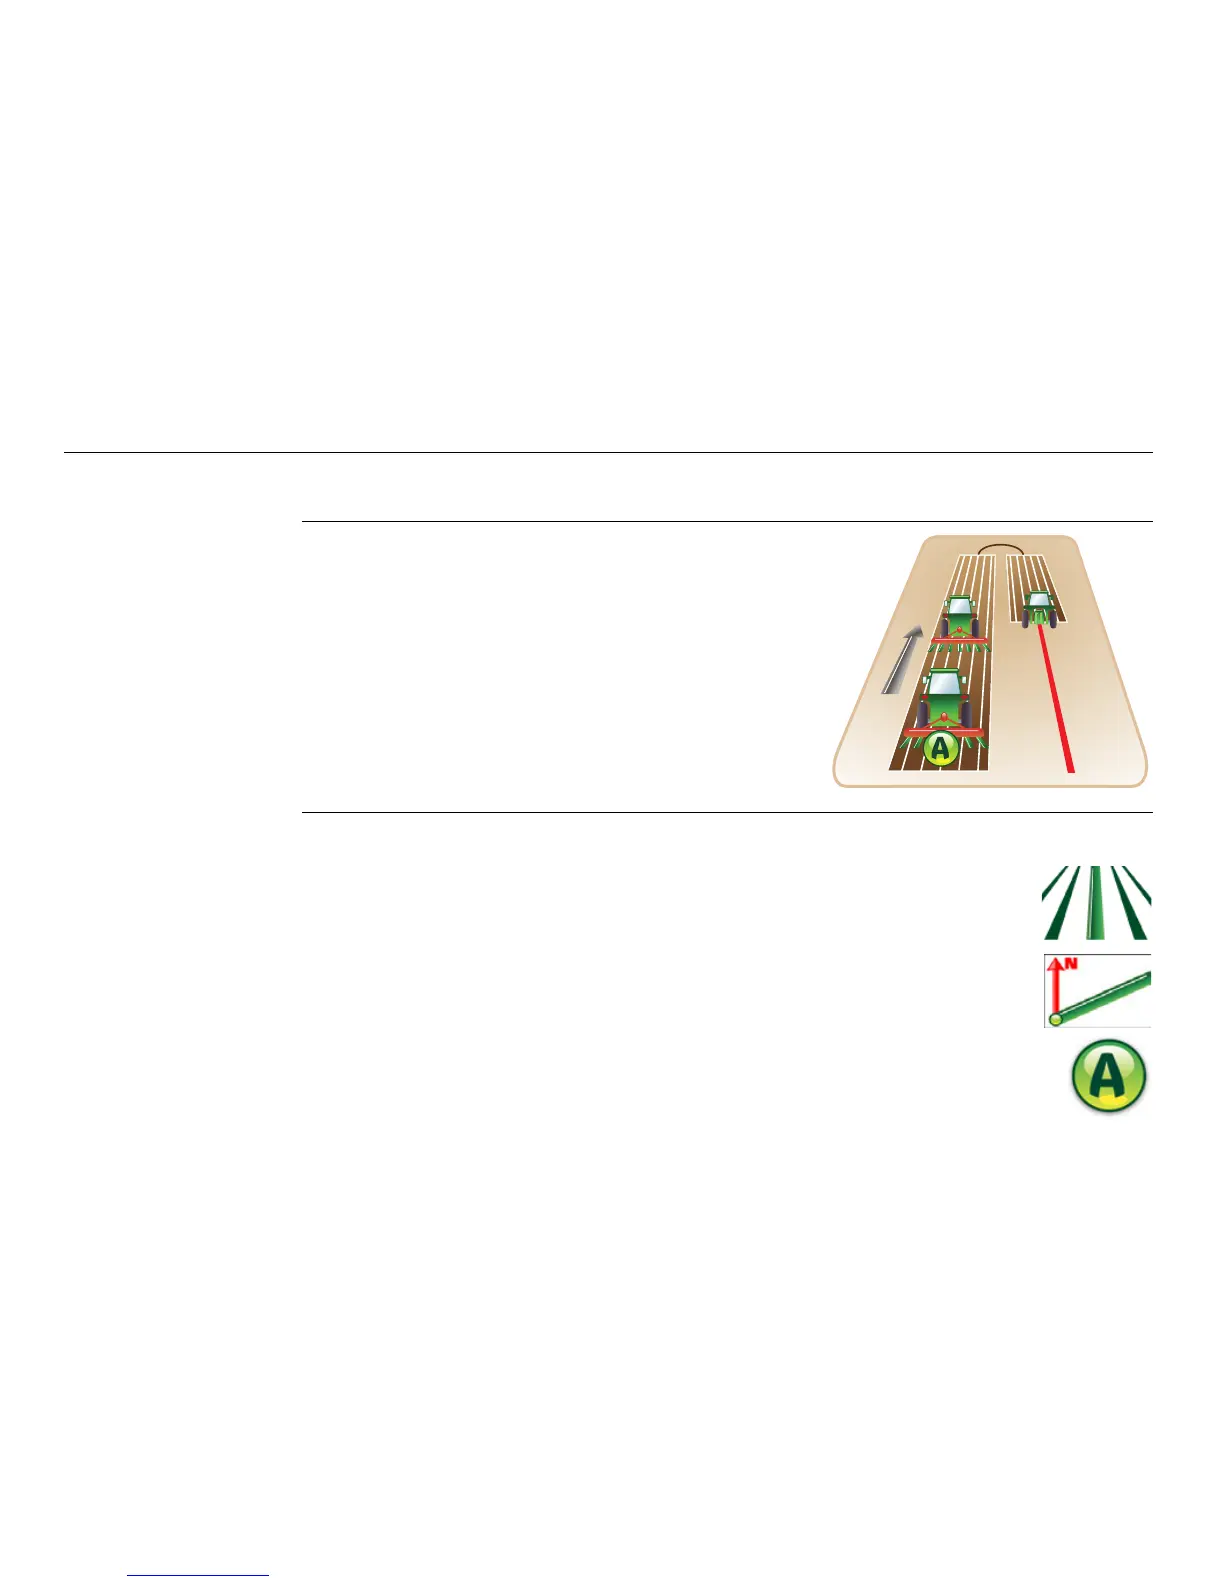
In A+ heading guidance, working lines are parallel,
and are set by defining an initial waypoint and a
compass bearing.
Before you can set waypoints, the
system must have a good position fix.
1. On the main navigation screen, tap the guidance button.
2. On the flyout menu, tap the A+ heading guidance button.
3. Position your vehicle in the field at the point where you want to
start (waypoint A), and tap the A point button.