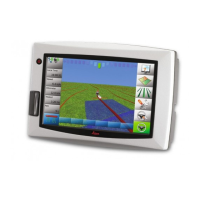
Leica mojo3D, mojo3D Enhancements 335
mojoXact installa-
tion
Use caution with metal work; it may be sharp and could cause injury if care
is not taken.
1. Carefully remove the mojoXact from its packaging. The mojoXact can be mounted
in any direction. There is no need to mount it exactly flat. The mojoXact should
be mounted in an out of the way location, so that it will not obstruct the opera-
tion of the vehicle such as pedals.
2. Attach the mojoXact to a secure location using the four mounting points.
Verify that the mojoXact is firmly mounted and cannot move. If movement
is possible, performance may be degraded.
Connecting cables The mojo3D port expansion cable and mojoXact port expansion cable is used to
connect the mojoXact to the mojo3D display unit.
For further information, refer to www.virtualwrench.com.

 Loading...