Lenovo Press
You need to provide the following at your site:
• Rack space for the storage system
• Screwdriver
• Additional networking cables to connect your system to your network switch and Microsoft Windows
client
• A client with a USB/serial connection and access to a web browser to configure your system
Step 1. Unpack the contents of all boxes.
Step 2. Record the system serial number from the storage enclosure.
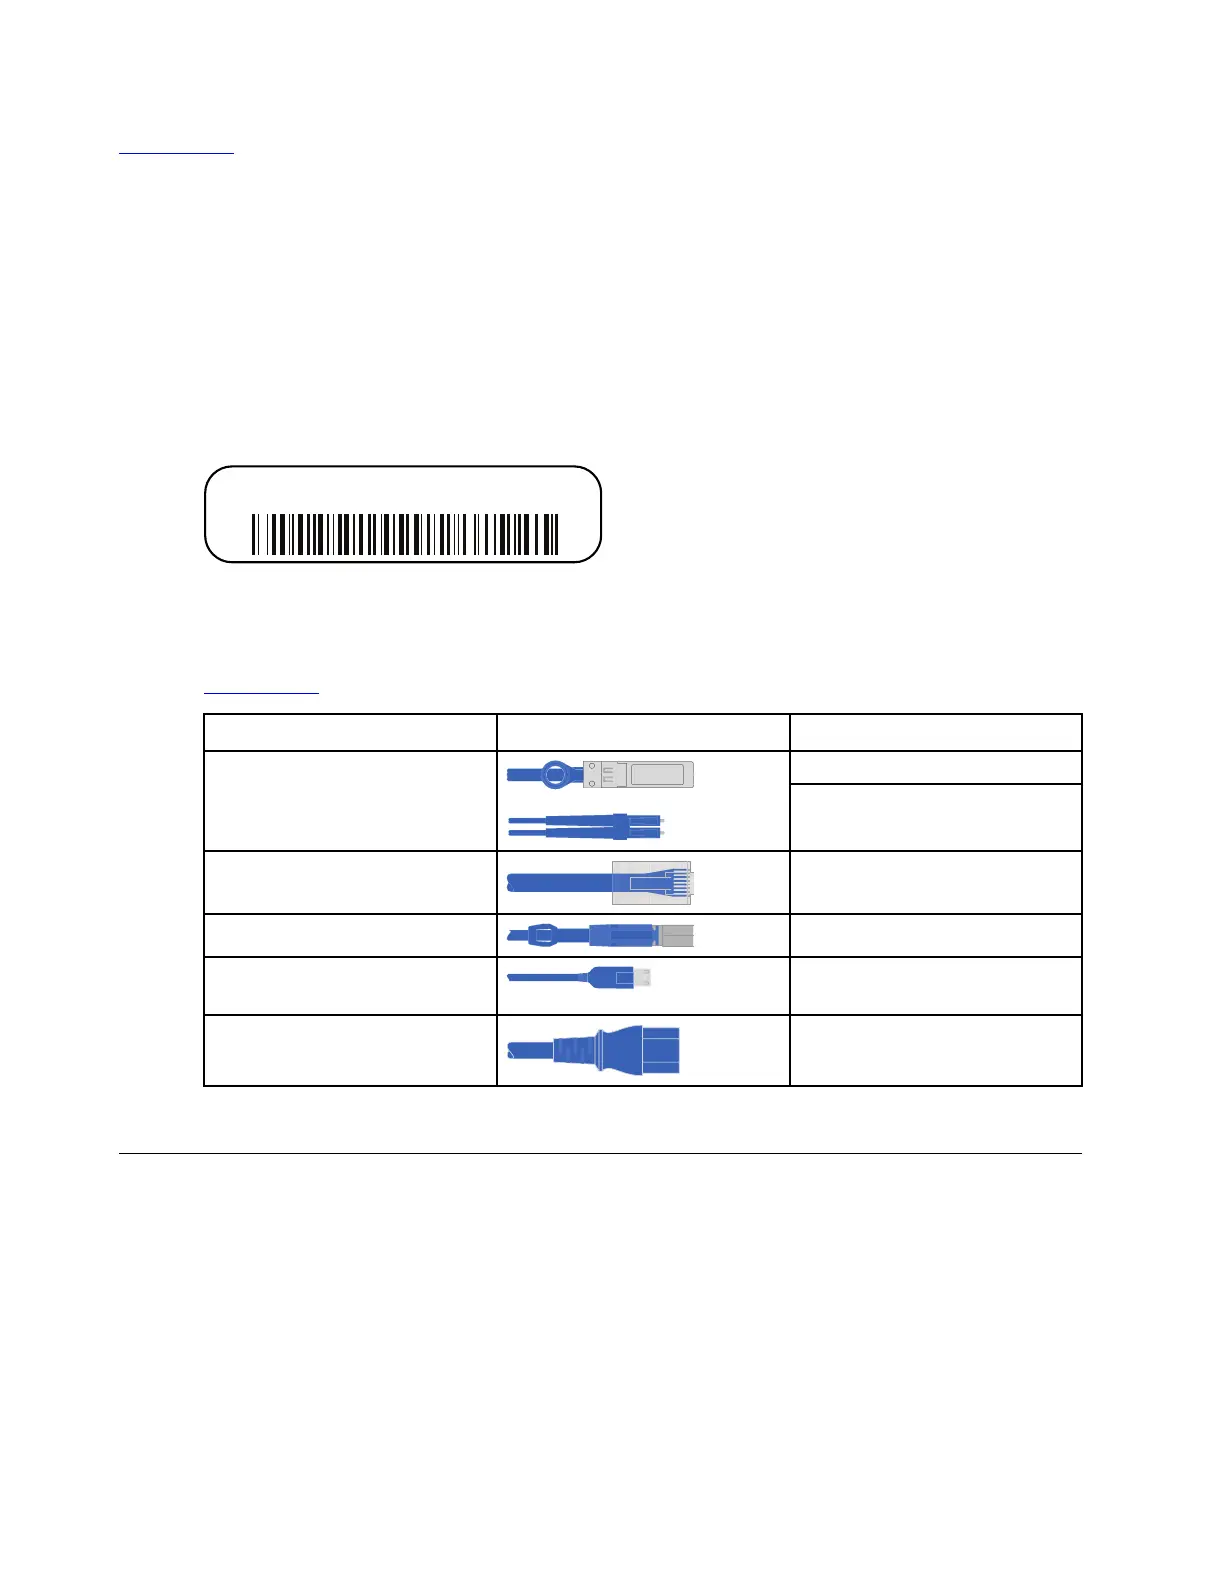
Step 3. Make a note of the number and types of cables you received. The following table identifies the
types of cables you might receive. If you receive a cable not listed in the table, refer to the Lenovo
Press to locate the cable and identify its use.
Lenovo Press
Type of cable... Connector type For...
10 GbE cable (order dependent)
or
Cluster interconnect network
Data
RJ-45 (order dependant)
Management network and
Ethernet data
Storage (order dependent)
Storage
Micro-USB console cable
Console connection during
software setup
Power cables
Powering up the system
Step 4. Complete the Cluster configuration worksheet.
Installing the hardware
You need to install your system in a 4-post rack or Lenovo system cabinet, as applicable.
Step 1. Install the rail kits, as needed. “DM/DE Series 2U24, 3U, 4U rail kit installation instructions” on page
11
Step 2. Install and secure your system using the instructions included with the rail kit.
Attention: You need to be aware of the safety concerns associated with the weight of the system.
18
ThinkSystem DM3000x and DM5000x Hardware Installation and Maintenance Guide
 Loading...


