Repair information 4-11
4513-200, -220, -230
Duplex removal
Note: The duplex will not need to be replaced on the 4513-200 printer.
1. Remove the left side cover. See “Left side cover removal” on page 4-24.
2. Remove the rear door and rear cover. See “Rear door and rear cover removal” on page 4-49.
3. Place the printer on its top.
Note: Be careful to not mar the finish of the printer.
4. Remove the LVPS/HVPS. See “LVPS/HVPS removal” on page 4-27.
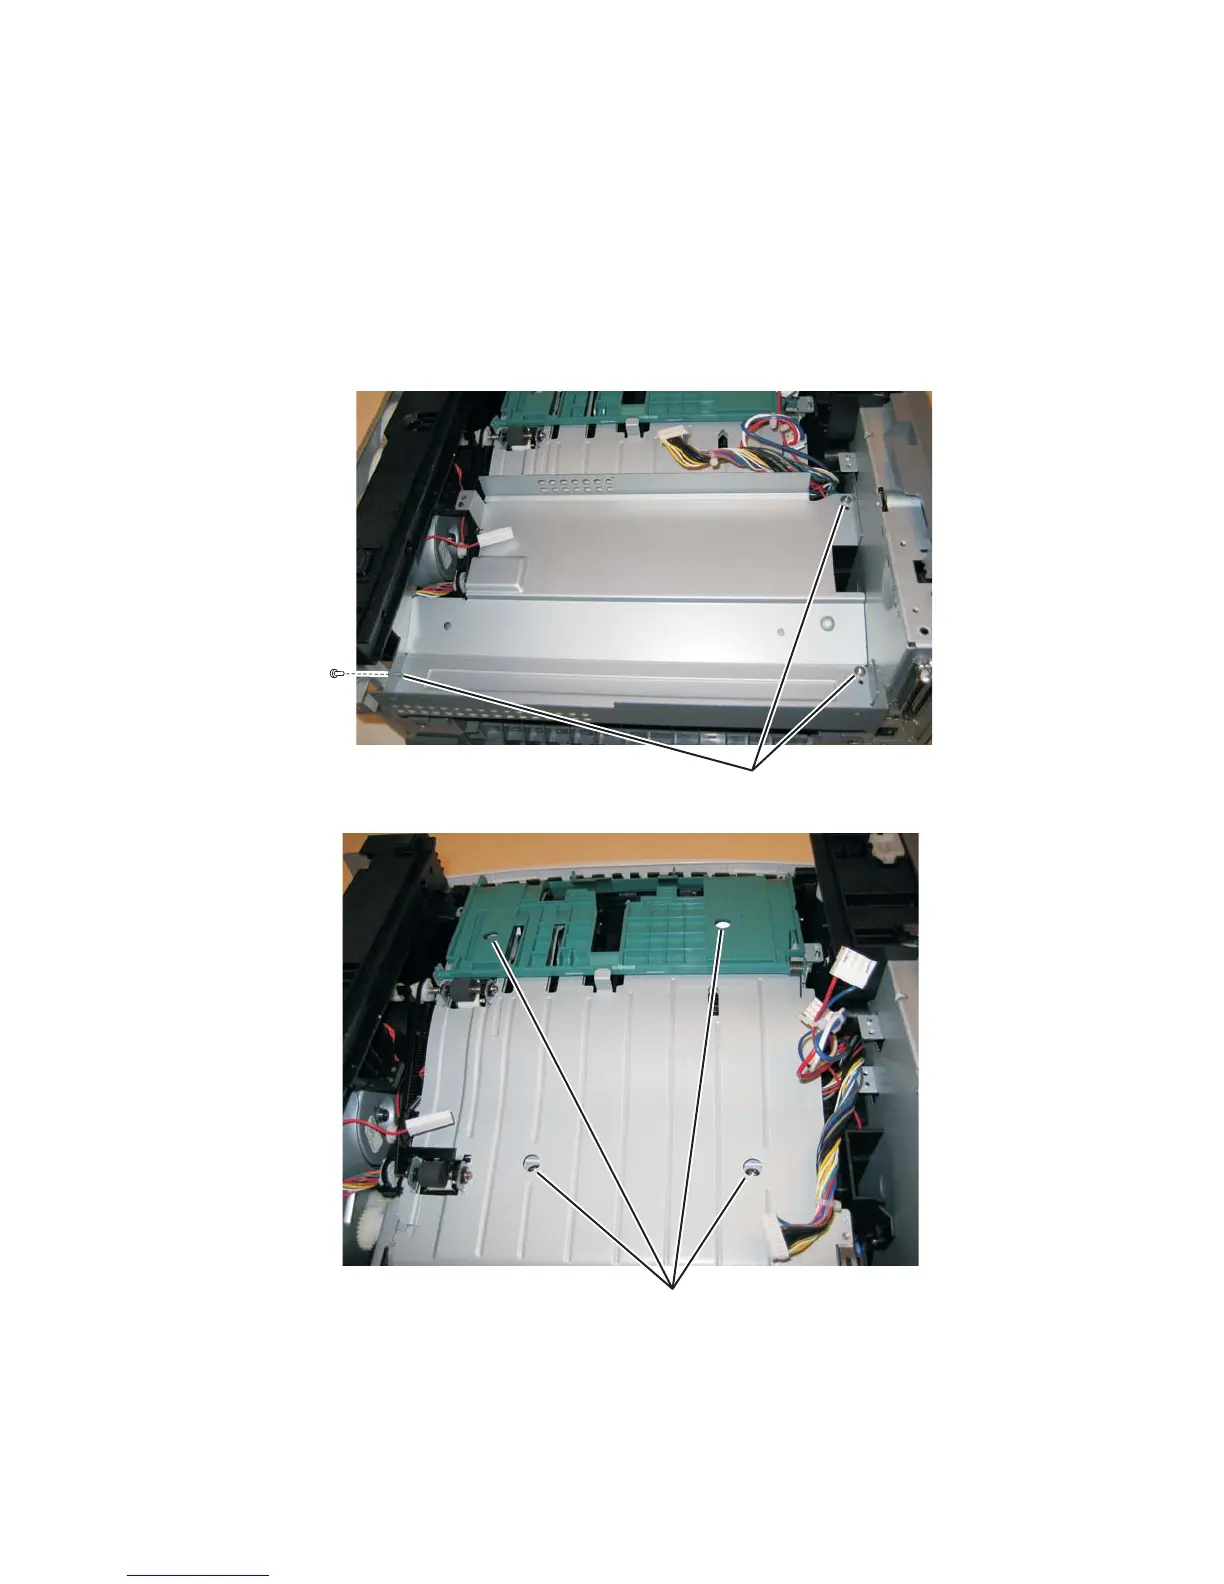
5. Remove the three screws (A) from the shield.
6. Remove the four screws (B) from the duplex.