4-48 Lexmark™ E260, E260d, E260dn
4513-200, -220, -230
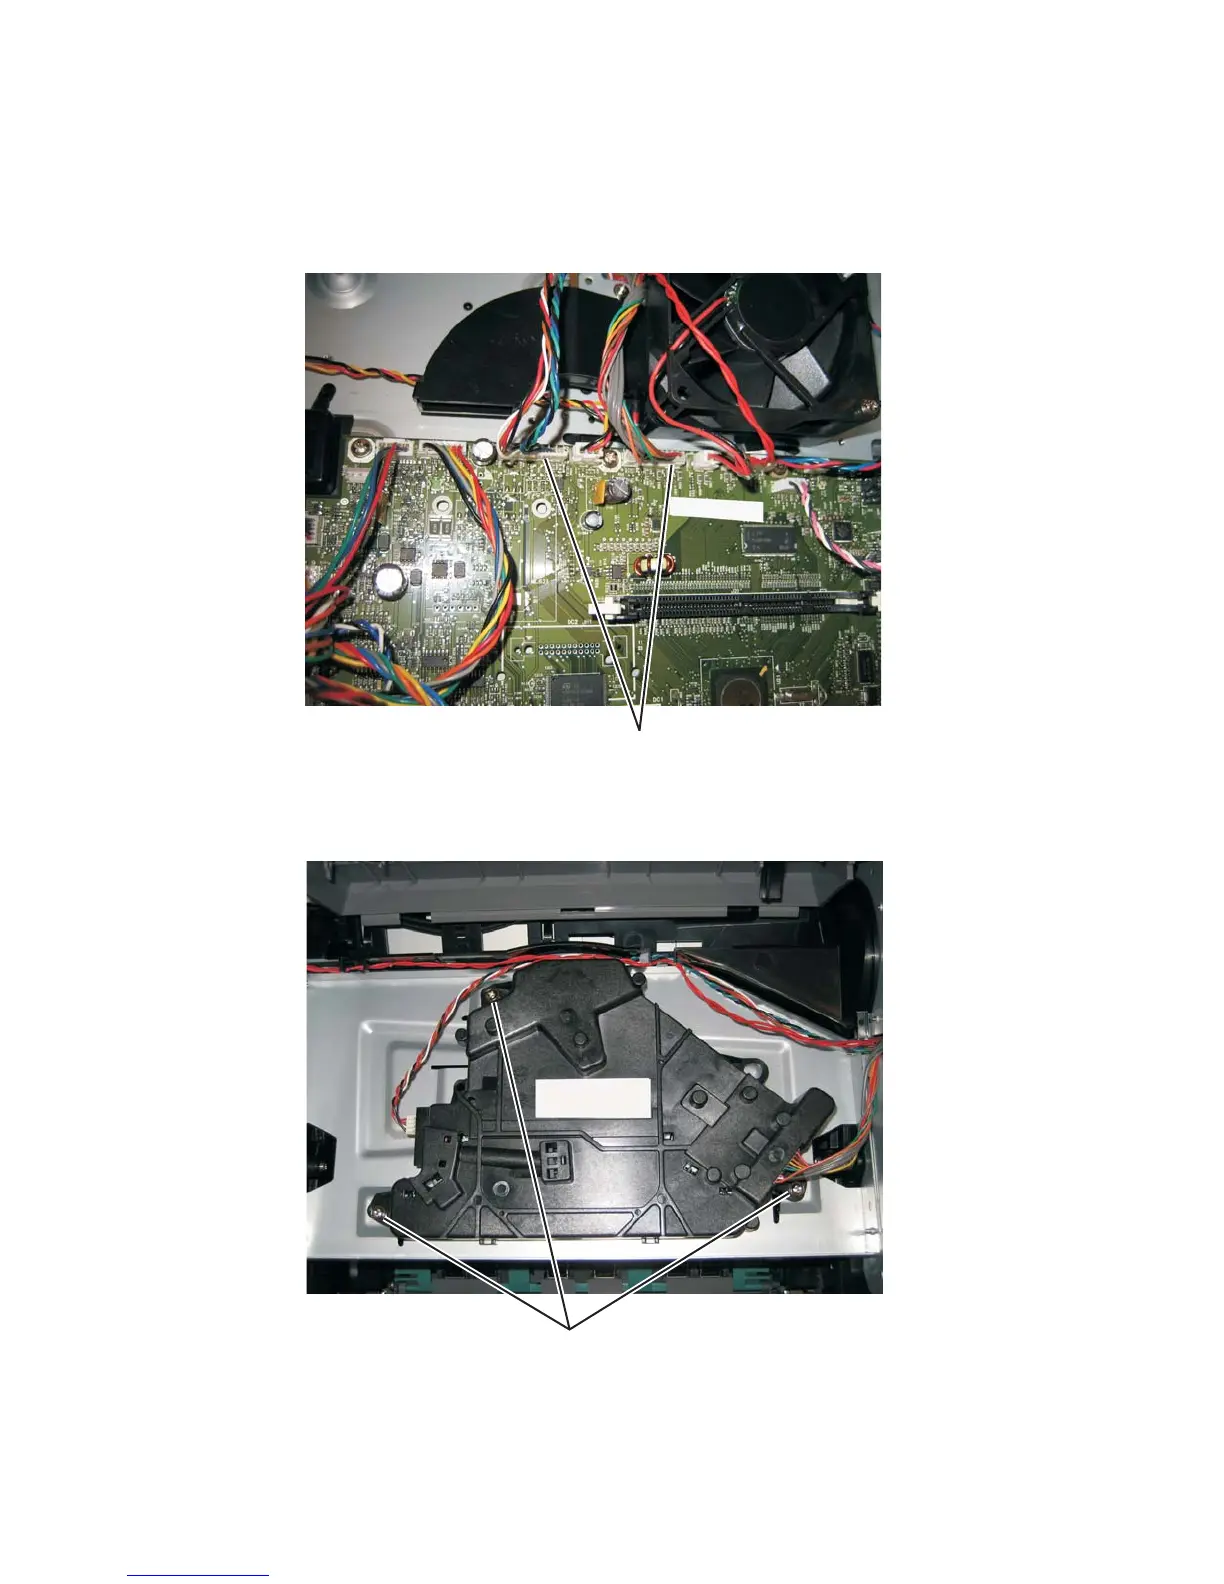
Printhead removal
1. Remove the top cover. See “Top cover assembly removal” on page 4-55.
2. Remove the right side cover. See “Right side cover assembly removal” on page 4-53
3. Disconnect the two cables (A), and unroute them back through the frame toward the printhead.
4. Remove the three screws (B).
Note: Use a pencil to mark the screw locations of the printhead on the metal frame. Align the new printhead
relative to the location of the old printhead. See “Adjustment procedures” on page 3-9.
5. Remove the printhead.