Repair information 4-21
4512-630
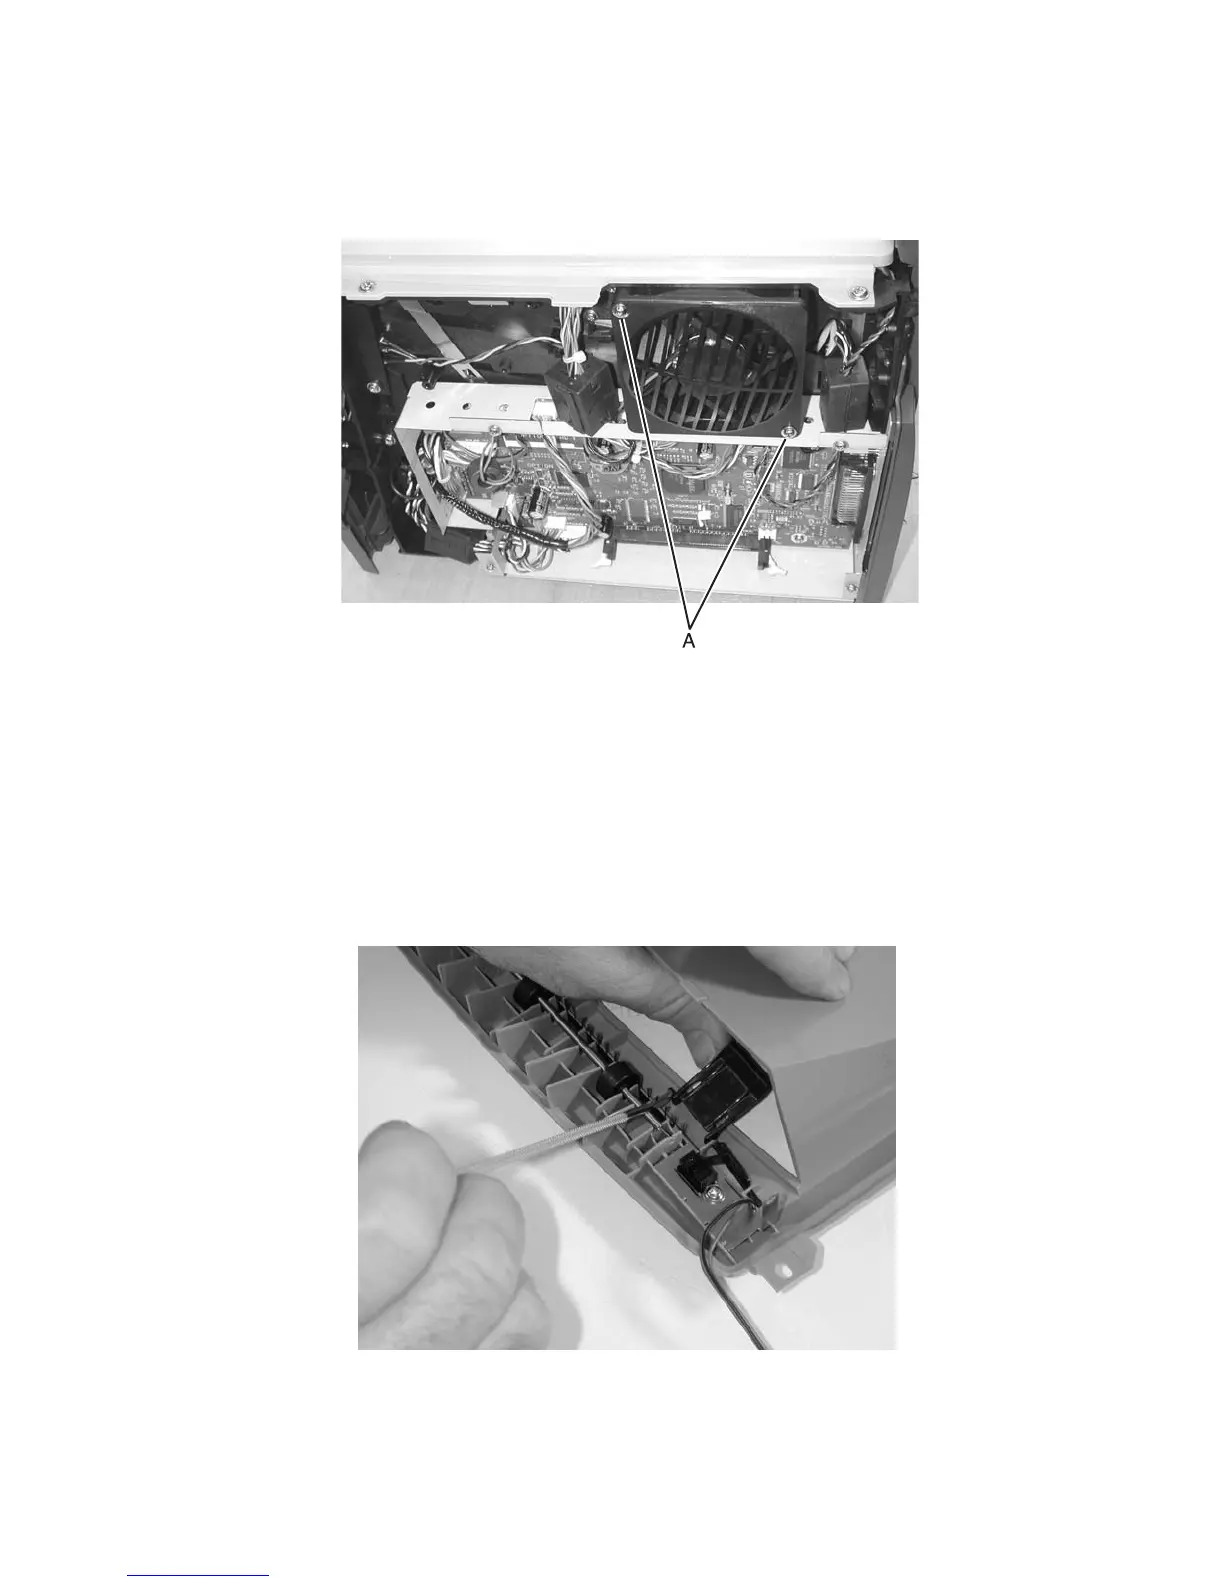
Fan removal
1.
Open the right side cover. See steps 2 through 4 of “Right side cover removal” on page 3-5.
2. Remove the two screws (A) holding the fan to the side frame.
3. Unplug the cable from J4 on the controller card.
Note: Be sure to remove the toroid before removing the cables. When re-installing, be sure to place the toroid
back over the same cables.
4. Remove the cable from its retainer.
5. Remove the fan.
Flag removal (top cover right)
1.
Remove the top cover. See “Top cover removal” on page 3-7.
2. Turn the top cover upside down.
3. While lifting the flag with your thumb to align the shaft flats with the holder, use the spring hook to slide the
flag out of place, and remove.
Note: The left flag was found to be not needed and has been removed from the FRU list.