Viewing Backed Up Video on PC/Mac16
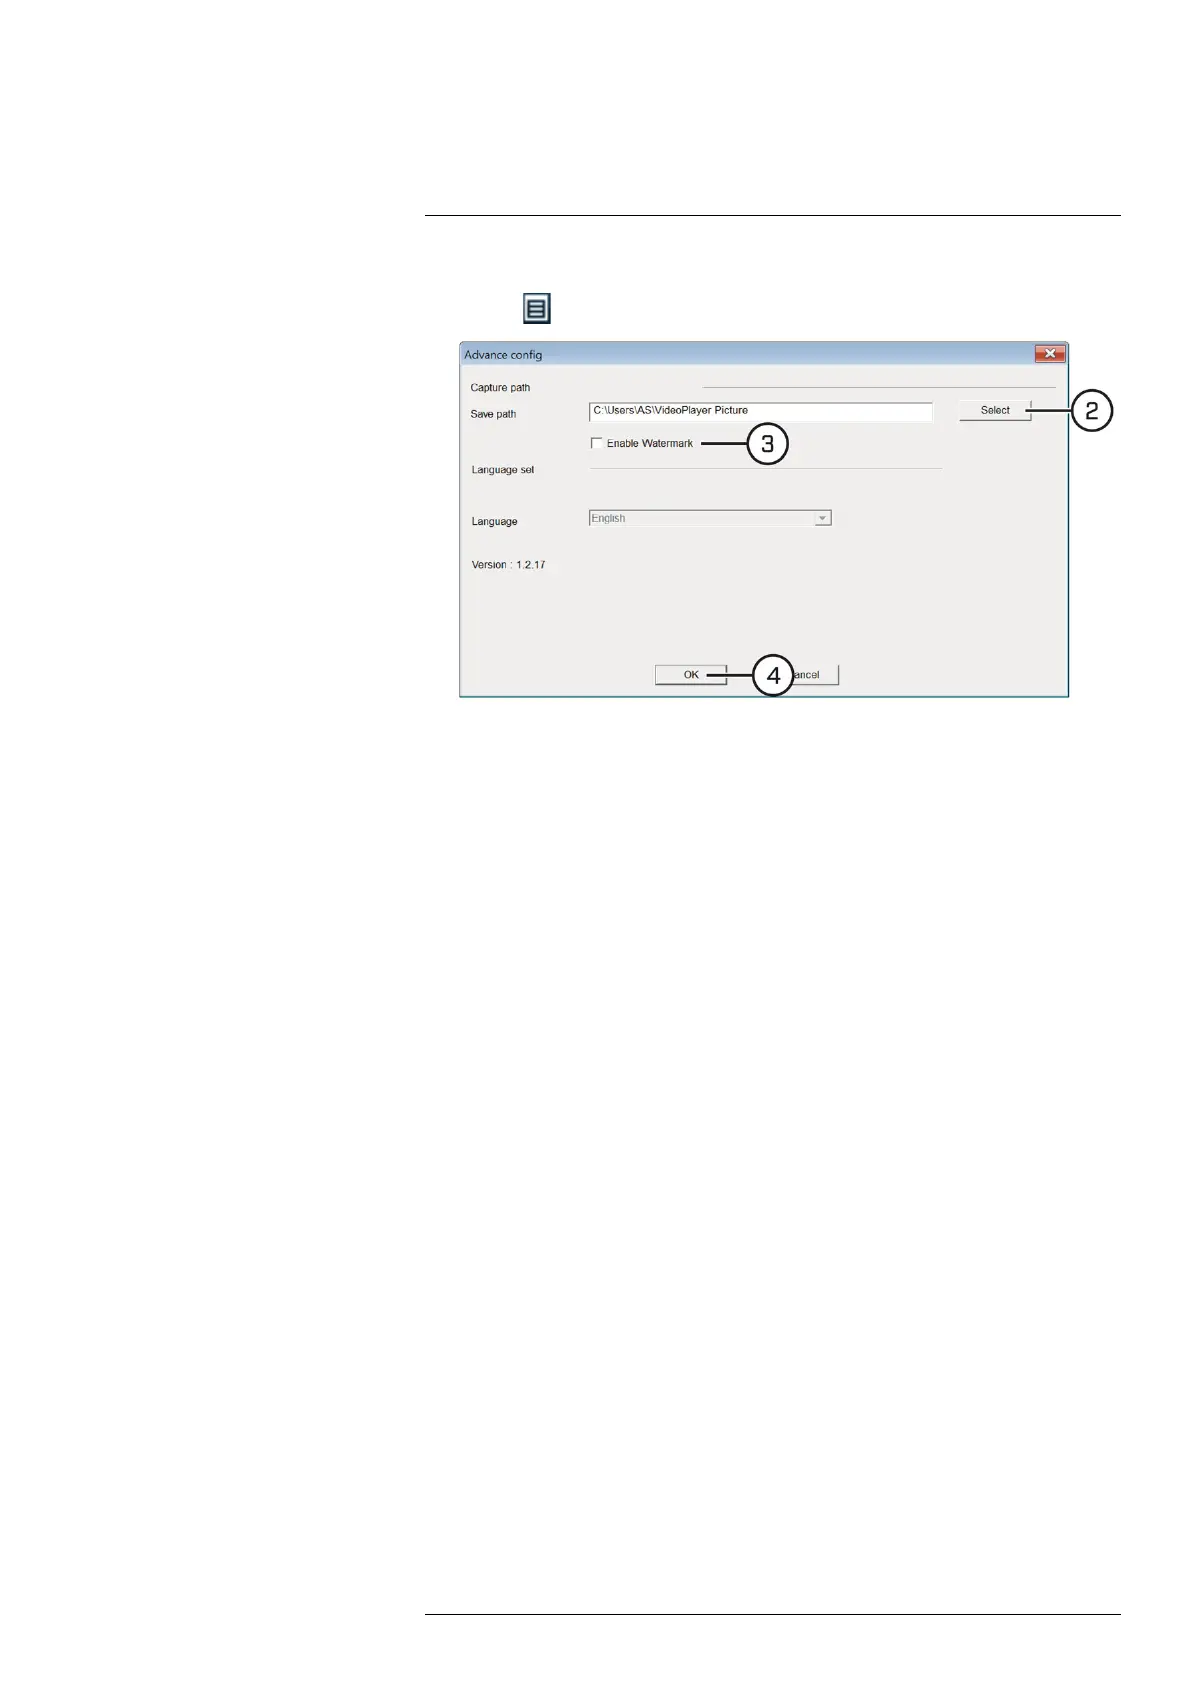
To use the Advanced Menu:
1. Click the
button.
2. Click Select to change the snapshot save folder. Then select the folder and click OK.
3. Check to enable the watermark.
4. Click OK to save changes.
#LX400115; r. 3.0/57178/57178; en-US 69