Making measurements - a tutorial Chapter 4
Mastersizer 2000 Page 4-15
5. This sample is an aqueous emulsion so it should be dispersed in water. Select
Water from the Dispersant name box.
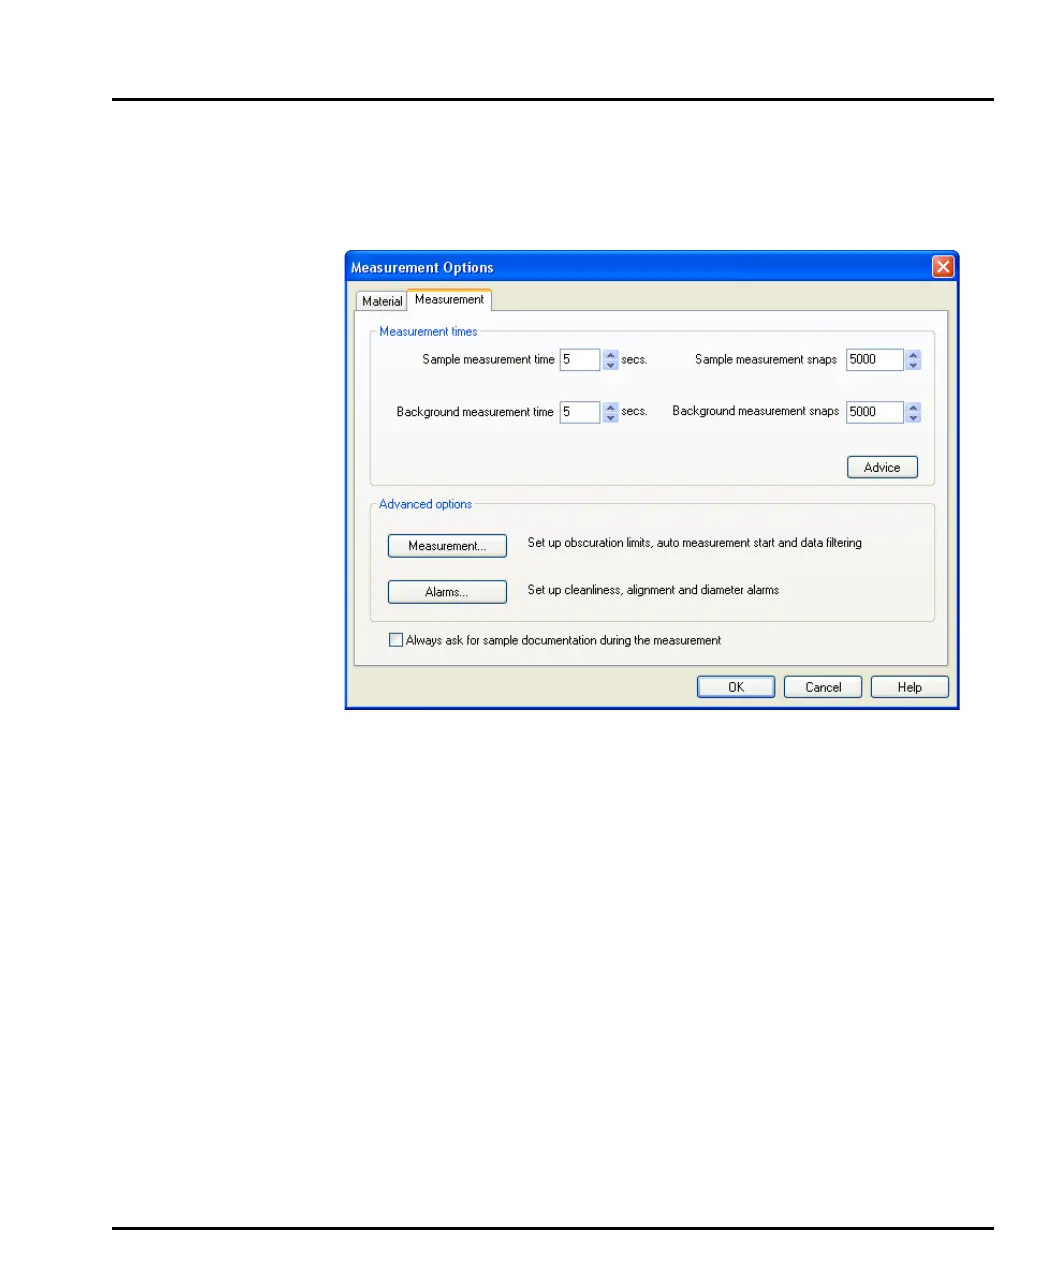
6. Select the Measurement tab (shown below). Change both the Sample meas-
urement time and Background measurement time boxes to 5 seconds.
7. Use the controls of the dispersion unit to set the pump, stirrer and ultrasonics
settings as appropriate (refer to the Hydro 2000MU manual).
8. Select OK. The status bar on the bottom left of the window always says what is
happening and what to do next.
9. Press the Next button to add the sample. The display will change. Add one
drop of the cream to the tank and wait for it to diffuse through the system. Add
enough drops to make the Laser Obscuration bar move into the green area
(try and achieve a mid value).
10. Once satisfied that enough sample has been added, press the Start button. The
sample is measured and the result (size distribution) calculated. The measure-
ment record is automatically saved to the records buffer.
11. At the end of the measurement a dialogue appears, asking if the user wants to
make another measurement. Select Finished measuring. The Measurement
Display disappears and the software returns to the main window.
12. The measurement is now complete. Click on the Records tab, select the
record and then select one of the report tabs to view the results in detail.
MAN0384-1.0 Mastersizer 2000.book Page 15 Tuesday, March 20, 2007 8:56 AM