21
DESKTOP PRINTER SERVICE MANUAL
5.
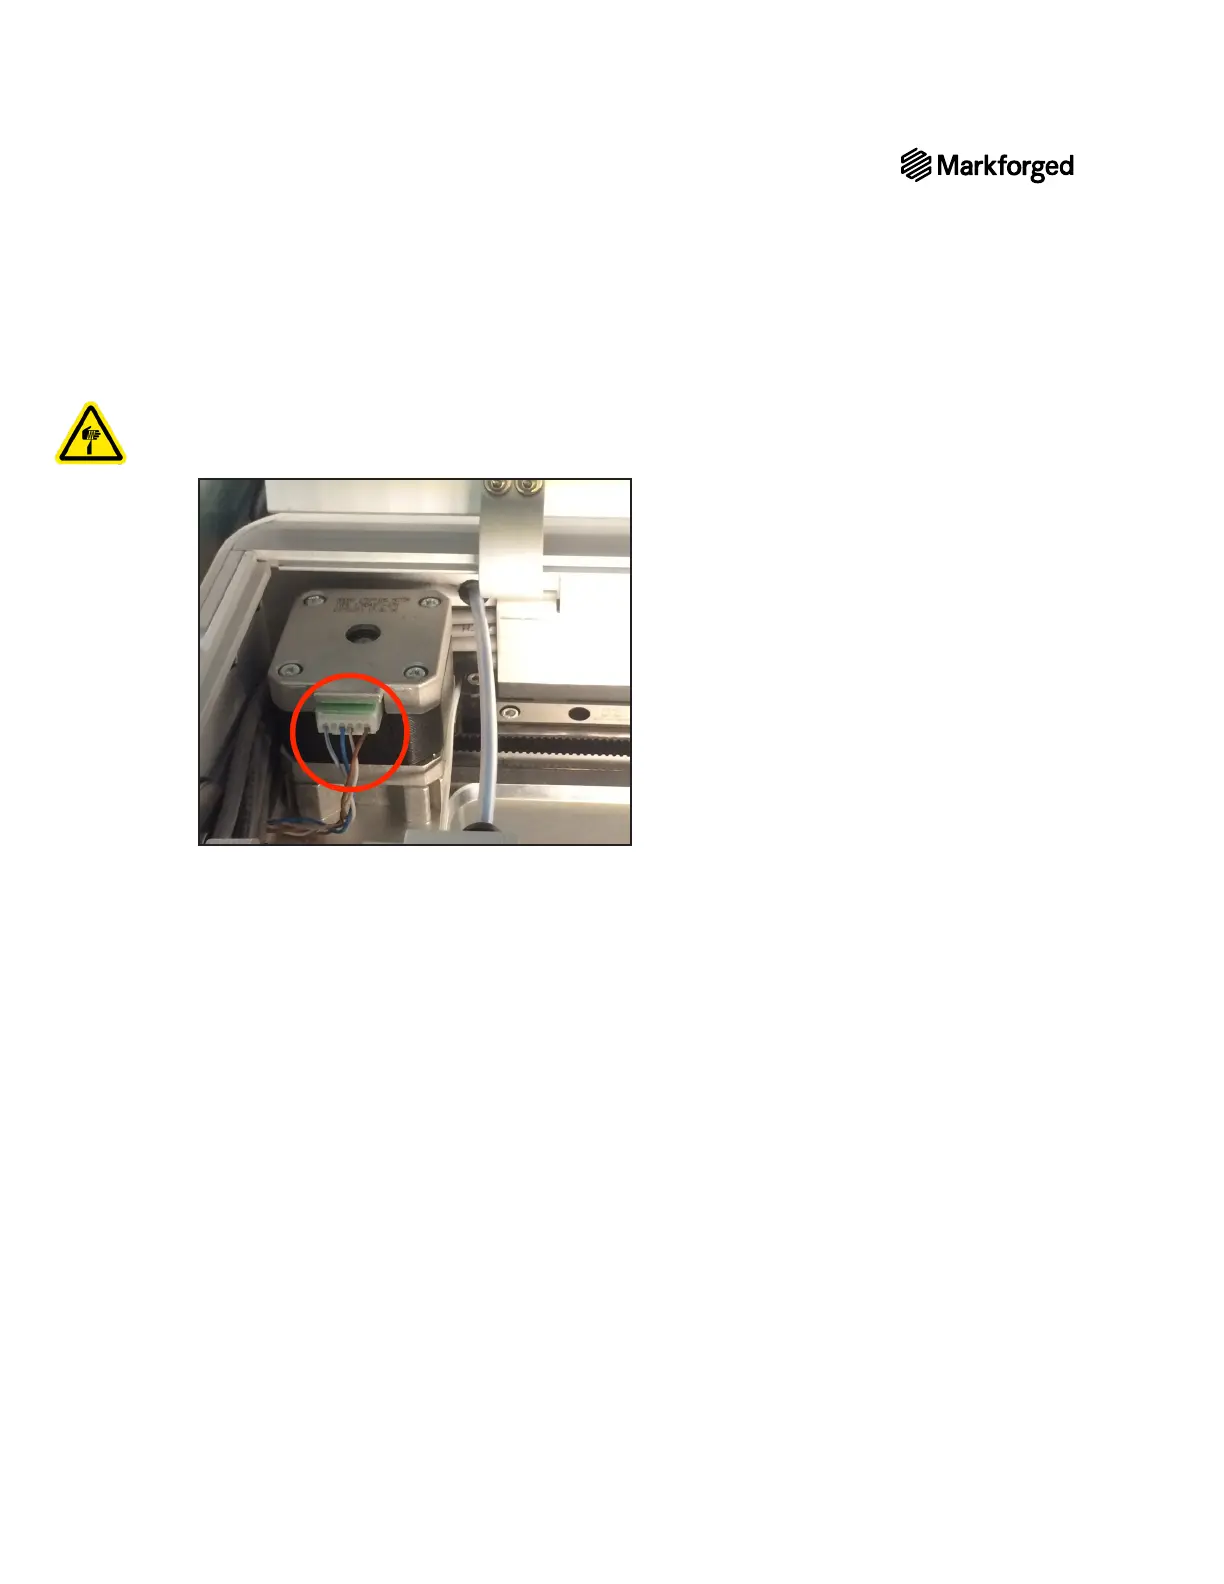
Note: You may need to use pliers to remove the 4-wire connector. Be careful not to let the base
of the extruder sever the wires.
6. Remove the XY stepper motor from your printer.
XY STEPPER MOTOR REPLACEMENT
1. Secure the belt around the pulley of the new XY stepper motor. Ensure that the belt is not twisted along
the rail and that the teeth of the belt mesh with the teeth on the pulley.
2.
3. Place the new XY stepper motor on the metal shim so that the shim and motor are aligned with the screw
holes in the printer case shelf.
4. Using the 2.5mm hex key, thread the four screws into the bottom of the printer case shelf and up into the
XY stepper motor.
5. Tighten each screw until it is completely secure.
6.
Adjusting Belt Tension in the User Guide.