DESKTOP PRINTER SERVICE MANUAL
32
PRINT VISOR REPLACEMENT
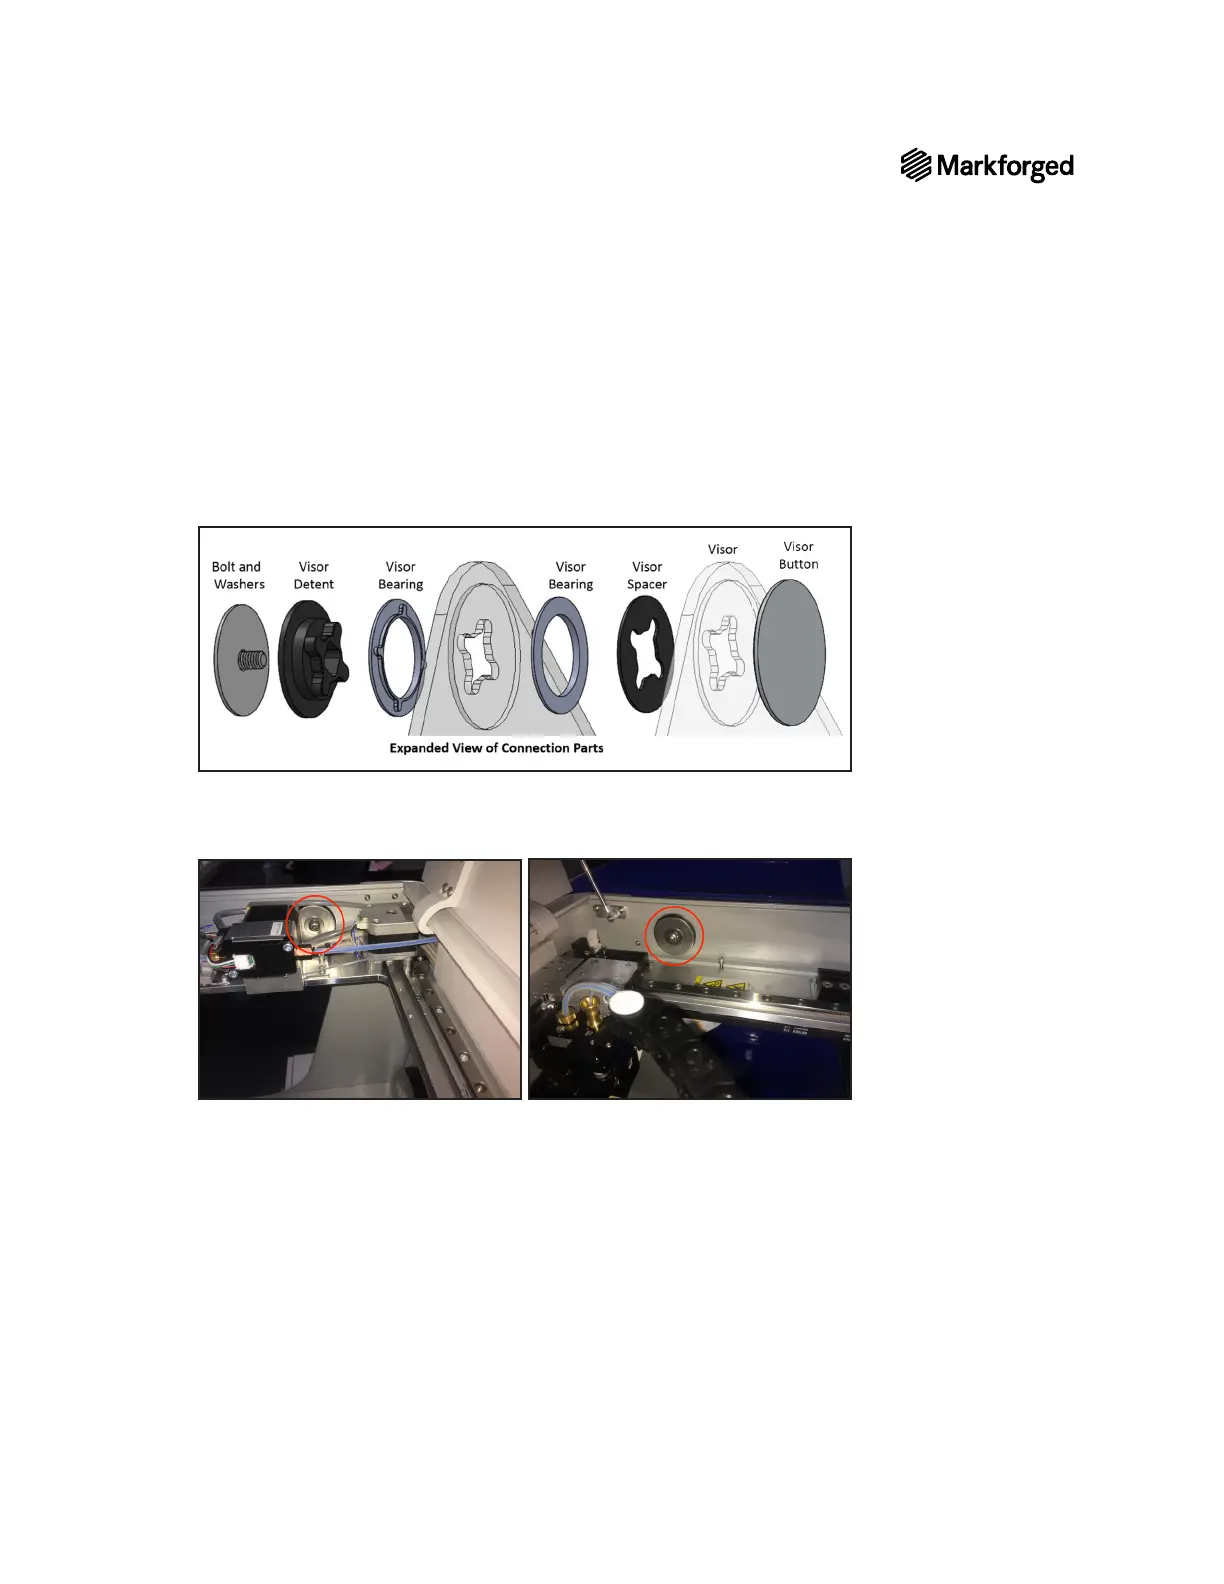
1. Slide the visor onto the printer, aligning the circular slots on both the visor and the printer.
2. Slide the spacers with the slots on the printer frame.
3. Insert and align all other connection parts according to the image below.
4. Reattach the visor caps on each side.
5. Use the 4mm hex key to fasten the bolts at each connection point on the visor.
Note: Tighten the bolts just enough to prevent the visor from closing under its own weight.