11
DESKTOP PRINTER SERVICE MANUAL
REPLACING THE PLASTIC EXTRUDER
Note: Take care not to discard any hardware you remove during this procedure, as you will need it
during the reinstallation.
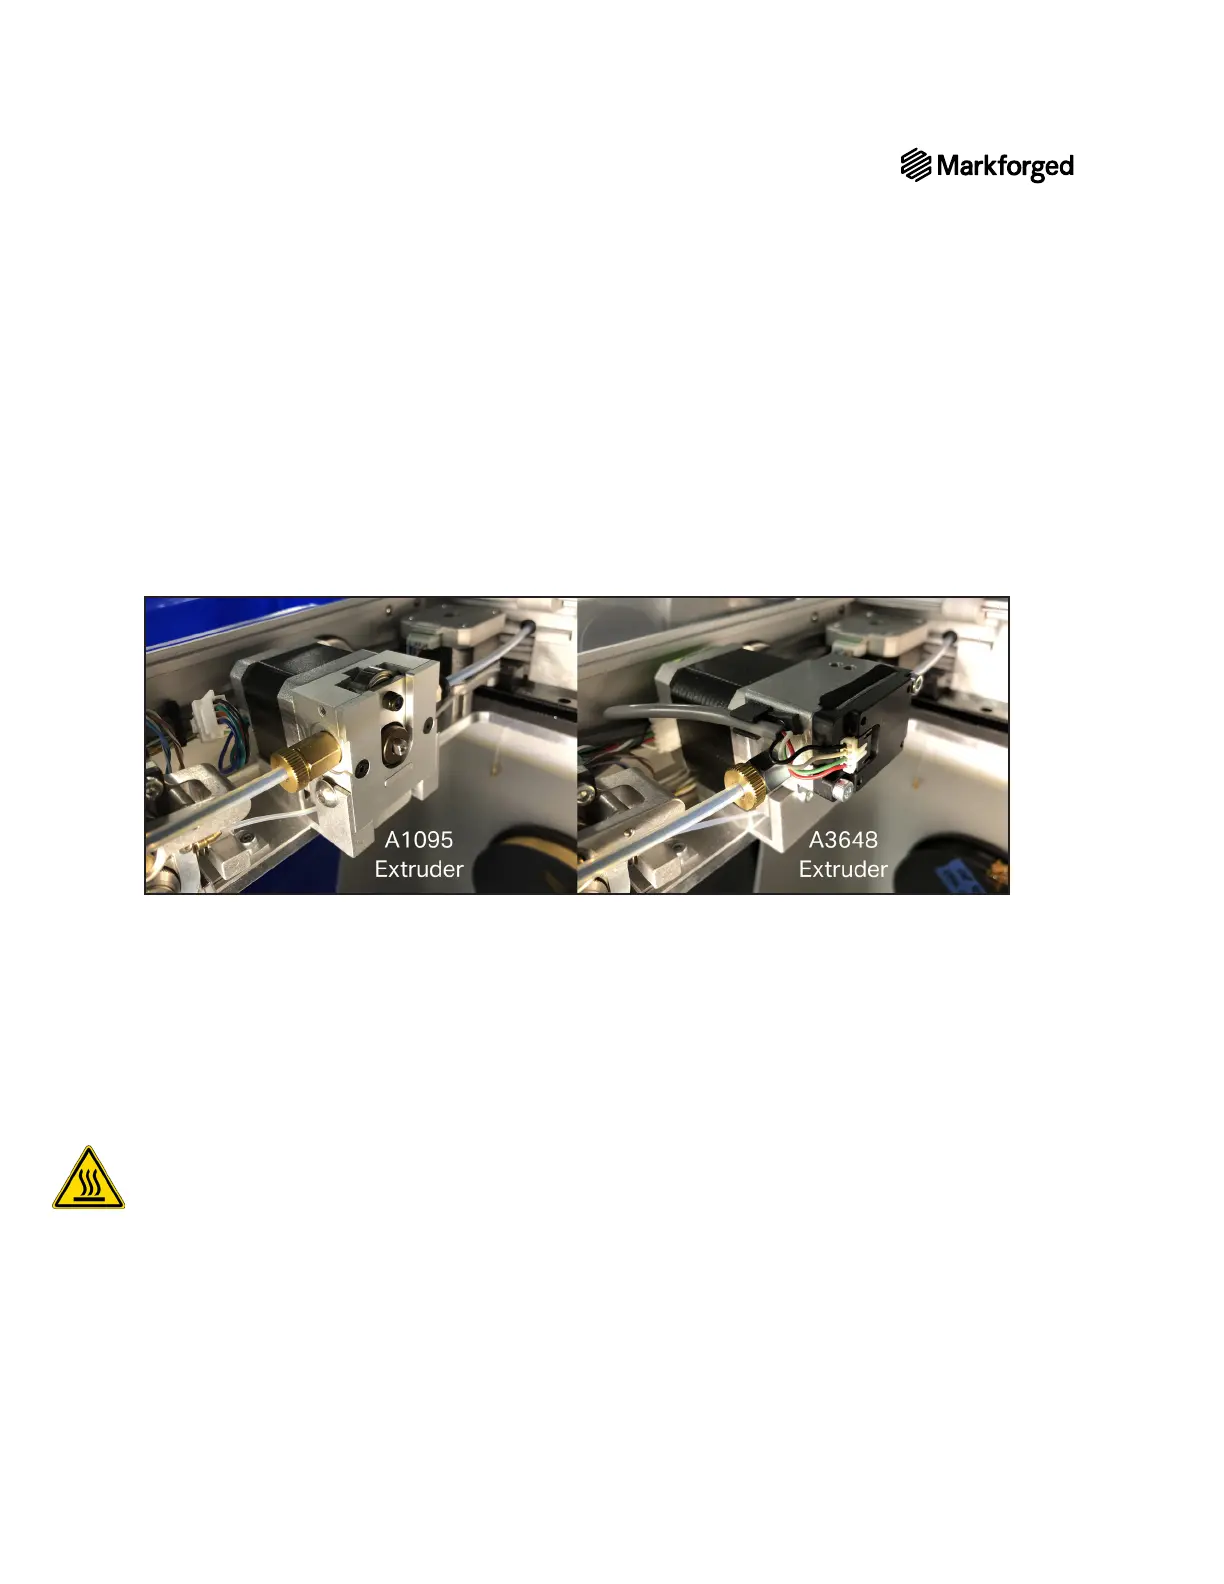
The procedure for replacing a plastic extruder depends on the model of the extruder currently installed in your
printer. See the image below to determine which procedure applies to you, then follow the instructions in the
corresponding subsection to replace your plastic extruder.
Tools
● 2mm hex key
● 2.5mm hex key
A1095 EXTRUDER REPLACEMENT
Remove A1095 extruder
1. Completely unload all print materials. For more information, see Unloading Plastic and Unloading Fiber,
if applicable, in the User Guide.
2. Cool the print head (Menu > Utilities > Manual Control > Temperature Control > Cool).
Note: The print head may take several minutes to completely cool.
3.