25
DESKTOP PRINTER SERVICE MANUAL
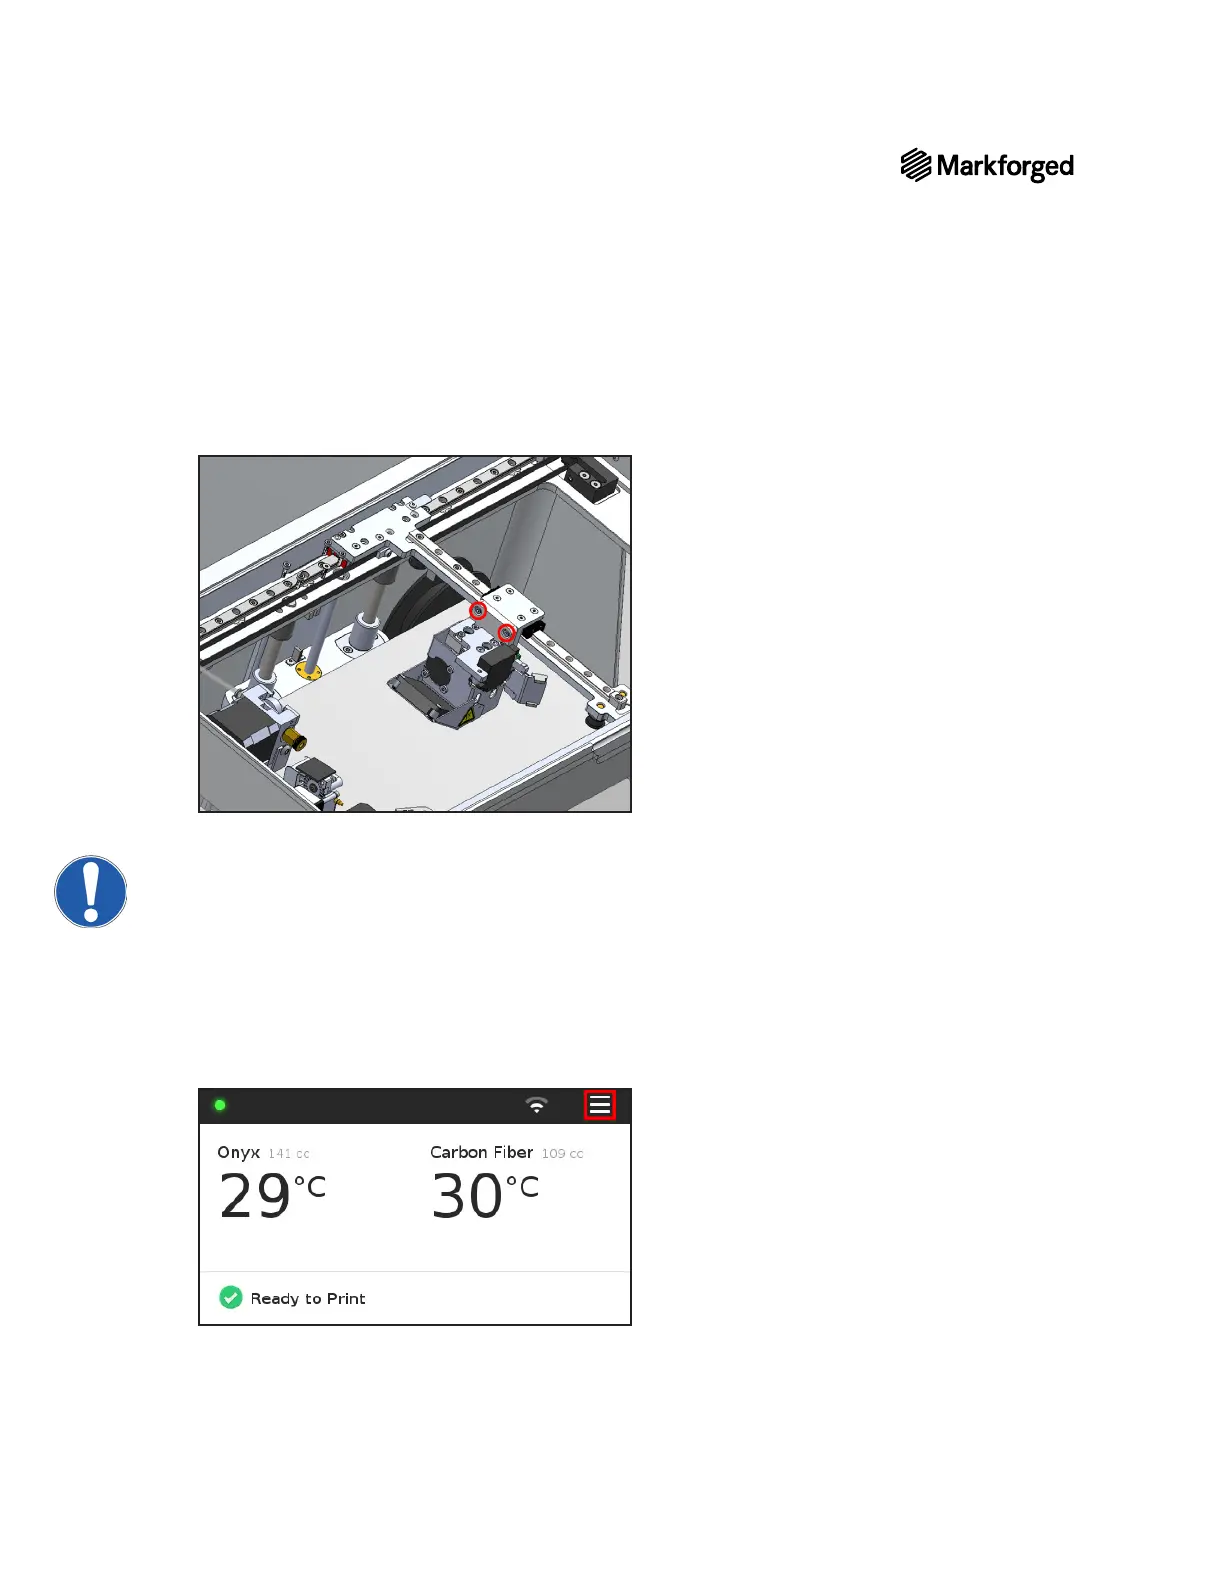
2. While supporting the print head with your hand, use the 2.5mm hex key to tighten the two screws that
3. Reinsert the ribbon cable into its connector until both tabs snap into place, then slide the cable clip back
onto its bracket.
Note:Be careful not to break the cable, clip, or board. Ensure that the cable is secure.The clip
will keep the cable from dragging on parts or becoming damaged.
4. Reinstall both Bowden tubes and tighten the respective thumbscrews into the print head.
5. Power on your printer.
6. Reload print material into your printer. For more information, see Loading Plastic and Loading Fiber, if
applicable, in the User Guide.
7. Plug the provided USB drive (see Tools, above) into your printer.
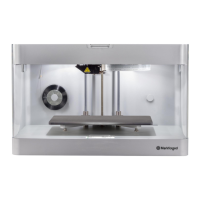
8. Select the menu icon from the dashboard.