55
DESKTOP PRINTER SERVICE MANUAL
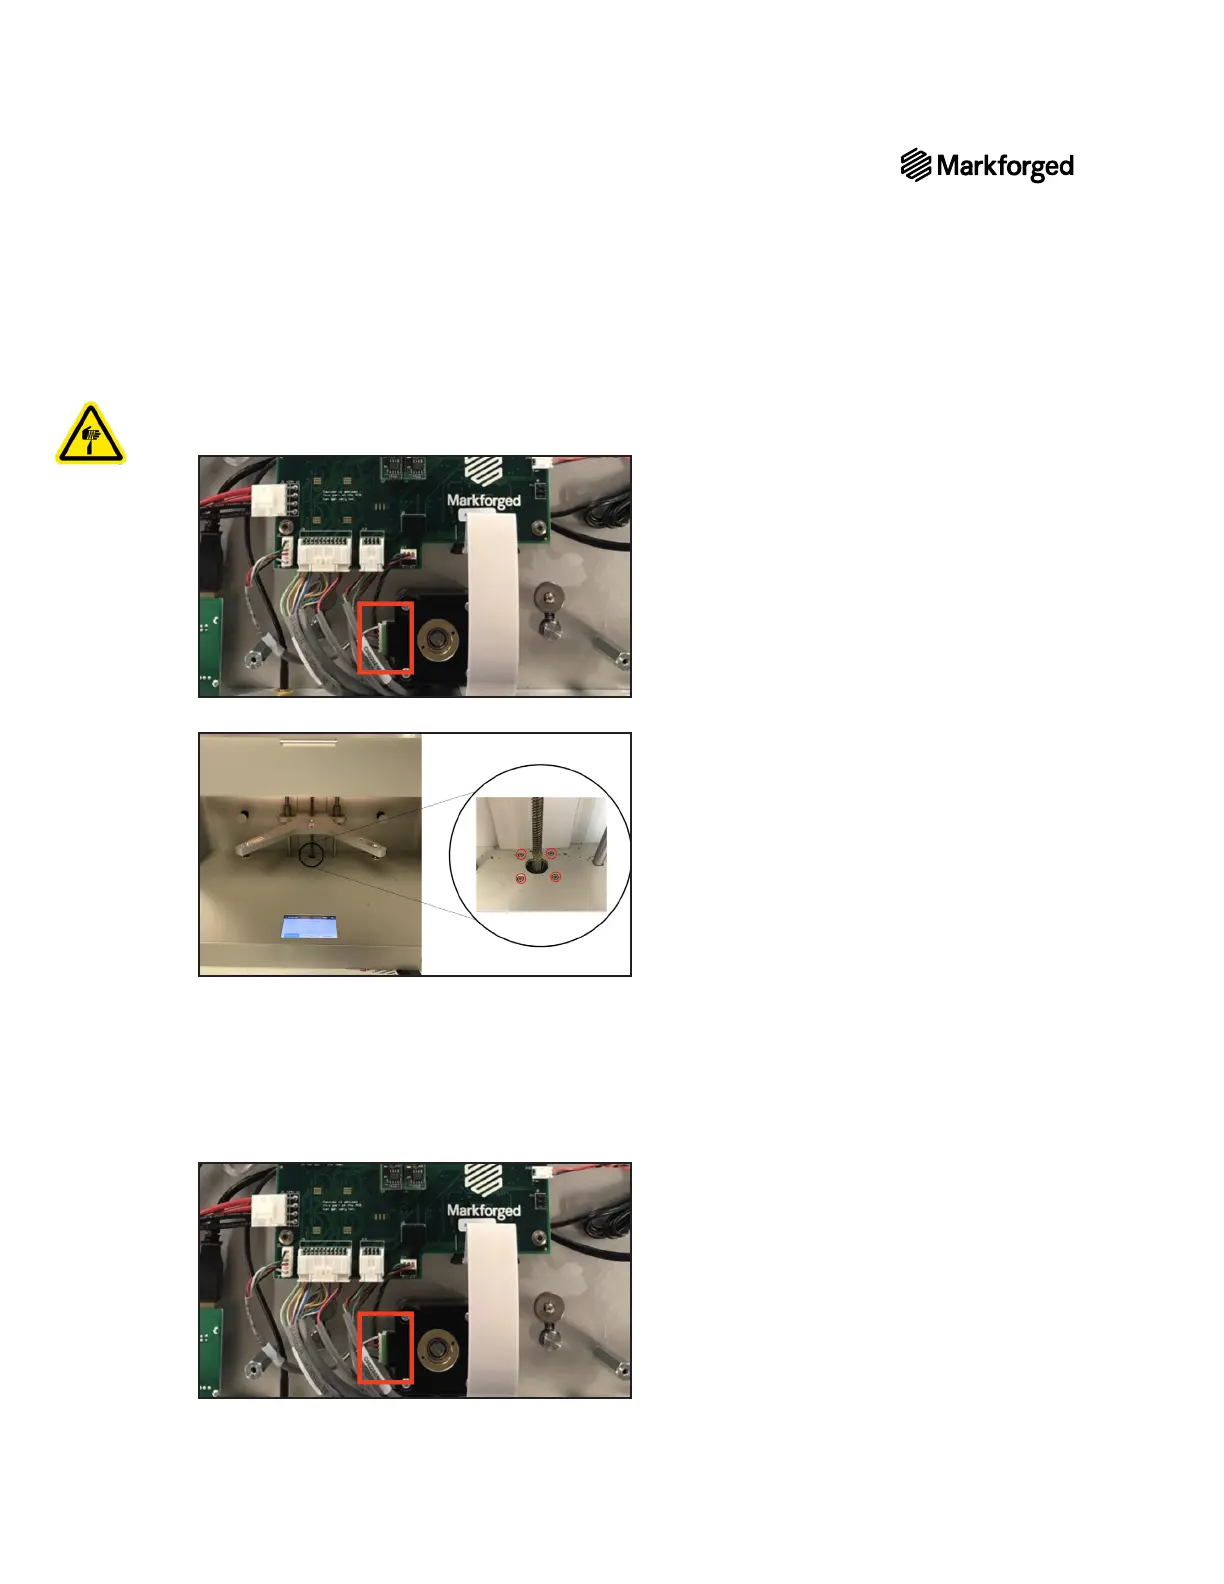
9.
Note: You may need to use pliers to remove the connector. Be careful not to sever the wires.
10. Using the 2.5mm hex key, remove and set aside the four bolts in the bottom of the printer’s interior.
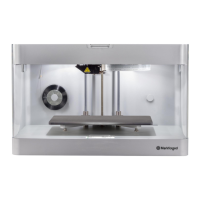
11. Turn the lead screw counterclockwise to remove it from the print stage, then pull the stepper motor and
lead screw out of the bottom of the printer.
Note: You may want to wear disposable gloves when handling the lead screw, as it is coated in
grease.
12. Feed the new lead screw assembly through the opening in the bottom of the printer and tighten it until the
stepper motor rests against the printer chassis.
13.