M
AVTMTTR310 Rev 8 May 2016
70
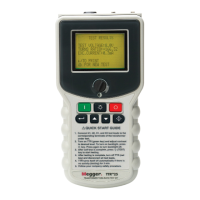
QUICK TEST SETUP Screen (Figure 6-2)
If 1 (QUICK TEST SETUP) is selected on the main menu, the QUICK TEST
SETUP screen (Figure 6-2) appears.
QUICK TEST SETUP
1 TRANSFORMER ID: nnnnnnnnnnnn
2 TRANSFORMER TYPE: DIAG 01 1ph0
3 START TEST
4 MAIN MENU
ENTER SELECTION FROM KEYPAD
Figure 6-2. Quick Test Setup Screen
1 TRANSFORMER ID: This selection allows you to enter up to a 12-character
alphanumeric identification of a transformer. Skip this
step if you do not want to enter this information. When
selected, the screen appears the same as Figure 6-2
except for a message at bottom of screen: ENTER UP
TO 12 CHARACTER ID. USE * TO SELECT
LETTER. A cursor will blink on the line next to
TRANSFORMER ID.
2 TRANSFORMER
TYPE:
This selection is used to enter the diagram number
(vector group) of the transformer to be tested. This
diagram number must be entered for testing any
transformer windings (see selections 7, 8, 9 on the Main
Menu screen). When 2 (TRANSFORMER TYPE) is
selected, the screen appears the same as Figure 6.2
except for message at bottom of screen: ENTER
TRANSFORMER DIAGRAM NUMBER. REFER TO
TABLE ON INSTRUCTION CARD. Cursor will blink
on the line next to TRANSFORMER TYPE (in place of
“DIAG 01 1ph0”).
3 START TEST: This selection initiates testing of a transformer. See
Figure 6-3 for the next screen displayed (Initial Quick
Test Result Screen).
4 MAIN MENU: This selection returns you to the main menu screen,
Figure 6-1.