Installation
Rev 2.2
45Mellanox Technologies
frame’s left part, follow the same instructions, while replacing “right” with “left”, and
vice versa.
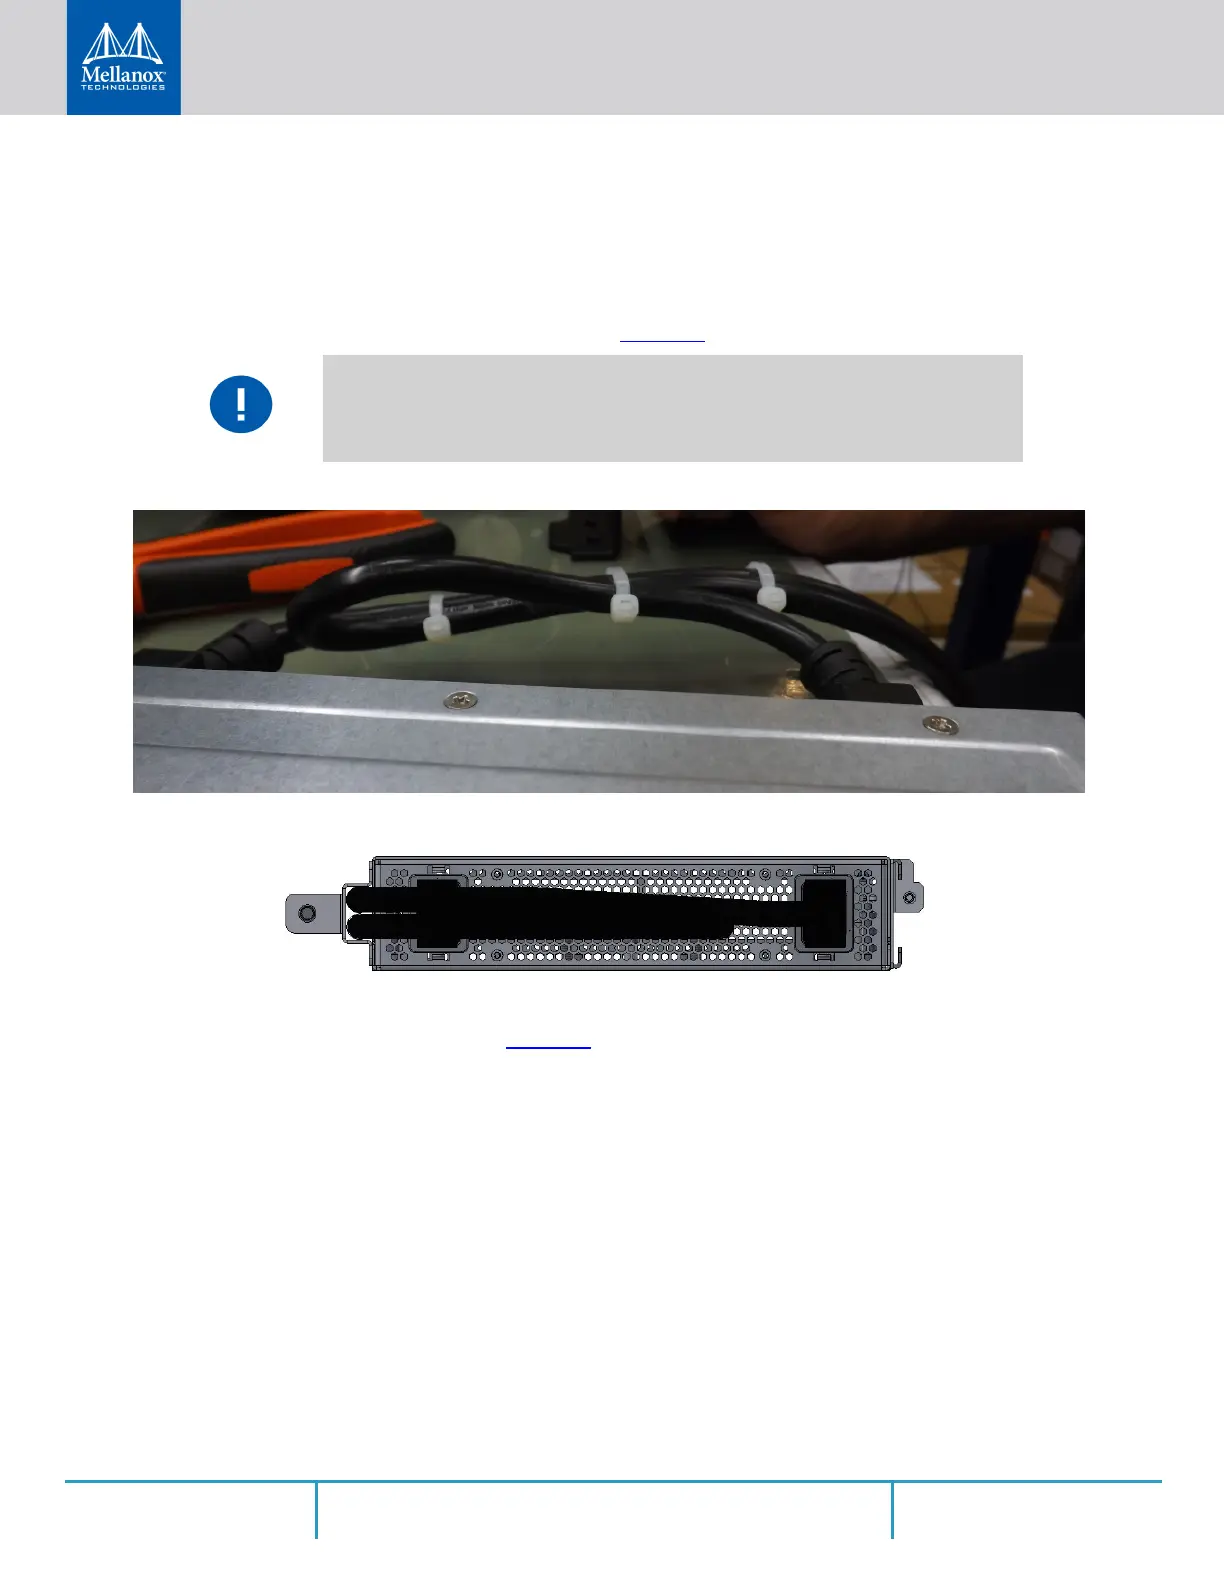
Step 1. Insert the SE (single ended) plugs to the dedicated inlets in the system’s rear panel.
Step 2. Carefully position the SE (single ended) cables one on top of the other, and use three cable-
ties to pair them together, as shown in
Figure 35.
Figure 35: Coupling the Cables with Cable-ties
Figure 36: Coupled Cables - Rear View
Step 3. Place the coupled cables in the designated area within the right flat blade (the blade with 7
screw holes) as shown in
Figure 37.
While pairing the cables, make sure the cables are paired in symmetry to the switch, in
order to avoid damaging the cables.
 Loading...