12.09.05 rev 1.0
18
19. Automatic Timer Module continued
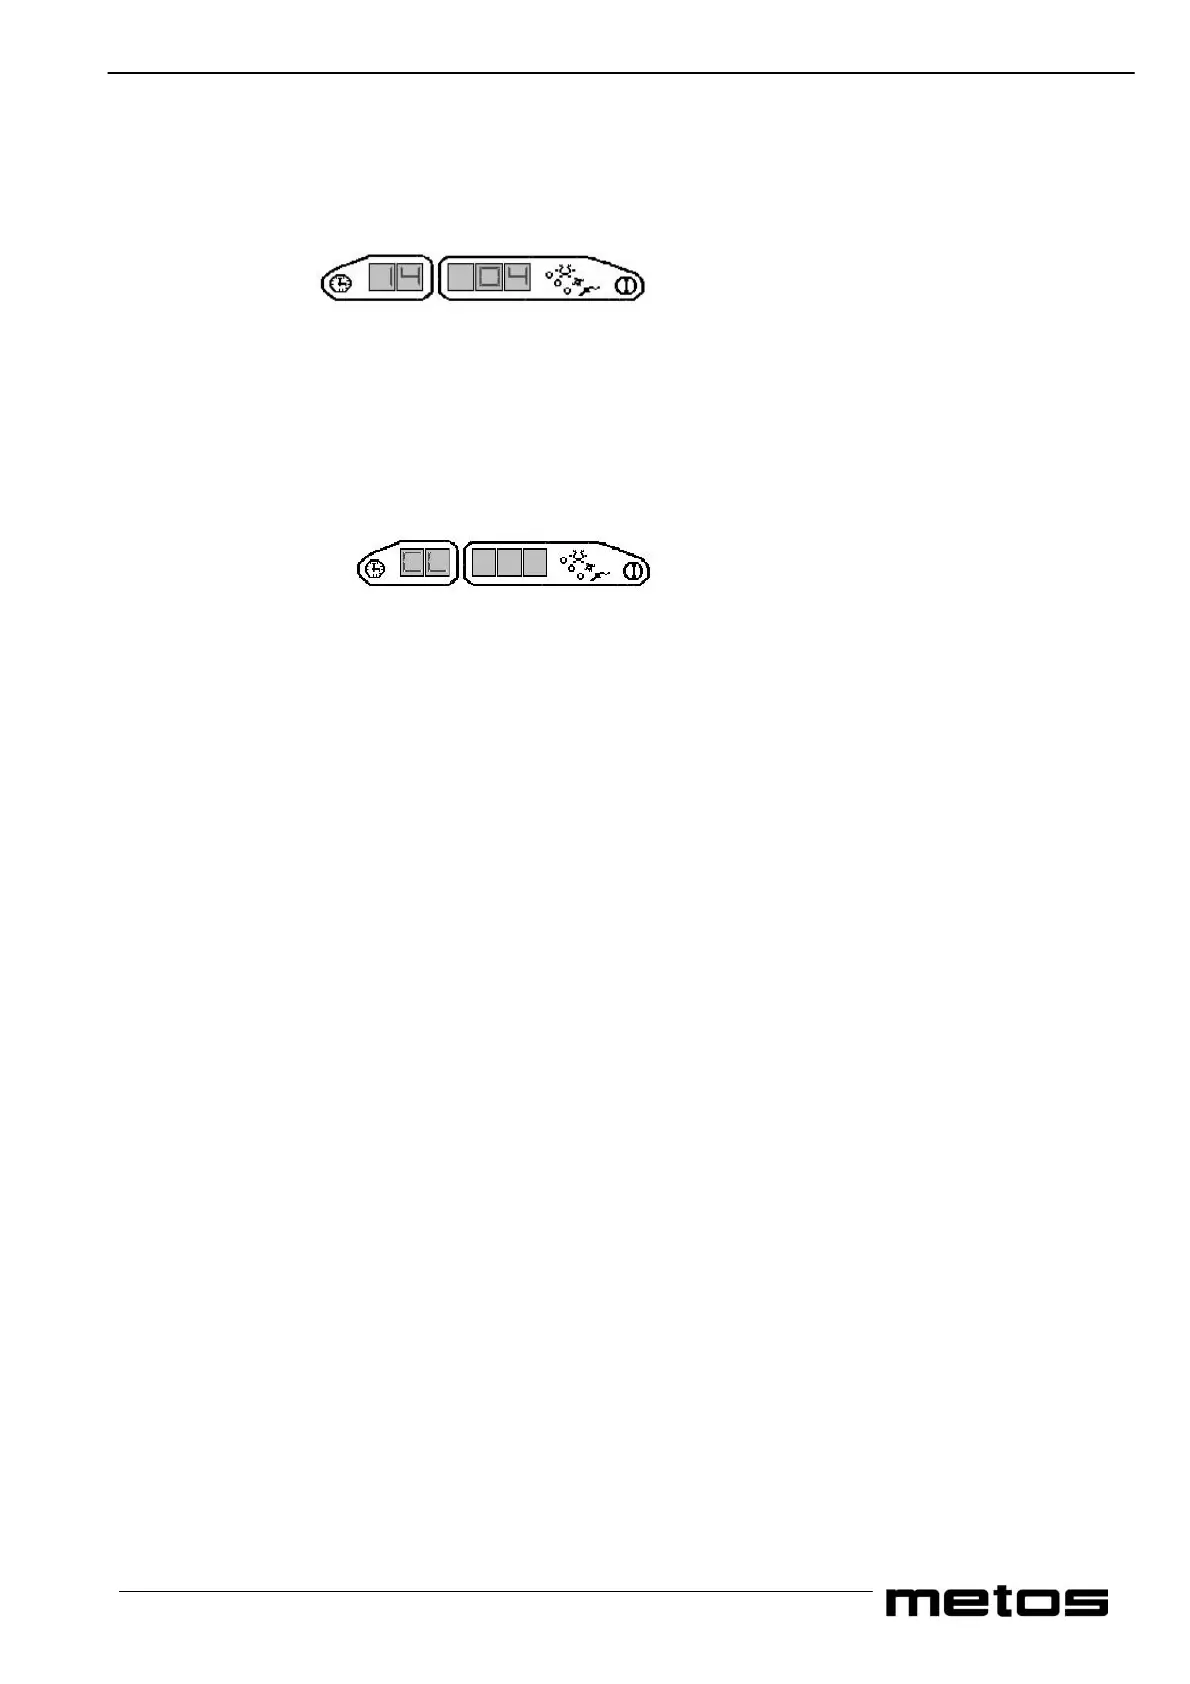
5. Using cycle 1 and cycle 2 (decrease and increase values) select the value of the hostess options for the start of the 1st
meal of the weekday i.e. cold light and refrigeration“04”. Press cycle 3 to confirm the setting and to advance to the
next sub group.
6. Continue programming all the functions to your requirements, (refer to programming data table) until you reach the
actual date and time settings. It is important to note that the actual time (group 7.8 and 7.9) must be updated every
time programming takes place as the clock is stopped when the program is accessed.
7. Press Cycle 3 to advance to group 8, this is the correction factor for the speed of the clock and should only be altered if
the clock is gaining or loosing time.
8. Press Cycle 3. Display 1 will now display “CL”
9. If any errors have been made or you wish to revise the data, you can re-access the timer program simply by pressing
Cycle 3 and continue the procedure from point 2. After any revision has been made ensure you carry out the instructions
in point 8.
Press the OFF pad and the new data will be stored into the memory.
Press the ON pad and the unit will now function as programmed. The display will now scroll between the actual temperatures
of both the oven side and the cold side followed by the actual time, (top segment of the next display flashes intermittently
when the actual time is displayed) followed by the start time of the next cycle. The next start cycle is indicated by the cycle
LED which stays on at the same time as the cycle start time.
When making any changes to the program it is important to note that you must continue to the end of the program until “CL”
is displayed. And that you press the OFF pad, otherwise the new data will not be stored and you may corrupt the unit and LO
appears on the display 1 accompanied by an audible alarm.
Important to note if the if LO is on the display then you must follow the instructions under the heading ‘Programming
a New Eprom and LO’.