CDP301 Dew-Point Tester User’s Manual
40 97585 Issue 1, June 2020
MAINTENANCE
5.3.4 Removing Residue
• Coat a cotton bud in IPA and shake o any excess.
• Use the cotton bud to clean the mirror surface from the centre to the
outside with a rotating motion.
• Allow the surface to dry and check for any remaining residue using the
eyeglass and torch.
• Repeat cleaning until all residue has been removed. The mirror should
now be a uniform colour.
• Repeat the cleaning process for the camera window surface.
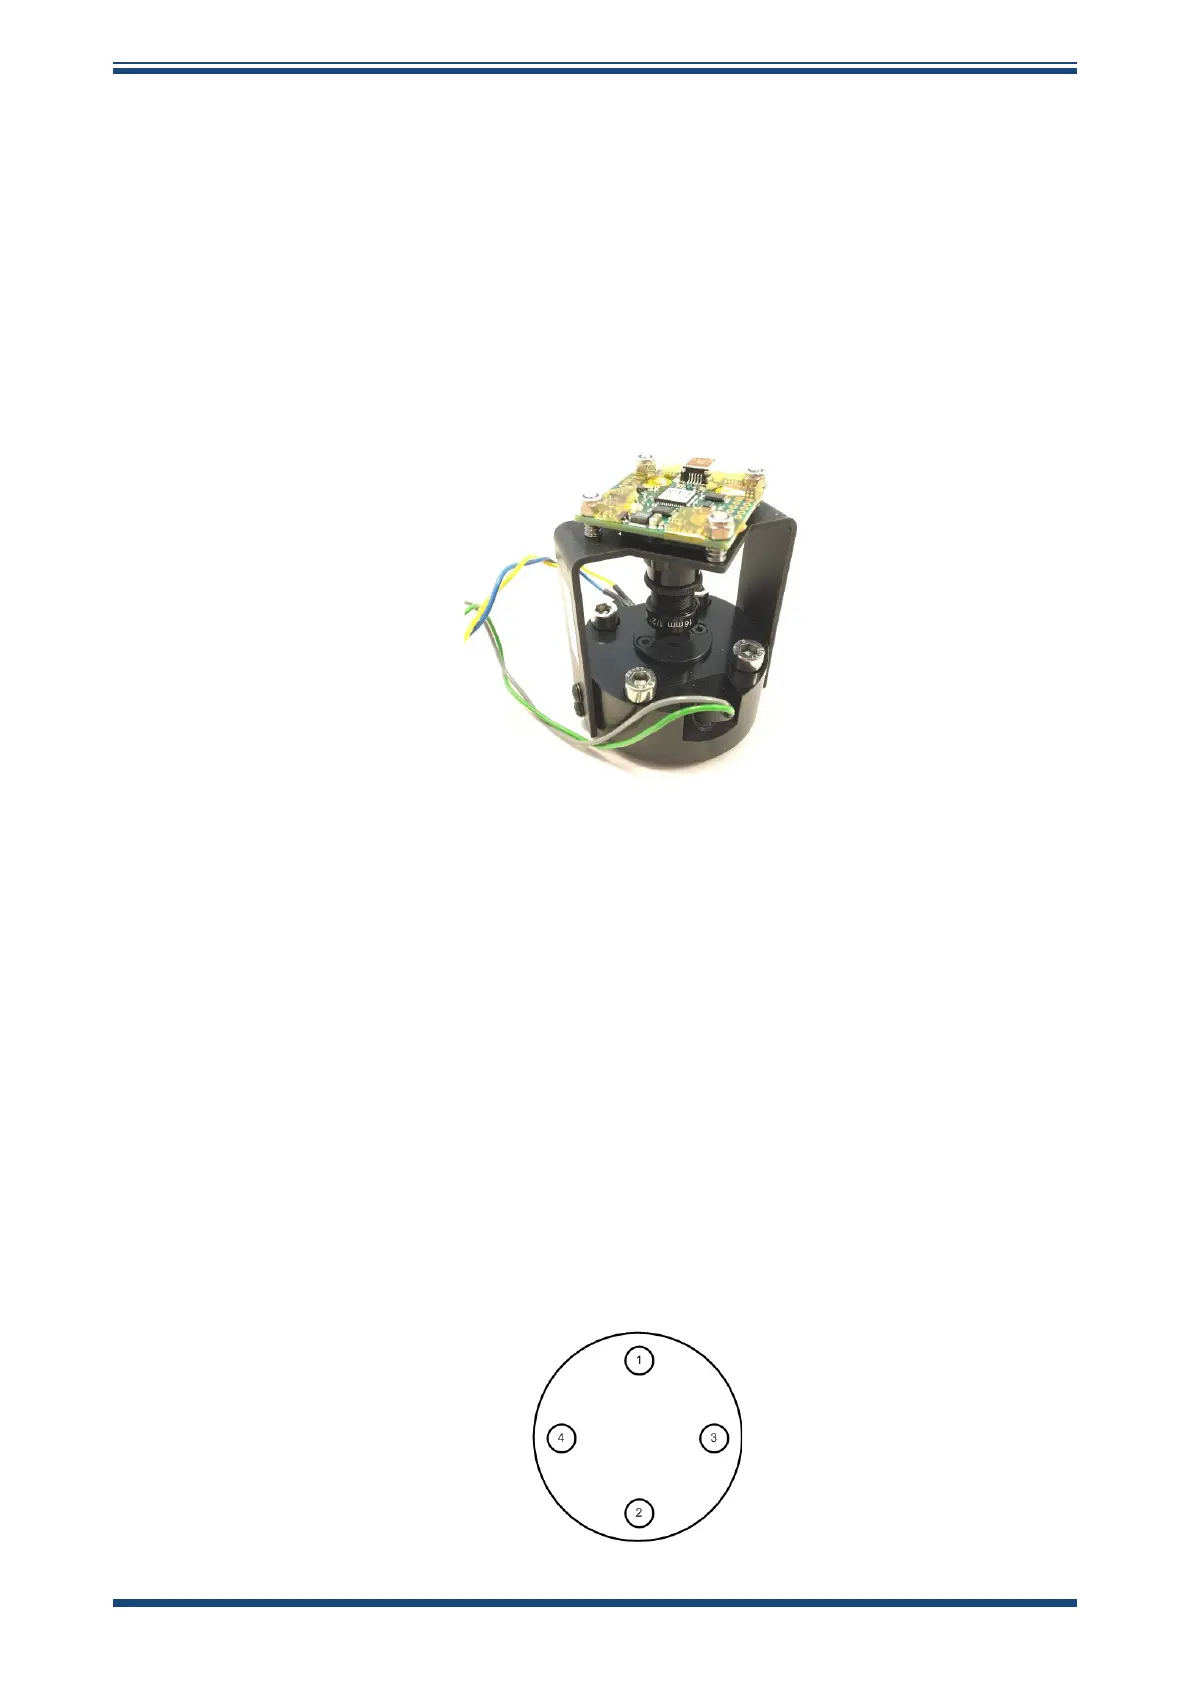
Figure 33
Camera Assembly
5.3.5 Reassemble Sample Cell
• Replace the camera assembly onto the cell base assembly.
• Tighten the camera assembly screws in a star pattern (see Figure 34,
Screw Tightening Order).
• Initially tighten the screws to the point where the camera assembly
starts to compress the sample cell O-ring.
• Tighten the screws in ¼-turn steps, progressing around the star
pattern until all screws are fully tightened.
• Carefully reattach the camera USB cable.
• Using the hinge mechanism, carefully replace the display and secure
using the captive screw.
• Replace and secure the CDP301 lid.
Figure 34
Screw Tightening Order