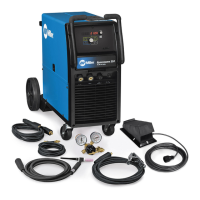
. A complete Parts List is available at www.MillerWelds.com
OM-261726 Page 33
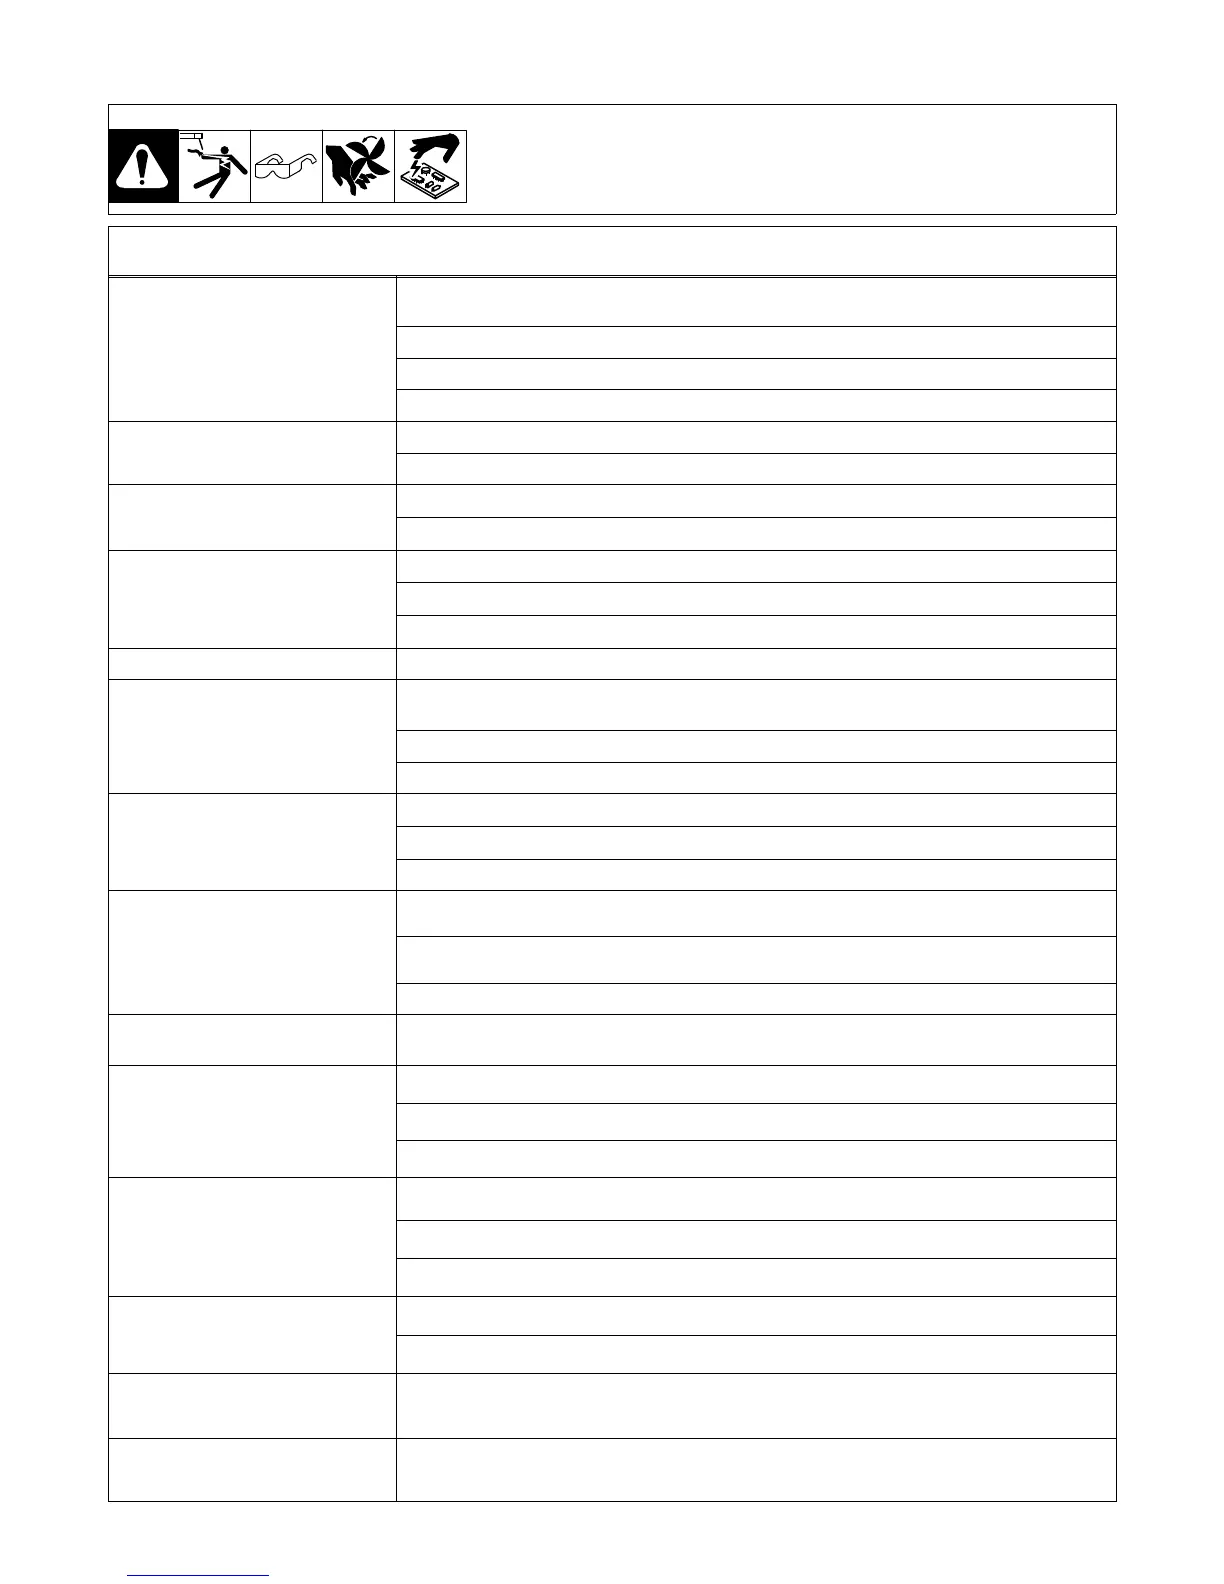
8-4. Troubleshooting
. The remedies listed below are recommendations only. If these remedies do not fix the
trouble with your unit, have a Factory Authorized Service Agent check unit.
There are no user serviceable parts inside unit.
Trouble Remedy
No weld output; unit completely
inoperative.
Place machine power switch in On position (see Section 6-1).
Place line disconnect switch in On position (see Section 5-11).
Check and replace line fuse(s), if necessary (see Section 5-11).
Check for proper input power connections (see Section 5-11).
No weld output; unit on. Check, repair, or replace remote control.
Have Factory Authorized Service Agent check unit.
Unit provides only maximum or
minimum weld output.
Make sure Material Amperage control is in proper position (see Section 6-1).
Have Factory Authorized Service Agent check unit.
Erratic or improper weld output.
Lay weld cables out straight, do not leave weld cables coiled.
Check position of Process Selector switch (see Section Figure 6-1).
Check position of Amperage control (see Section 6-1).
No control of weld output. Make sure Material Amperage control is in proper position (see Section 6-1).
Lack of high frequency; difficulty in
starting GTAW arc.
Select proper size tungsten (see Section 11-1).
Be sure torch cable is not close to any grounded metal.
Check cables and torch for cracked insulation or bad connections. Repair or replace.
Wandering arc − poor control of
direction of arc.
Reduce gas flow rate (see Section 5-3).
Select proper size tungsten (see Section 11-1).
Properly prepare tungsten (see Section 11).
Tungsten electrode oxidizing and not
remaining bright after conclusion of
weld.
Shield weld zone from drafts.
Check and tighten all gas fittings.
Properly prepare tungsten (see Section 11).
Fan not operating. Unit equipped with Fan-On-Demandt. Fans run only when necessary. Unit equipped with circuitry to
protect against overheating.
No weld output; fan does not run. Place line disconnect switch in On position (see Section 5-11).
Check and replace line fuse(s), if necessary, or reset circuit breaker (see Section 5-11).
Check for proper input power connections (see Section 5-10 or 5-11).
No weld output; fan on.
Check connection to remote control receptacle (see Section 5-2).
Check remote control (see remote control Owner’s Manual).
Unit overheated. Allow unit to cool (see Section 4-5).
Fan not operating; weld output
available.
Check for and remove anything blocking fan movement.
Have Factory Authorized Service Agent check fan motor.
Error message [SCOM] [SD] is
displayed.
Contact a Factory Authorized Service Agent.
Error message [SCOM] [UI] is
displayed.
Contact a Factory Authorized Service Agent.