5-10 Function and Performance Checking Method
When the value is 0, the system exits auto
play mode.
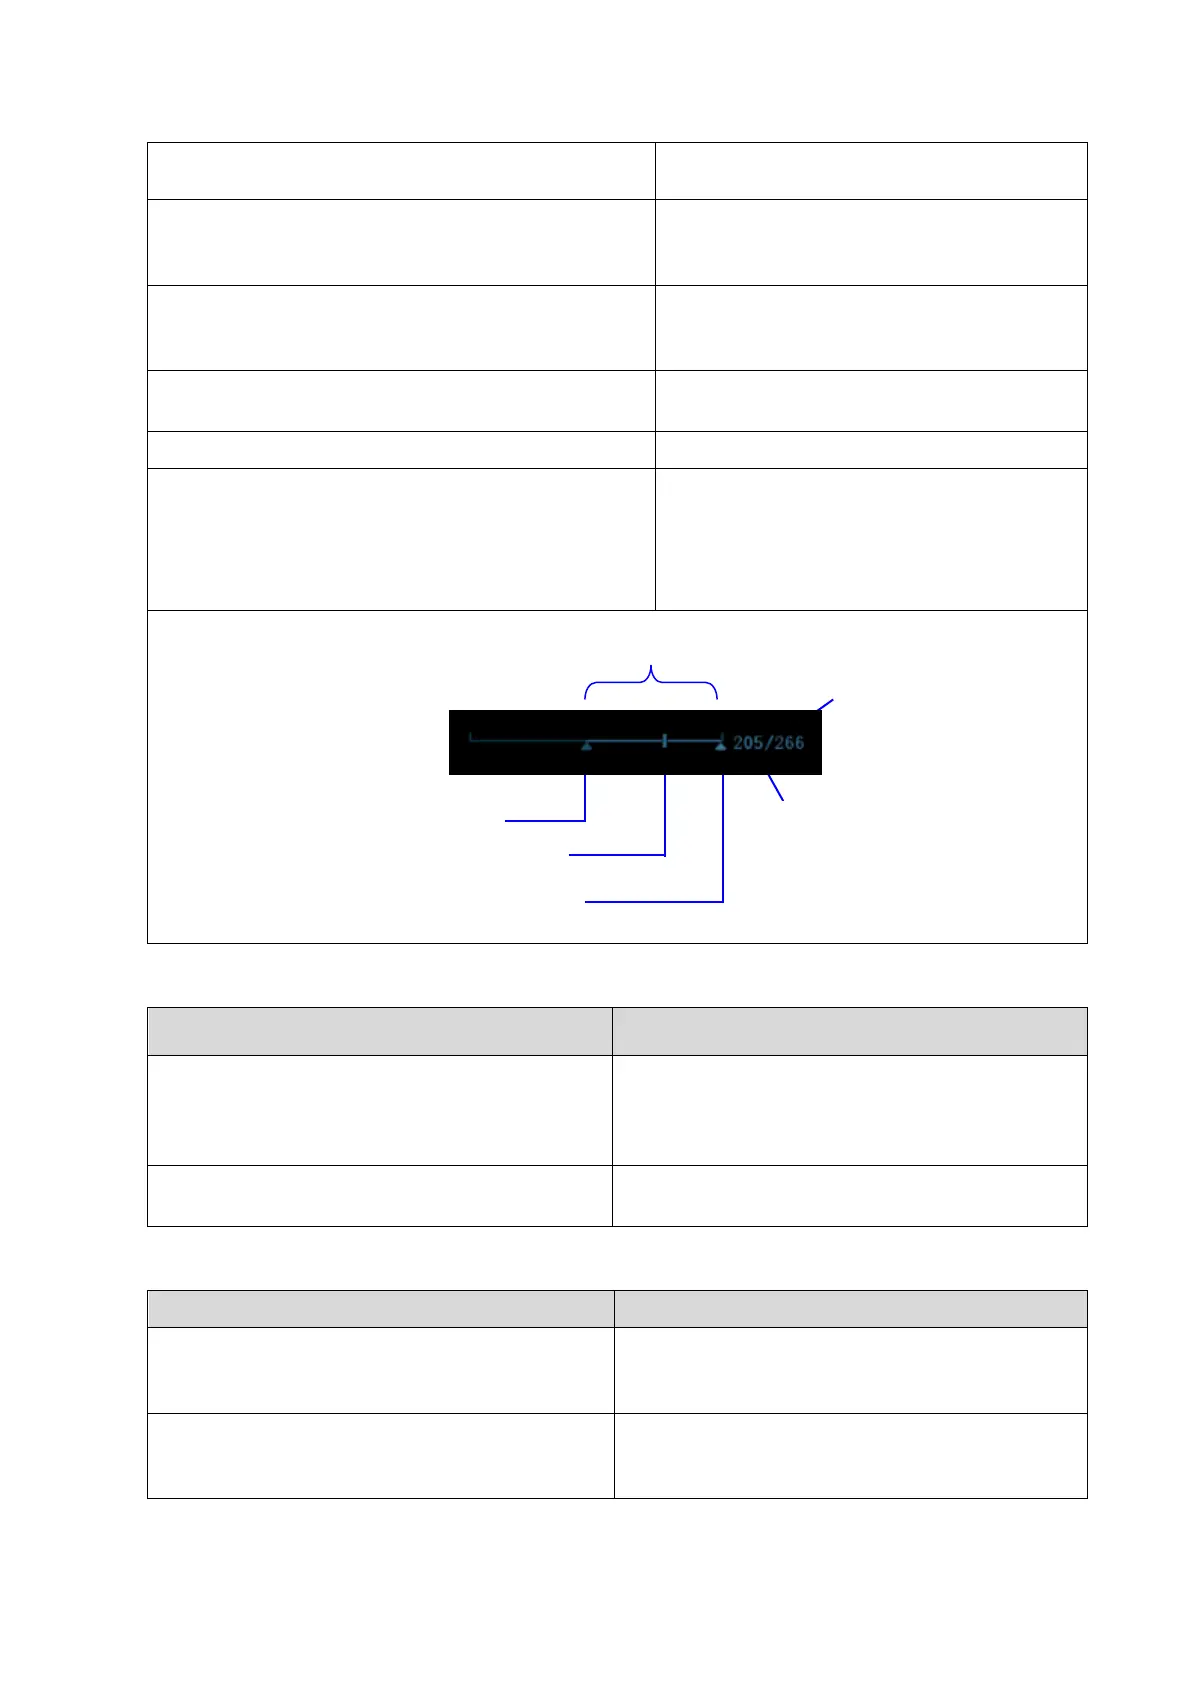
Move the cursor onto the desired start point of the
cine loop, click [Set First Frame] in the menu or soft
menu to set the start point.
Set the start point of cine loop.
Move the cursor onto the desired end point of the
cine loop, click [Set Last Frame] in the menu or soft
menu to set the start point.
Set the end point of cine loop.
Click [Auto Play] again
Review region is confined to the set start
point and end point.
Then press the [Cine] key again. Cine review stops.
Press the <Freeze> key to unfreeze the image.
Press <Cine> or <Esc> key.
Freeze indicator light is off; the system will
return to image scanning and exit cine
review.
The images are still frozen but the system
exits cine review.
5.4.2.4 Probe Switching
Procedure Standard
Press <Freeze> key→ connect the probe to the
system→ press <Freeze> key→ press <Probe>
key to select the probe.
Connect a convex probe to probe socket A, and
then connect a linear probe to probe socket B,
the operator can select probe A or probe B as the
active probe.
Press <Freeze> key→ disconnect the probe→
connect another probe to the port
The system can recognize the newly connected
probe in no time.
5.4.2.5 Patient Information Management
Standard
Press <Save> (the function already set) during
image scanning
Image will be saved to the patient database, and
a thumbnail will be displayed at the right part of
the screen.
Open [Setup] →[System Preset]→”General”,
then check “Send/Print Image after End Exam”
in the Patient Management area.
The system automatically sends the images of
the exam to the default DICOM storage server or
print server.
Region