EasyManuals Logo

Mindray DC-70 Pro User Manual

Mindray DC-70 Pro
295 pages
To Next Page IconTo Next Page
To Previous Page IconTo Previous Page
Page #164 background imageLoading...
Page #164 background image
9-26 Structure and Assembly/Disassembly
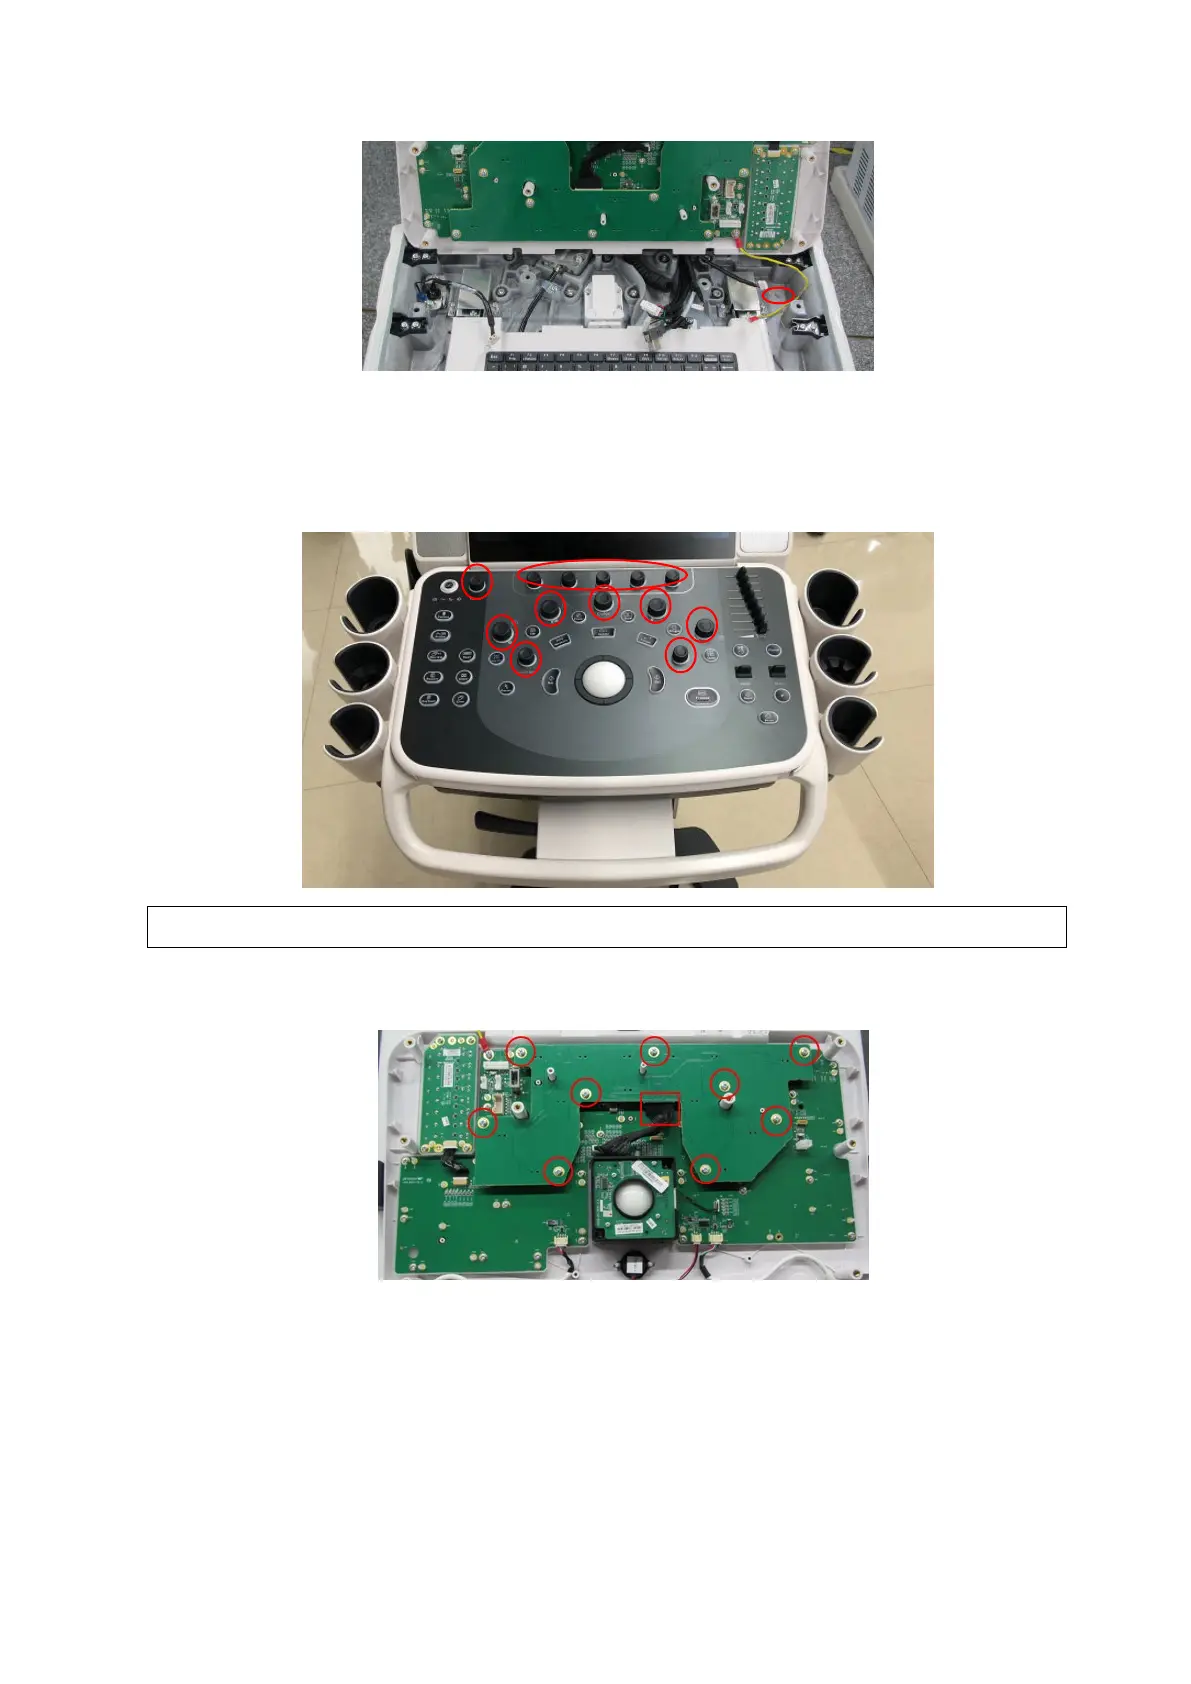
Operate the following procedures to remove the control panel assembly.
9.3.15.1 Encoder Assembly
The disassembly tool: cross-headed screwdriver (M3, M4), anti-electrostatic glove
1. Remove six big encoder caps and seven small encoder caps.
2. Unscrew nine PT4 X 10 tapping screws from the encoder board. Disconnect the plug
connecting the encoder to the keyboard to remove the encoder assembly.
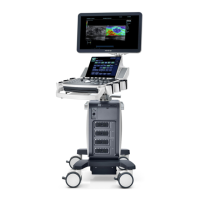
9.3.15.2 Trackball
The disassembly tool: cross-headed screwdriver (M3, M4), anti-electrostatic glove
Unscrew two M3 X 8 SEMS screws fixing the trackball. Disconnect the plug connecting the trackball
and the keyboard to remove the trackball assembly.
NOTE:
To avoid incorrect installation, please take notice of the size of caps.

Table of Contents

Questions and Answers:

Question and Answer IconNeed help?

Do you have a question about the Mindray DC-70 Pro and is the answer not in the manual?

Mindray DC-70 Pro Specifications

General IconGeneral
Touch ScreenYes
Touch PanelYes
Transducer Ports4
Battery BackupYes
3D/4D ImagingYes
Operating SystemWindows-based
Power Supply100-240V AC, 50/60 Hz
Storage500GB HDD
ConnectivityUSB, HDMI
ApplicationsCardiology, Obstetrics, Gynecology
Imaging ModesColor Doppler, Power Doppler
PortsUSB, Ethernet, HDMI
Display Size19 inch

Related product manuals