V Series Operating Instructions 26 - 9
System Setup System Dialog
26.2.6 Configuring the Printer Tab
Select the Printer tab to configure up to one (1) laser printer. These functions apply to all patient
sizes.
To configure the Printer tab:
1. Select the Setup tab from the Navigation Area.
2. Select the System button, enter the password, then select the Accept button.
3. Select the Printer tab.
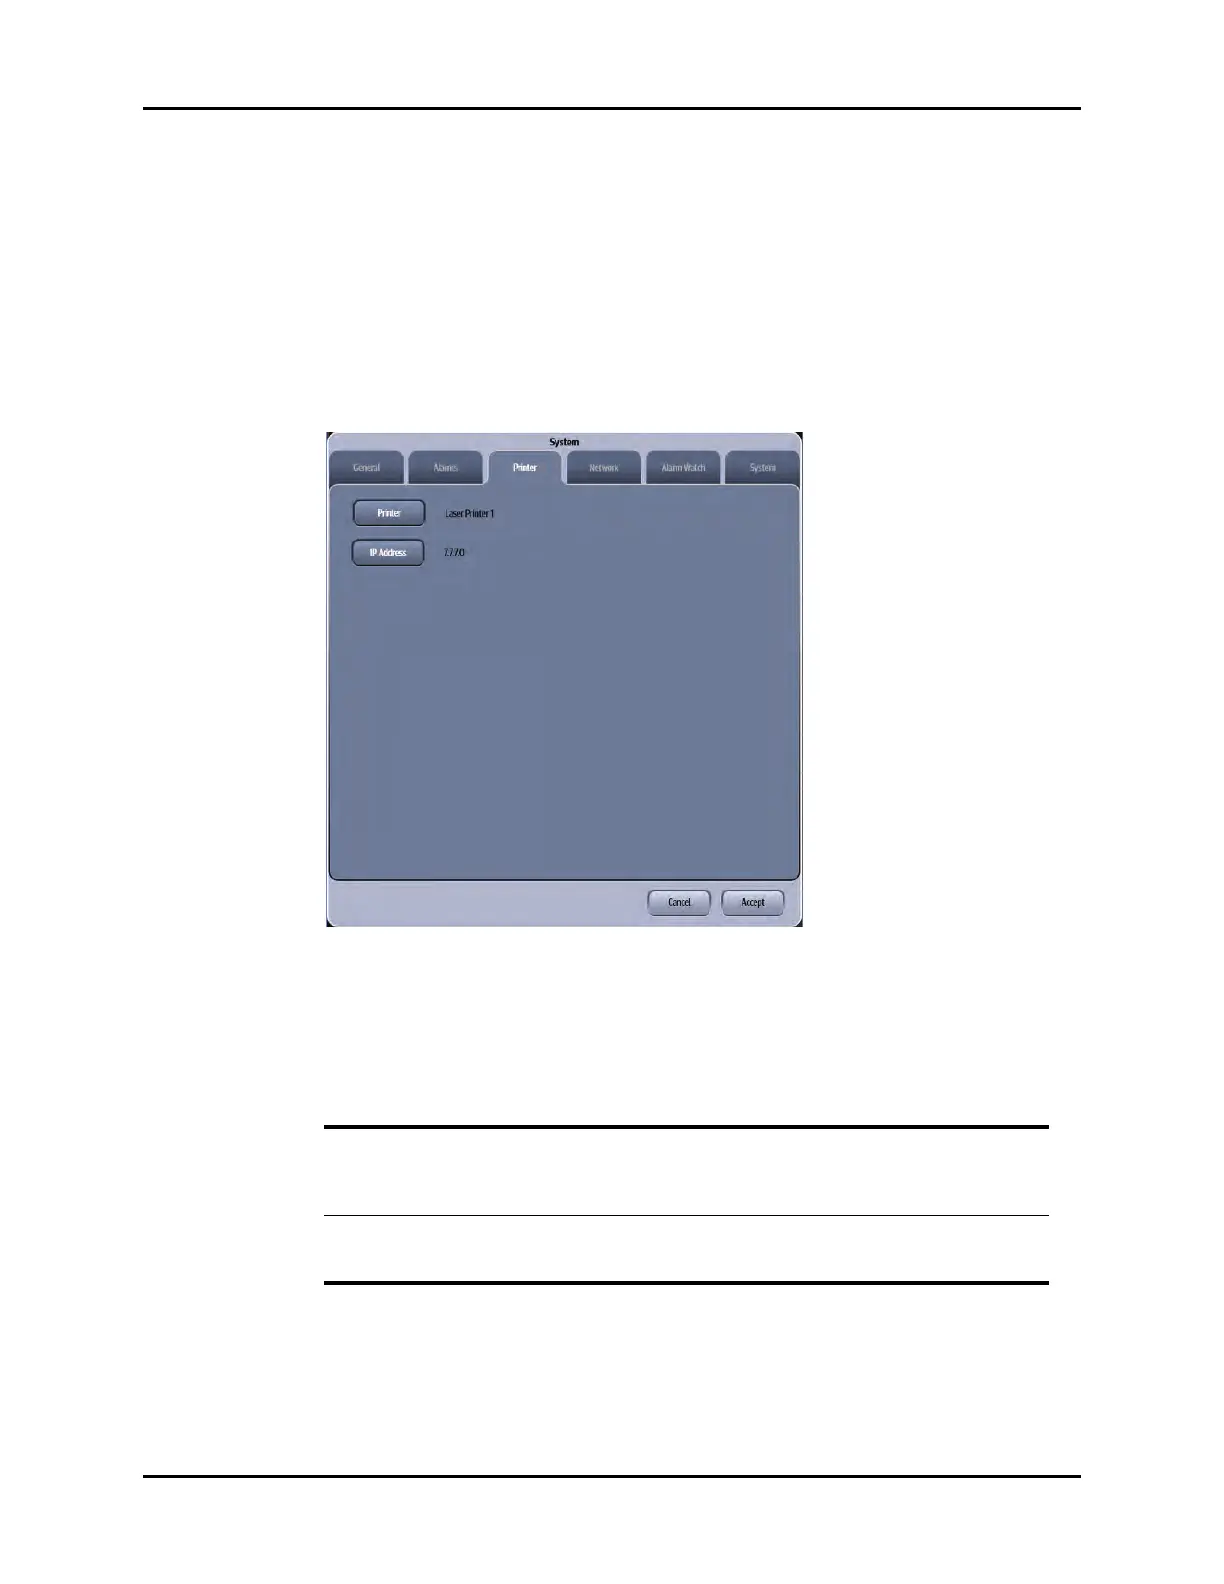
The Printer tab displays (as shown in FIGURE 26-5).
FIGURE 26-5 Example System Dialog (Printer Tab)
4. Select the buttons described in TABLE 26-5 to configure the tab.
5. Select the Cancel or Accept button.
•The Cancel button closes the dialog without saving the settings.
•The Accept button saves the settings and closes the dialog.
TABLE 26-5
BUTTON/
CHECK BOX DESCRIPTION / COMMENTS CHOICES*
Printer Allows an authorized user a means to specify
a name for each laser printer. An example
could be, department name, unit, or nurses
station, etc.
Accepts up to 15 alphanumeric
characters.
Factory defaults to Laser Printer 1.
IP Address Allows an authorized user to specify the laser
printer IP address for each laser printer.
Accepts up to 15 digital
characters.
Factory default 7.7.7.0
* The factory default configuration settings are in bold.