5Maintenance and Inspection
Resetting the origin
5-77
(8) All axis origin setting
1) Refer to the one after "(2)J1 axis origin setting" on page 68, and set the origin positions of all axis.
The following steps for setting each axis are carried out simultaneously with the other axes, so they can be
skipped here.
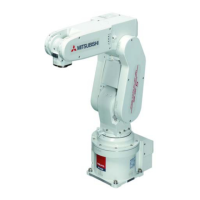
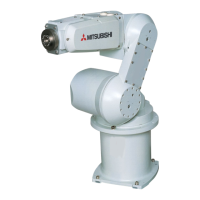
2) When completed with all work, the robot posture should be as bellow.
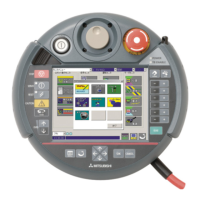
3) Press the [ ↓ ] key. The cursor will move to
SET AXIS .
4) Designate the axis for which the origin is to be
set.
Set 1 to 6 of "SET AXIS" to "1" and then press
the [INP] key. The 5-axis robot does not have
the 4 axis, so set 0.
Next, a confirmation screen will appear.
5) Press the [1] and [INP] keys.
The origin posture will be set.
6) Setting of the origin is completed.
7) Refer to "5.5.5Recording the origin data" on
page 84 in this manual, and record the origin
data on the origin data seal.
J3(‑)
J2(‑)
J1(‑)
Frontoftherob
J6markagrees
J5(‑)
J3(‑)
J2(‑)
J1(‑)
J4(‑)
J6markagrees
Frontoftherob
5-axis type 6-axis type
<JIG> 12345678
BRAKE(00000000)
SETAXIS(11110000)
ORIGIN:NOTDEF
Designate the origin setting axis
-B
(J5)
1
DEF
-C
(J6)
0
ABC
・
→
INP
EXE
Move the cursor
RPL
↓
Set the origin
-B
(J5)
1
DEF
<JIG>
SETORIGIN
OK?(1)
1:EXECUTE
INP
EXE
→
<JIG> 12345678
BRAKE(00000000)
SETAXIS(11110000)
ORIGIN:NOTDEF
◇◆◇ Releasing the brakes ◇◆◇
To release the brakes, move the cursor to the "BRAKE" axis No. with the [ ← ] or [ → ] key.
The brakes can be released only for the axis for which a "1" is displayed on the screen. If the brakes are not to
be released, press the [0] key and display a "0".
If the [+X] key on the teaching pendant or the deadman switch is pressed while the brakes are released, the
brakes will be applied immediately.
◆◇ Origin setting axis designation ◇◆◇
Move the cursor to the "SET AXIS" axis No. in the origin setting with the [ ← ] or [ → ] key.
The origin is set only for the axis for which a "1" is displayed on the screen. If the origin is not to be set, press
the [0] key and display a "0".
 Loading...
