© Copyright 2020 Moog, Inc.
9
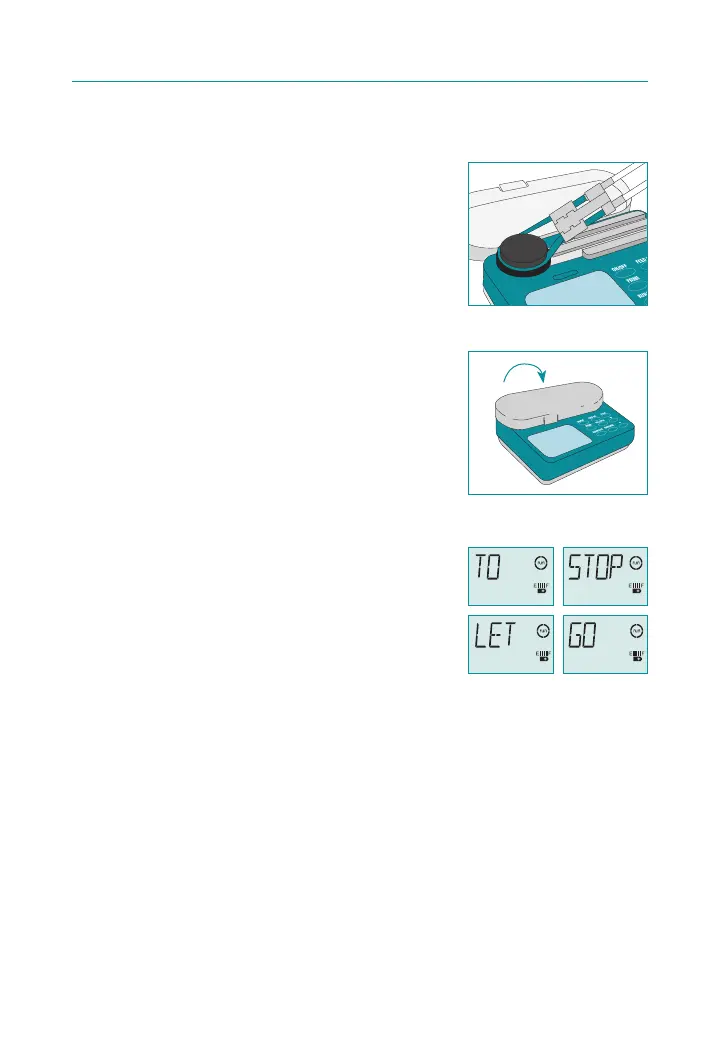
Step 5:
Loop silicone tubing around pump wheel
stretching lightly. Place cassette into pump
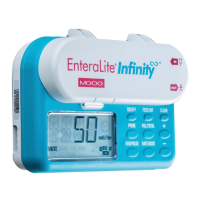
(Figure 2-8). Close pump door (Figure 2-9).
NOTE: See pages 33-34 for pump use with a backpack.
Step 6:
Press and hold ON/OFF key for 1.5 seconds to
turn pump on. While pump runs through a self
test, display will light and an audible alarm will
sound as pump displays the nine digit serial
number three digits at a time for one second each.
The display will then show the letter ‘R’ followed
by a number, which is the software revision.
Next, all segments of display will be
shown for 2 seconds. Verify all display
segments and symbols are active.
The self test is complete and pump will then display
last programmed rate and will be in pause mode.
If any air is still in the tubing, continue to
Step 7 to use pump prime feature.
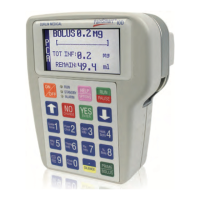
Step 7:
Press and hold PRIME key. Alarm will sound once
and pump will begin pumping at an approximate
rate of 700 ml/hr. Display will read “TO STOP LET GO”
(Figure 2-10). Once all air is removed from tubing,
release key. Pump will stop, display will revert to last
programmed rate, and pump will be in pause mode.
NOTE: Occlusion and air in line alarms are disabled while priming.
For pump operation instructions:
4 For a Single Feeding Example: go to Page 10.
4For an Interval Feeding Example: go to Page 13.
2. DIRECTIONS FOR USE
Figure 2-8 Seat Cassette
Figure 2-9 Close Pump Door
Figure 2-10 Priming Indication