Test Setup & Testing for 380–430 MHz 5.1 - 15
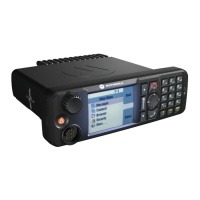
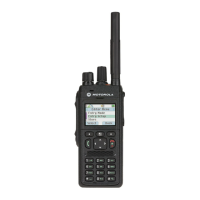
6. Press any key consecutively. The display shows the backlight brightness levels
“min”, “low”, “med” and “max”. Verify the brightness of the display.
Note: At level “min” the display contents is not visible.
7. Press any key to start the next test. The display shows “Keypad backlight test”.
8. Press any key again. The display shows “Keypad backlight is off”. Verify that the key-
pad backlight is off.
9. Press any key again. The display shows “Keypad backlight is on”. Verify that the
keypad backlight is on.
10. Press any key to start the next test. The display shows “Emergency backlight test”.
11. Press any key consecutively. The display shows the emergency button brightness
levels “min”, “low”, “med” and “max”. Verify the brightness of the emergency button.
12. Press any key to start the next test. The display shows “Status LED test”.
13. Press any key again. The display shows “Red LED is on” and the Red LED at the
right side of the radio is lit.
14. Press any key again. The display shows “Green LED is on” and the Green LED at the
right side of the radio is lit.
15. Press any key. The display shows “Orange LED is on” and the orange LED at the
right side of the radio lit.
16. Press any key consecutively. The display shows the LED brightness levels “min”,
“low”, “med” and “max”. Verify the brightness of the orange LED at the right side of
the radio.
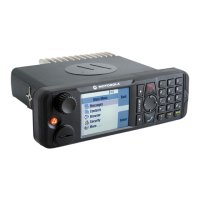
17. Press any key to start the next test. The display shows “Keypad test”.
18. Press any key again. The display shows all the radio keys.
19. Press every key, one by one. Each key you press causes its respective display to be
highlighted. If you press a highlighted key again, the highlighting is removed. To exit
this test before all keys are highlighted press the rotary push button.
20. Press any key to start the next test. The display shows “Rotary test”.
21. Turn the rotary switch clockwise and counter clockwise. Each step causes the
respective displayed arrow sign to be highlighted. Turn the rotary switch until the two
respective “OK” labels are highlighted.
22. Press the rotary push button consecutively until “OK” is highlighted.
23. Press any key to start the next test. The display shows “Fist MIC test”.
24. Press any key to continue. Connect a fist microphone. The display shows “Accessory
connected”.
25. Press PTT to highlight all “0”.
26. Place the microphone on / off hook to highlight all “0”.
27. Press any key again. The display shows “End of user tests”, “Press any key to power
off or use softkeys to scroll to any previous test”.
28. This completes the test. Press any key to turn the radio OFF.
 Loading...