NAPCO Security Systems
GEM-P1632 Programming Instructions
WI897B 8/98
Page 11
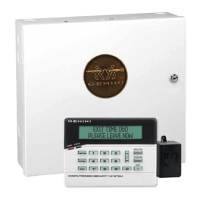
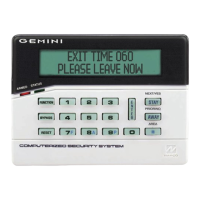
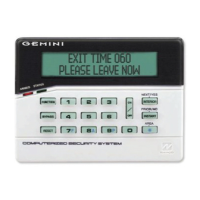
A. GEM-RP2ASe2 Keypad
Enter the Dealer Security Code (default = 456789) for a new panel or enter your custom Dealer Program
Code if programmed. Press NO (
) repeatedly until “
” is displayed.
NOTE:
If you pass
“
”, you can scroll back by pressing the
button. Press YES (
) to enter the
Dealer Program Mode. In each of the following steps, press the
button to set cursor, the NEXT
(
) button to go forwards, the PRIOR (
) button to go backwards, the button to save and the
button twice to exit at any time.
Total Number of Zones in Area 1
(Appears for New Panel Only)
Directly enter the total number of zones to be programmed for Area 1. Valid
entries are from 01 to 32. Directly enter the total number of zones, including
leading zeros. Use number buttons
through
.
NOTE:
Press the
button for a zero. The system is based on groups of 4 zones each
(after the first 8 zones), and will automatically round up to the next group of
4. For example, if you enter 18, it will automatically convert this to 20 zones.
Press
to save. Press NEXT (
) button to proceed.
NOTE:
If you are
programming a 2 Area system, enter the total number of zones required for
Areas 1 & 2. The Direct Address Program Mode can then be used to remove zones from Area 1 and place them in Area
2. See Zone Options. If Programming a Wireless Only system, or using wireless only on Zones 9-32, enter the total
number of zones in system. Enter the transmitter points in the RF Transmitter section of the Easy Menu Driven
Programming Mode.
Panel Zone Doubling
(Appears for New Panel Only)
If the total number of zones in Area 1 entered was 16 or greater, press YES
(
) to effectively double the capacity of the control panel's hard wired
zones from 8 to 16. The 16 zones will no longer be EOL zones, but will be
designated for Normally Closed devices only. The terminal for Zone 1 will
now support Zones 1 and 9 with the use of the supplied EZ Zone
Doubling
TM
resistors, E & Z supplied. (Refer to Wiring Diagram and
Installation Instructions). If Panel Zone doubling is not desired, press NO
(
).
Fire Zones in Area 1
(Appears for New Panel Only)
Enter the number of any zones which are to be used as Fire Zones (both
2-wire, 4-wire or wireless). Valid entries are from 01 to 32. Directly enter
each zone number, including leading zeros, and press
to save, and then
repeat for any additional zone(s). Press NEXT (
) button to proceed.
NOTE:
If you are programming a 2 Area system, enter the total number of
zones required for Areas 1 & 2. The Direct Address Program Mode can then be used to remove zones from Area 1 and
place them in Area 2. See Zone Options.
(Direct Entry)
(Press YES or NO)
(Direct Entry)
R
ARMED
STATUS
NEXT/YES
PRIOR/NO
AREA
EASY MENU DRIVEN PROGRAM MODE
 Loading...