NAPCO Security Systems
GEM-P1632 Programming Instructions
WI897B 8/98
Page 5
Only Keypad #1 may be used for both dealer and user programming, however this keypad may be located in any area.
The Default Dealer Code is
. Use this code to enter the Dealer Program Mode
to program a custom Dealer Code, which replaces the Default Dealer Code. If you clear your Dealer Code, use the Default Dealer
Code once again to enter programming.
After entering codes or data, press the save
button. Data will not be stored into memory unless it is pressed.
If the keypad is in the Program Mode and no activity is detected for longer than 4 minutes, a steady tone will sound. Silence the
sounder by the
button to continue, or by pressing the
button to exit.
A panel that has been SYSTEM RESET performs identically to a new panel.
When programming a Multiple Area System, Direct Address Programming Mode must be used to complete the program.
If a GEM-RP2ASe2 is used, configure address jumpers as Keypad #1 (see Configuring the GEM-RP2ASe2 Keypad.).
Use the
button to manually scroll through each selected option and at the end of each programming line.
For any new panel, you can design a default program that will best suit your application. Using this procedure, you will
configure the panel for:
KEYPAD #1:
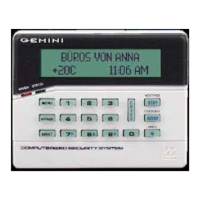
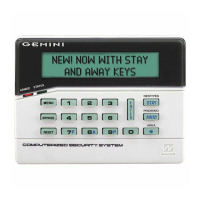
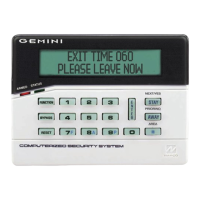
For ease of programming, it is recommended that a GEM-RP1CAe2 be used as Keypad #1. (Regardless of
which keypad is selected, all
new
keypads are configured as Keypad #1 out of the box.)
1. Press
2. Press
Until
“
”
(GEM-RP1CAe2) or
“
”
(GEM-RP2ASe2)
appears on LCD screen.
3. Press
To Enter Dealer Program Mode
4. Press
To Exit Dealer Program Mode when finished
Dealer Code (Default = 456789)
Number of Zones in Area 1
Panel Zone Doubling
Fire Zones in Area 1
2-Wire Fire Zones in Area 1
Local or Central station Reporting
Exit/Entry Zones in Area 1
Interior Zones in Area 1
Number of Keypads in Area 1
CS Receiver 1 Telephone Number
CS Receiver 1 Account Number
CS Receiver 1 Format
User Codes
RF Transmitter Points
Key Fob Transmitters
Zone Descriptions (GEM-RP1CAe2 Keypad
Only)
Dealer Code
NEW PANELS:
The custom default program may be created for new panels only. Once the panel has been programmed
by any means, the number of areas, zones and keypads will be suppressed and cannot be changed. Should it be
necessary to create a new custom default program, (a) from the Dealer Program Mode, press the
button to enter
the Direct Address Program Mode; (b) access Location 1197 (Clear Program); (c) press the
button and start over.
EASY MENU DRIVEN PROGRAM MODE
ARMED
STAT US
NEXT/YES
PRIOR/NO
AREA

 Loading...
