10 All technical manuals are available in PDF format at tech.napcosecurity.com Napco iSecure Security System
Place your Go-Anywhere Hub in a protected central location
inside the premises, preferably in an elevated area (not on the
floor) and near a standard un-switched / uninterruptable
120VAC electrical outlet.
• Place on a shelf, desk or wall mount
• Avoid proximity to electrical junction box-
es, wireless telephones, wireless routers
and transmitters (including baby moni-
tors)
• Do not place in attics, utility, AV or com-
puter closets
• Basement installation is NOT preferred
• Locations with proper ventilation and
climate control are preferred
WALL MOUNTING
1. Mark the four mounting hardware locations. Use a level
to ensure horizontal mounting.
2. Using #8 screws appropriate for the mounting surface,
install the top two screws into mounting surface. Note:
When mounting to hollow drywall or similar surface, we
recommend using wall anchors or similar hardware ap-
propriate for the installation.
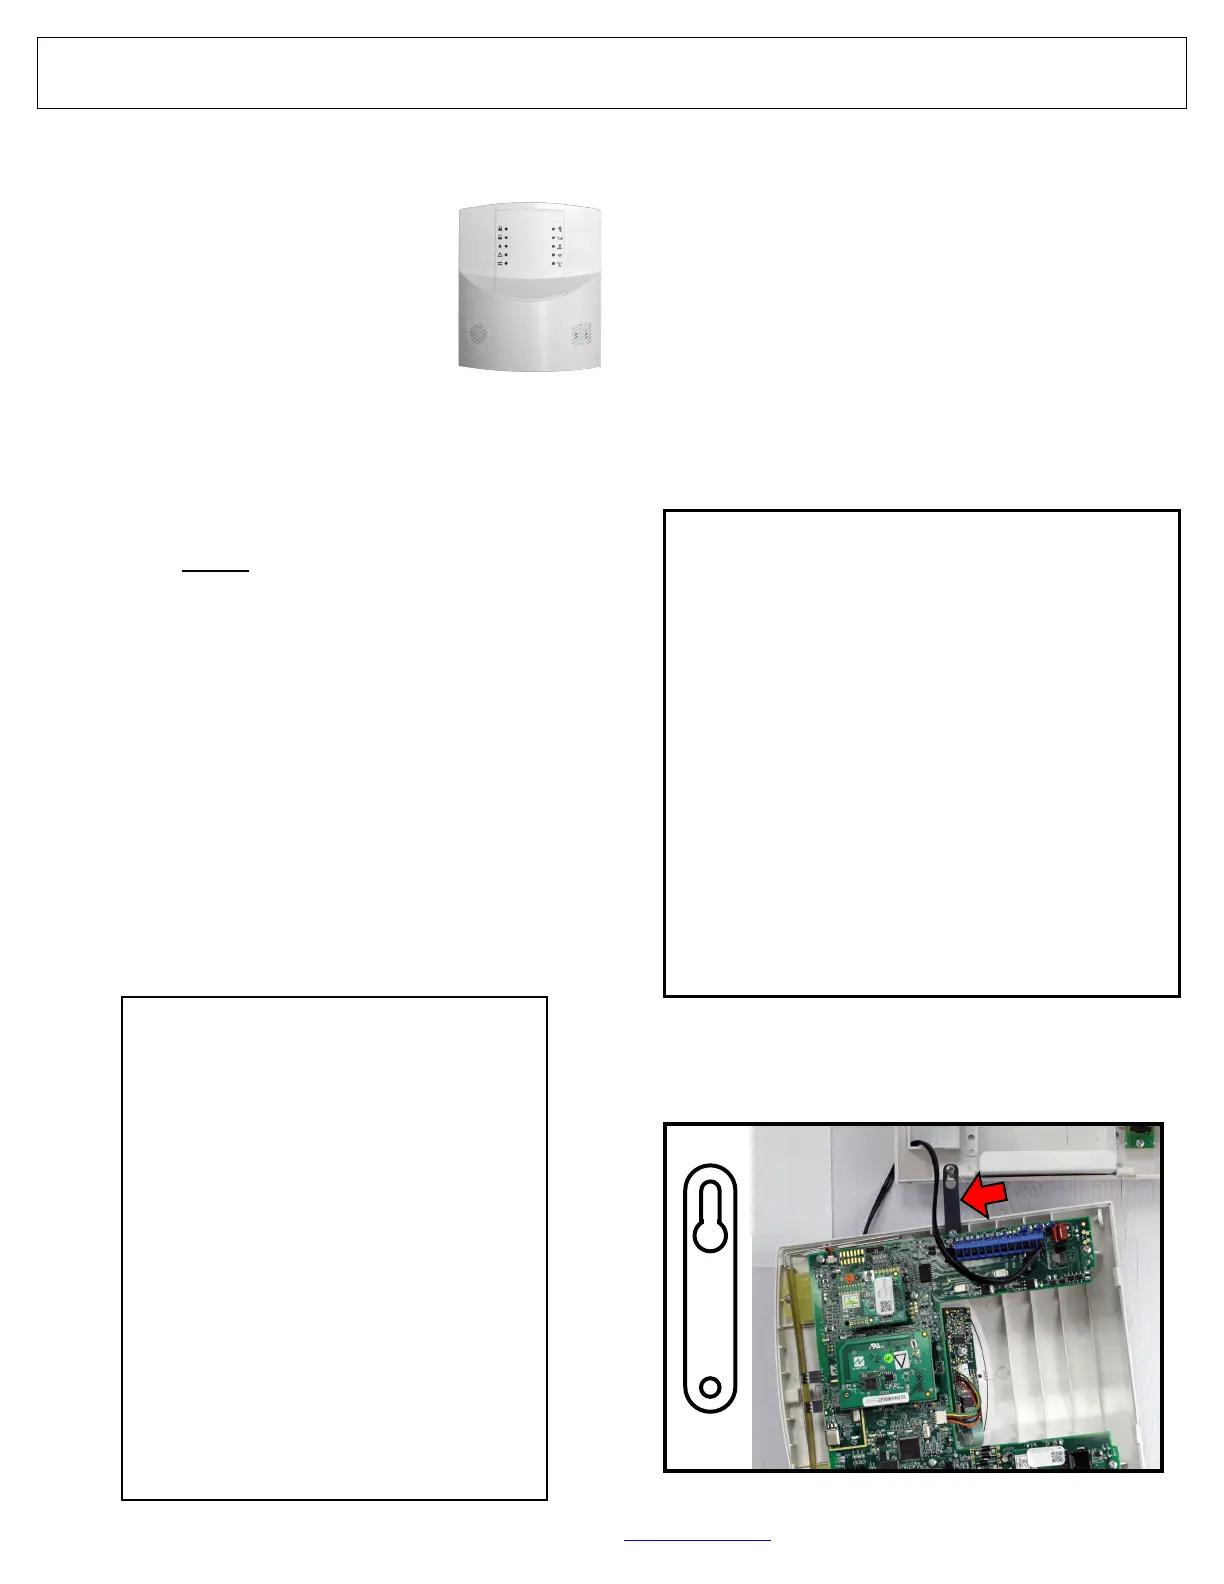
3. Separate the Go-Anywhere Hub housing: With a flat
head screwdriver, push in the two tabs at the bottom to
unhook, then carefully separate the two parts of the
housing .
4. Hang the rear housing by placing the top two keyhole-
shaped holes over the two screws installed in step 2.
Use the pre-installed Hanger Clip (see image below) to
hang the front cover.
5. Install the two bottom screws (use #8 screws appropriate
for the mounting surface) and tighten the two top screws.
Do not over-tighten (to prevent the housing from dis-
torting).
6. Power up using an un-switched 120VAC outlet (power
wires can be snaked through the wall). Install and con-
nect the 4AH or 5AH battery (not supplied), observing
polarity; secure battery with Velcro strap.
7. Remove the plastic protective film from the face of the
Go-Anywhere Hub.
STAND-ALONE INSTALLATIONS
• If placing on a shelf or desk, install the supplied rubber
feet on the bottom of the Go-Anywhere Hub
• Run the power adapter wiring to the nearest un-switched
120VAC outlet and plug in
• Install and connect the 4AH or 5AH battery (not sup-
plied), observing polarity; secure battery with Velcro
strap
• Remove the plastic protective film from the face of the
Go-Anywhere Hub.
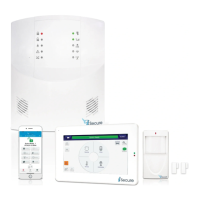
1. Install the Go-Anywhere Hub
Go-Anywhere Hub
Use Hanger Clip to simplify wall mounting and wiring
Hub Voice Prompt Volume
To control the volume, use these keys at any
keypad in the system:
At the ISEC-WL-KEYPAD (Kit 1):
• On/Off = 1 + ENTER
• Louder = 2 + ENTER
• Softer = 3 + ENTER
At the ISEC-WL-TOUCH (Kit 2):
Tap the Arm or Disarm to access the keypad:
• On/Off = 1 + ON/OFF
• Louder = 2 + ON/OFF
• Softer = 3 + ON/OFF
At the IBR-TOUCH-WL (Kit 3):
Tap Security to access the keypad:
• On/Off = 1 + DISARM
• Louder = 2 + DISARM
• Softer = 3 + DISARM
Is Wi-Fi Required?
Do the iSecure Kits 1, 2 and 3 each require a router
with Wi-Fi connected to the Internet at the installation
location?
Only Kit 3 requires a router with Wi-Fi in order to com-
municate with the IBR-TOUCH-WL touch keypad.
Note: Only the iSecure Kit 3 includes a Wi-Fi module
pre-installed in the Go-Anywhere Hub. If the Hub has
a hardwired network connection, the Wi-Fi module is
not required and is not used.
If you wish to report over the Internet without a hard-
wired Internet connection, or plan to install a separate-
ly purchased IBR-TOUCH-WL touch keypad, a router
with Wi-Fi is required at the installation location.
Note: The optional ISEC-WIFI can be installed into
the iSecure Kit 1 Hub or Kit 2 Hub to provide reporting
over the Wi-Fi Internet connection (see page 38).