20 All technical manuals are available in PDF format at tech.napcosecurity.com Napco iSecure Security System
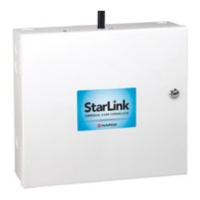
5. Install mounting plate. Use the two screws and an-
chors provided to attach the mounting plate to the wall
or ceiling.
6. Map the ISEC-SMOKE Transmitter. Enter the follow-
ing:
• the zone to which the transmitter will be mapped;
• the 6-digit RF identification number/1-digit check-
sum number printed on the transmitter (include all
numbers and/or letters and leading zeros, if any);
and
• the transmitter point number ("1").
NOTE: In fire alarm installations, the Hub must be
programmed to activate the fire alarm bells or horns
upon detection of a fire.
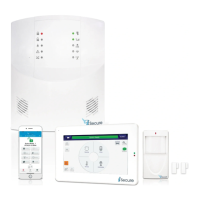
7. Attach the ISEC-SMOKE to mounting plate. Match
up alignment tabs on detector and plate. Turn detec-
tor clockwise until it locks into place.
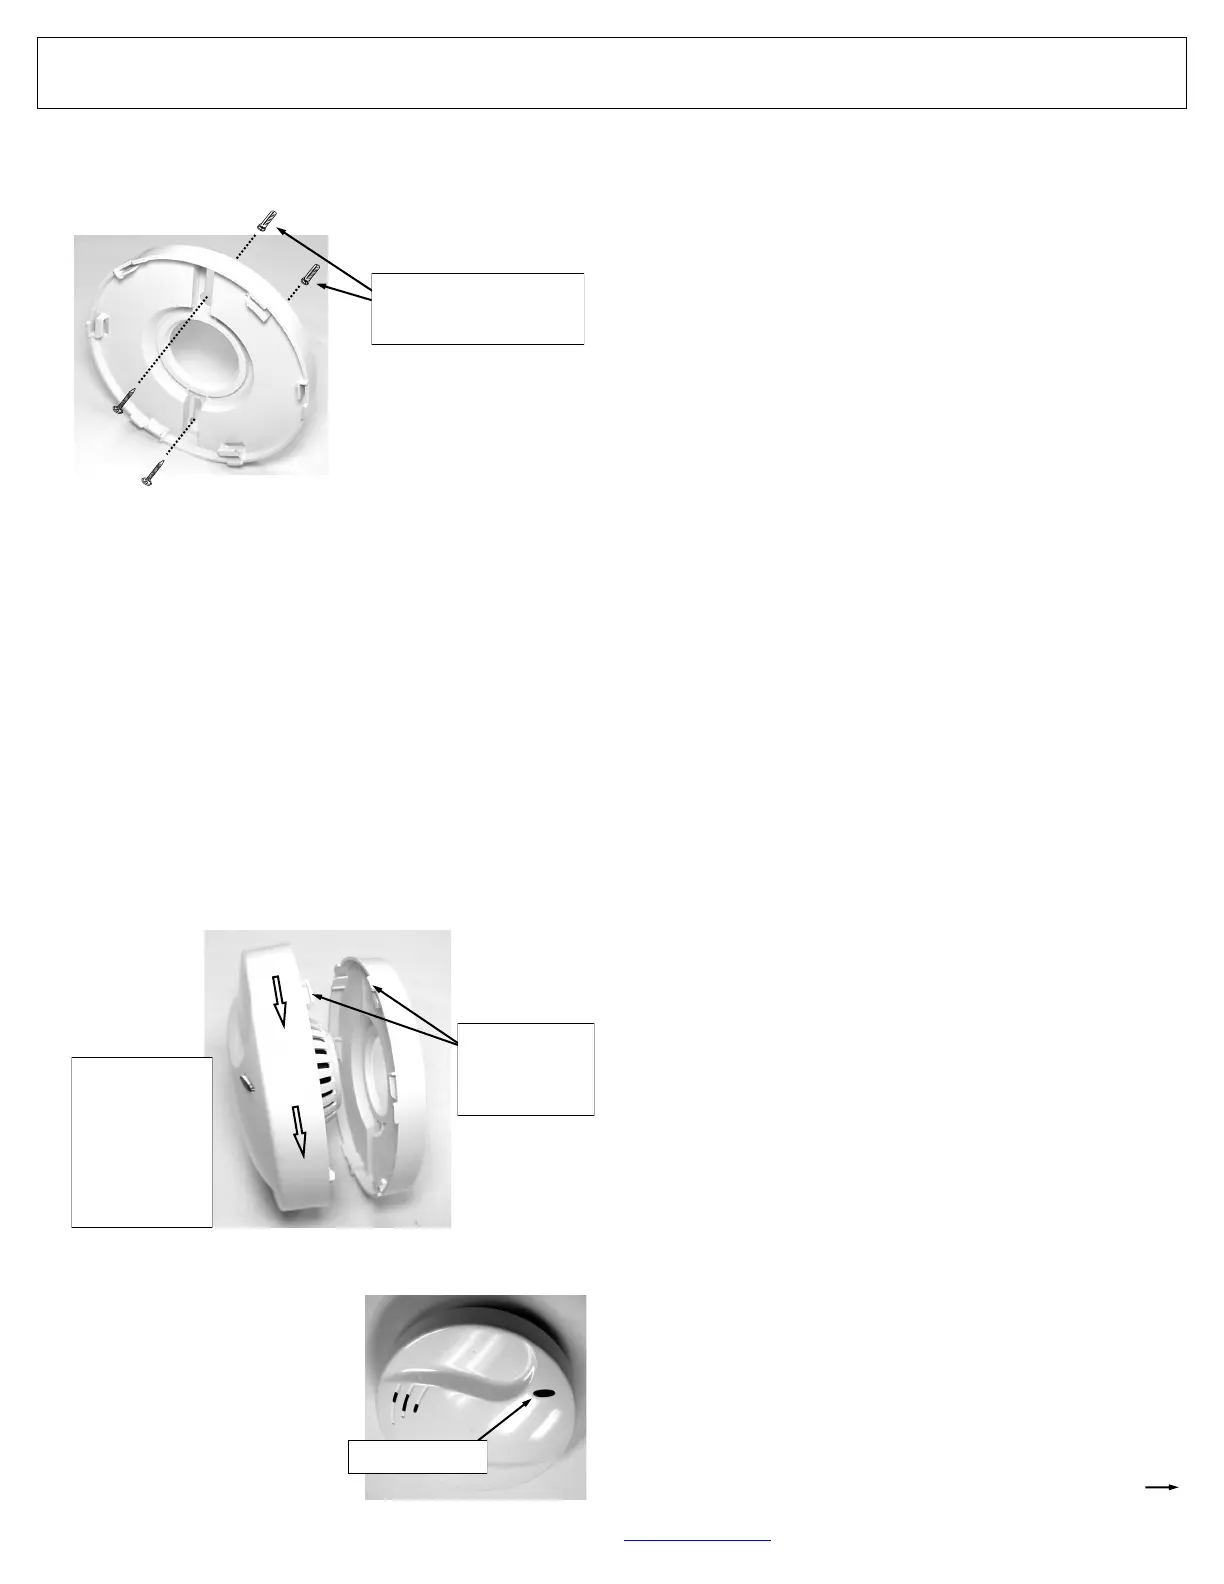
8. Test system weekly with
unit mounted. If the sys-
tem is monitored, notify
central station of impend-
ing test. Press and hold
the Test button for about
5 seconds and release
when the sounder turns
on. While holding the but-
6. Install Smoke Sensors (cont'd)
SCREW ANCHORS FOR
WALLBOARD
TWIST
DETECTOR
CLOCKWISE TO
LOCK TO
MOUNTING
PLATE
MATCH UP
ALIGNMENT
TABS
TEST BUTTON
continued
ton down, the LED will start to flash rapidly indicat-
ing it is about to go into alarm. Do not hold the but-
ton down longer than 10 seconds or you will Silence
the unit after the alarm is sounded (see Silencing
the Unit / Silence Mode at right). Verify that the
ISEC-SMOKE triggers the correct zone on the Hub
and that the correct report is sent to the central sta-
tion.
NOTE: Smoke detectors are not to be used with
detector guards unless the combination has been
evaluated and found suitable for that purpose.
Silencing the Unit / Silence Mode
If the unit is in alarm due to a smoke condition, it will
stop sounding when the smoke condition has
cleared. However, if you want to temporarily silence
the sounder, press and hold the Test button for
more than 10 seconds. During this Silence Mode,
the unit will not react to any smoke nor report any
alarms but will chirp every 30 seconds (without a
simultaneous LED flash) to remind you it is in Si-
lence Mode. It will exit Silence Mode after approxi-
mately 5 minutes or less on its own. Note: If smoke
is still present in the chamber after exiting Silence
mode, the detector will go into alarm again. CAU-
TION: When the unit is not in alarm, pressing the
Test button will transmit an alarm, activate the
sounder and then place the unit in Silence Mode if
held for more than 10 seconds. Once the unit en-
ters Silence Mode, the Test button is disabled until it
exits Silence Mode on its own.
Low Battery Warning
Sounder chirps and the LED flashes simultaneously.
Maintenance Warning
The unit will warn that it must be cleaned when the
unit chirps (without a simultaneous LED flash) but
the LED flashes between chirps. To clean, vacuum
the outside of the unit at least once a year
(preferably every six months) using a soft brush at-
tachment. Do not attempt to clean the unit in any
other way. If this maintenance procedure fails to
clean the unit sufficiently, call for service and/or re-
place the unit.