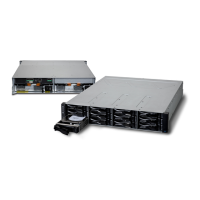
70 E2600 Controller-Drive Tray Installation Guide
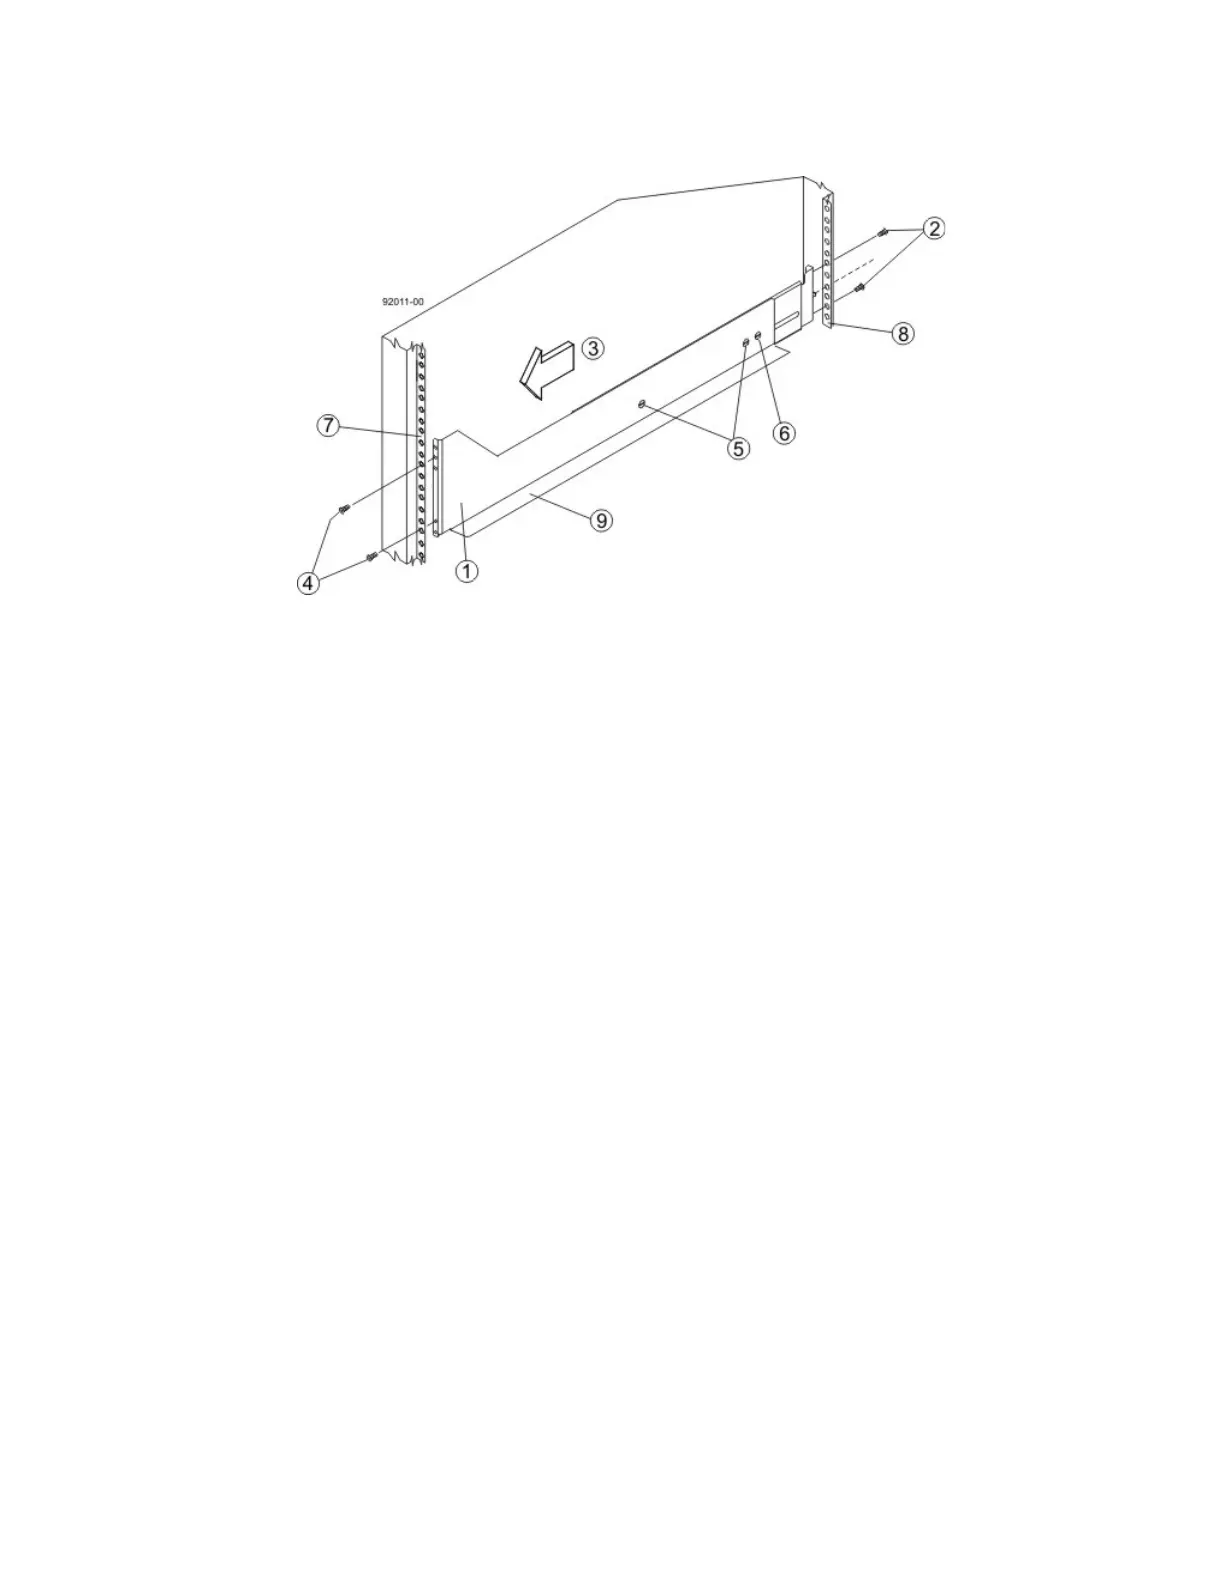
Figure 63 Attaching the Long Mounting Rails to the Cabinet
1. Front of the Mounting Rail
2. Two M5 Screws for the Rear EIA Support Rail
3. Front of the Cabinet
4. Two M5 Screws for the Front EIA Support Rail
5. Adjustable Rail Tightening Screws
6. Rear Hold-Down Screw
7. Cabinet Mounting Holes on the Front EIA Support Rail
8. Cabinet Mounting Holes on the Rear EIA Support Rail
9. Mounting Rail Lip
b. Remove the rear hold-down screw. It protrudes from the inside of the rail and prevents you from
sliding the drive tray onto the rails.
c. Place the mounting rail inside the cabinet, and extend the mounting rail until the flanges on the
mounting rail touch the inside of the cabinet.
d. Insert one M5 screw through the front of the cabinet, and screw it into the top captured nut in the
mounting rail.
e. Insert two M5 screws through the rear of the cabinet, and screw them into the captured nuts in the
rear flange in the mounting rail.
f. Tighten the adjustment screws on the mounting rail.
g. Repeat substep a through substep f to install the second mounting rail.
h. Insert one M5 screw through the front of the mounting rail. You use this screw to attach the drive tray
to the cabinet.