Power
Up
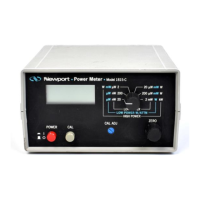
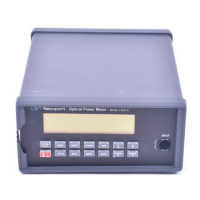
Turn on the Model 2832C by depressing the front panel key until it clicks in
and remains in its depressed position. The Model 28324 will perform a power
up self test and then configure itself to its last operating state.
If
the last
operating state is not compatible with one of the current detectors, the 2832C
adopts the default configuration appropriate to this new detector.
If
the meter
does not pass its self test or fails to respond to front panel key commands,
refer to Section
6,
Maintenance, Test and Troubleshooting.
Performing
Basic
Measurements
Basic measurement techniques for using the Model 2832C are covered in the
following sections. Refer to Table 2 and Table 6 (pages
6
and
14
respectively)
for a review of the Model 2832C's functions and capabilities. The following
instructions assume familiarity with the meters functions. They also include
steps to incorporate background correction and assume that the experimental
setup underfills and does not saturate or damage the detector.
2.8.1
Making
DC
Power Measurements
The following process describes the procedure for making basic optical power
measurements while properly removing the influence of ambient light and
other drift effects.
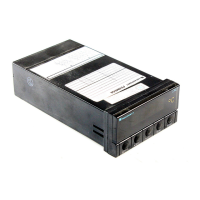
i. Plug in a
Newport Low-Power detector via its associated calibration
module and then turn the meter on. Set MODE to DC CONT, set AUTO on
and set the measurement wavelength to the desired value.
ii.
Cover or otherwise block the source that you will be measuring and then
turn ZERO on.
iii.
Uncover the source so it illuminates the detector and note the display value.
This reading is the optical power observed by the detector due to the source.
NOTE
The process
as
detailed assumes that the ambient signal
is
not changing
between when you zero the display and when you make your measurement.
Remember,
if
you can
see
your detector as you move around, then your
detector can see you as a changing ambient DC signal!
Artisan Technology Group - Quality Instrumentation ... Guaranteed | (888) 88-SOURCE | www.artisantg.com
 Loading...