LBP2 User Guide Document No: 50306-001 Rev G 3/12/2020 Page 14
CHAPTER 1 Equipment Setup
Read the previous Introduction to LBP2 section to learn what type of computer is
needed to best operate with the advanced windowing features design into LBP2.
Install the LBP2 application
Connect the camera
Launch LBP2
Configure LBP2 for your camera
Collect data
1.1 LBP2 Software Installation
Important: Do not connect the camera to the computer until after the LBP2 software is
installed.
To Install the Newport Software Application:
There are two ways that to install the software from the Newport provided CD. This
procedure will work as described on Windows 7 operating systems. All installations
must be performed with Administrator privileges.
1. If the computer is setup to Auto Play CD’s do the following:
a. Insert the supplied CD into the CD-ROM drive and wait for the Newport
Software Auto Install screen to appear.
b. Click on the Software Install button.
c. Follow the directions that appear on the screen.
2. If the computer does not have the Auto Play feature enabled:
a. Insert the supplied CD into the CD-ROM drive and open Windows
Explorer.
b. Select My Computer and right-click on the CD-ROM drive that contains
the Newport CD. Click on the Autoplay option. This will open the
Newport Software Auto Install screen.
c. Click on the Software Install button.
d. Follow the directions that appear on the screen.
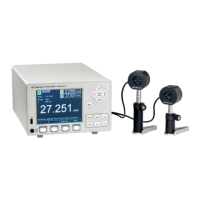
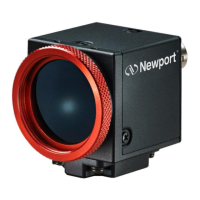
1.2 Connect the Camera
With the included USB cable, connect the provided camera to the PC’s USB3 port.
Connect only one camera at this time.
Important: For a camera to be able to operate with LBP2, the camera must be licensed to
do so. Cameras sold with Newport products are already licensed to operate
with LBP2.
1.3 Launch LBP2 Software
To start the LBP2 application, go to the Windows taskbar and select Start > All
Programs > LBP2 Series
 Loading...