12
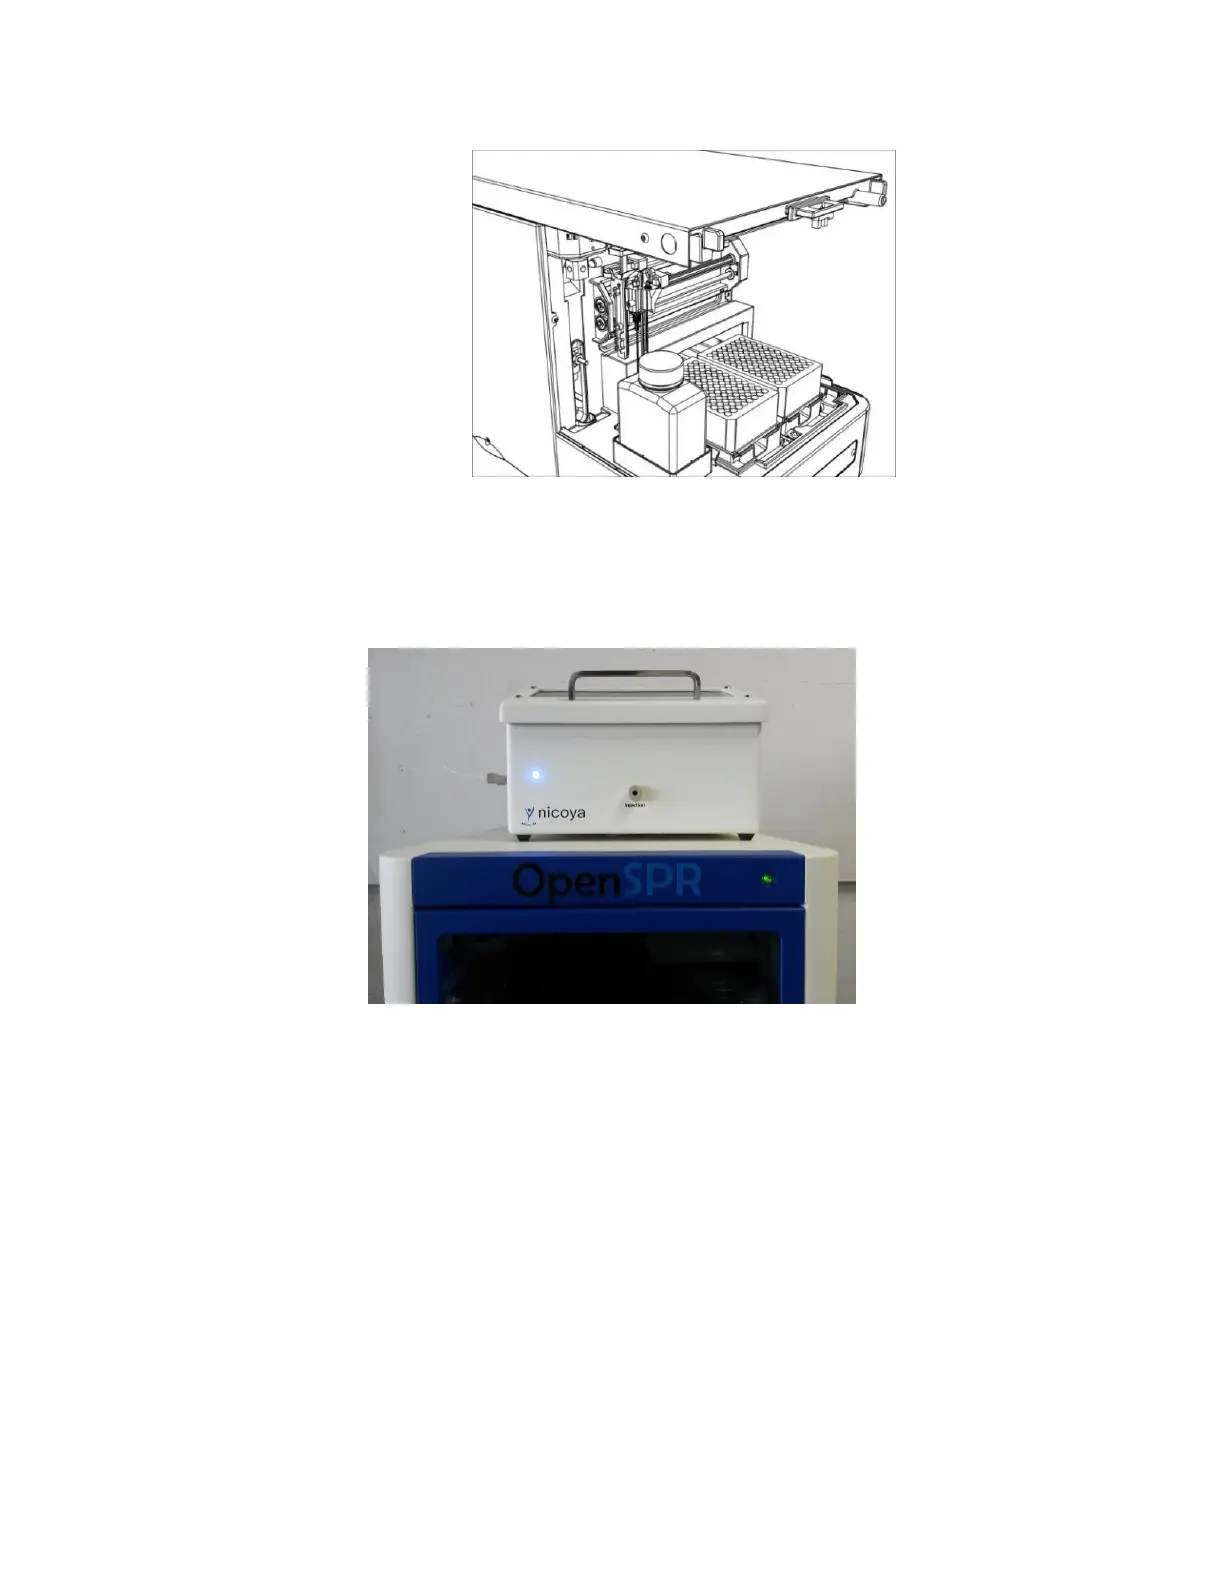
Figure 1.2 Cover completely removed from the XT autosampler.
6. Remove all tape and packaging internal to the XT autosampler.
7. Place the OpenSPR™ on top of the XT autosampler such that the OpenSPR™ is covering the
open slot on top of the XT and it is stable [Figure 1.3].
Figure 1.3 OpenSPR placed on top of XT autosampler in a stable position.
1.1.4 Setting up Fluidic Connections
1. With the cover still removed from the XT autosampler, remove the sample cooling cover from
inside the sample compartment for easier installation of fluidics. To do this, gently pull the
cooling cover directly out from the instrument [Figure 1.4].