37
2.2.5 Sample & Timeline setup
Note: When preparing your samples, at least 300 µL of sample is required per well (for a 100 µL
standard sample loop). Beware of sample evaporation if you are running a long test (> 1hr),
especially if the samples are being stored at room temperature in a low humidity environment. To
prevent sample evaporation, pierceable foils can be used to cover the 96-well sample plates.
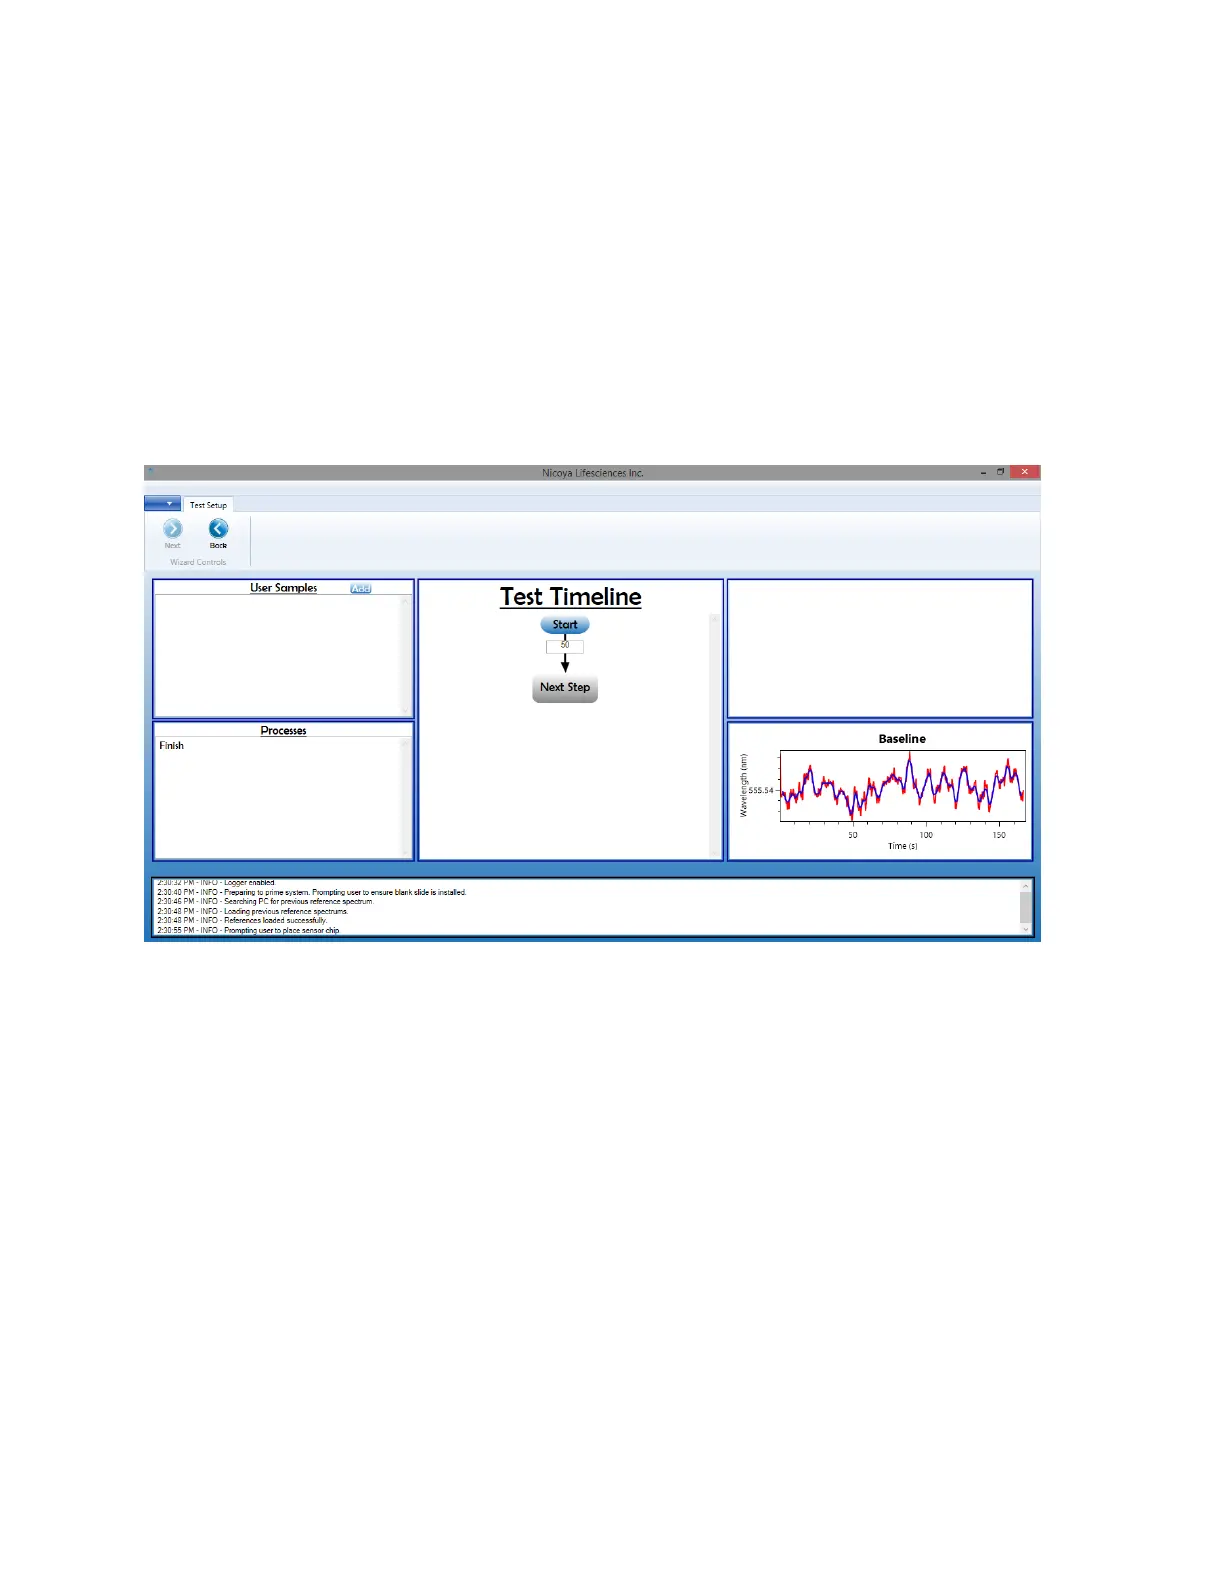
1. The Test Setup screen is where your sample information will be loaded along with the test
timeline [Figure 2.21]. This screen contains areas that list the user samples, processes and the
test timeline. In the bottom right corner, your baseline signal is also displayed so you can easily
monitor it.
Figure 2.21 Test Setup screen.
2. To load your sample information, click “Add” in the top bar of the User Samples section.