26
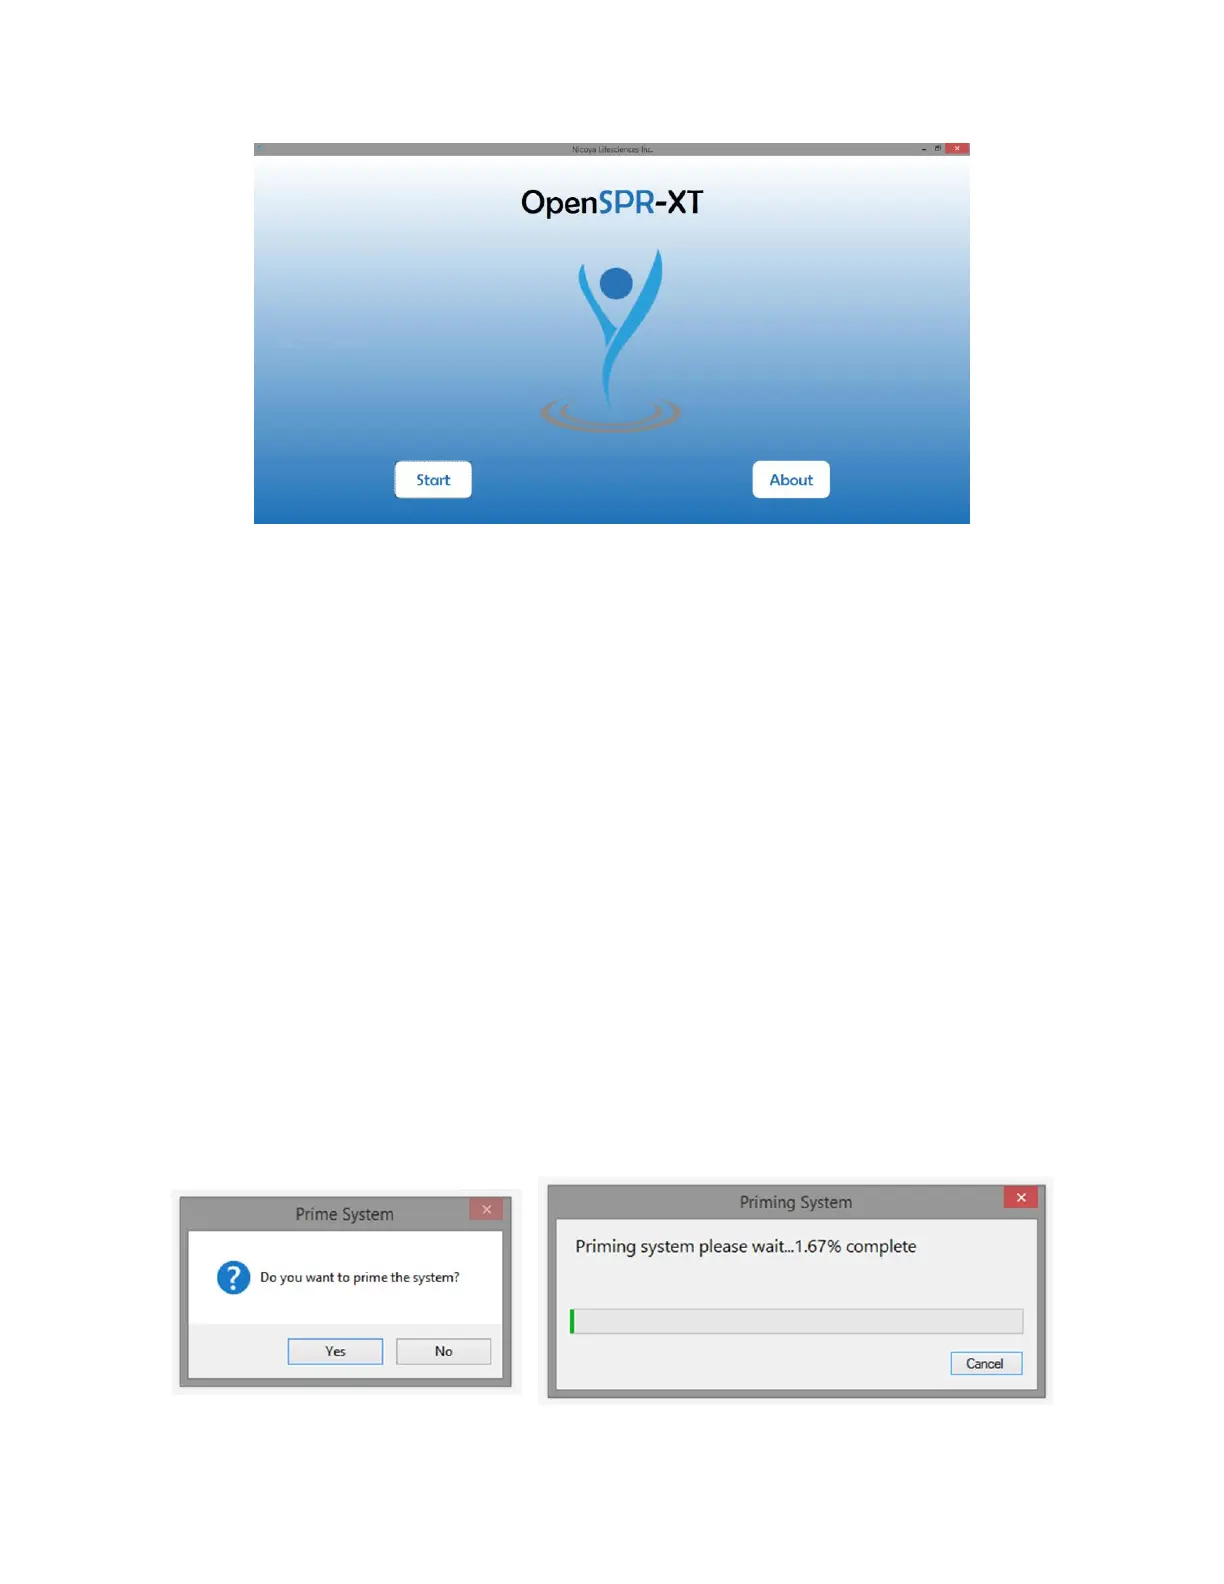
Figure 2.1 OpenSPR-XT software Home Screen.
6. If the hardware is not connected, the Home Screen will not open and an error message will
appear. Ensure both the OpenSPR and XT autosampler units are ON and the (2x) USB cables
are properly connected to both units and to the computer.
If the software still does not connect, a combination of turning the OpenSPR-XT™ devices on
and off, unplugging and plugging the USB cables and restarting the software or computer may
be required.
7. Click the “Start” icon to begin setting up your test.
2.2.2 Instrument Priming and Obtaining References
1. A prompt will appear asking if you want to prime the system [Figure 2.2 - left]. Ensure a blank
sensor chip (or an old sensor chip from a previous test) is installed and select “Yes”. The pump
in the OpenSPR unit will turn on at 150 µL/min for approximately 2.5 minutes. Another
window will appear showing the status of the system priming [Figure 2.2 - right]. Priming the
system runs running buffer through the all of the lines in the system. This step is highly
recommended as it can reduce the possibility of bubble formation in the tubing.
Once priming is complete the pump will stop automatically. If you chose not to prime the
instrument, the software will skip this step.
Figure 2.2 Prime System prompt (left) and Priming System status window which appears if selected to prime the system (right).