16
tightening the nut – this is essential to maintain zero dead volume. If the threads of the nut
are not catching on the valve fitting, adjust the angle of the nut.
To ensure that the tubing is secured to the valve, gently pull back on the tubing after the fittings
have been tightened - the tubing should remain fixed in place. Ensure both tubes are installed
in the correct positions referencing Figure 1.8. Upon initial fill of the system, inspect the valve
for any leaks.
6. Replace the cover of the XT autosampler by sliding it back into place.
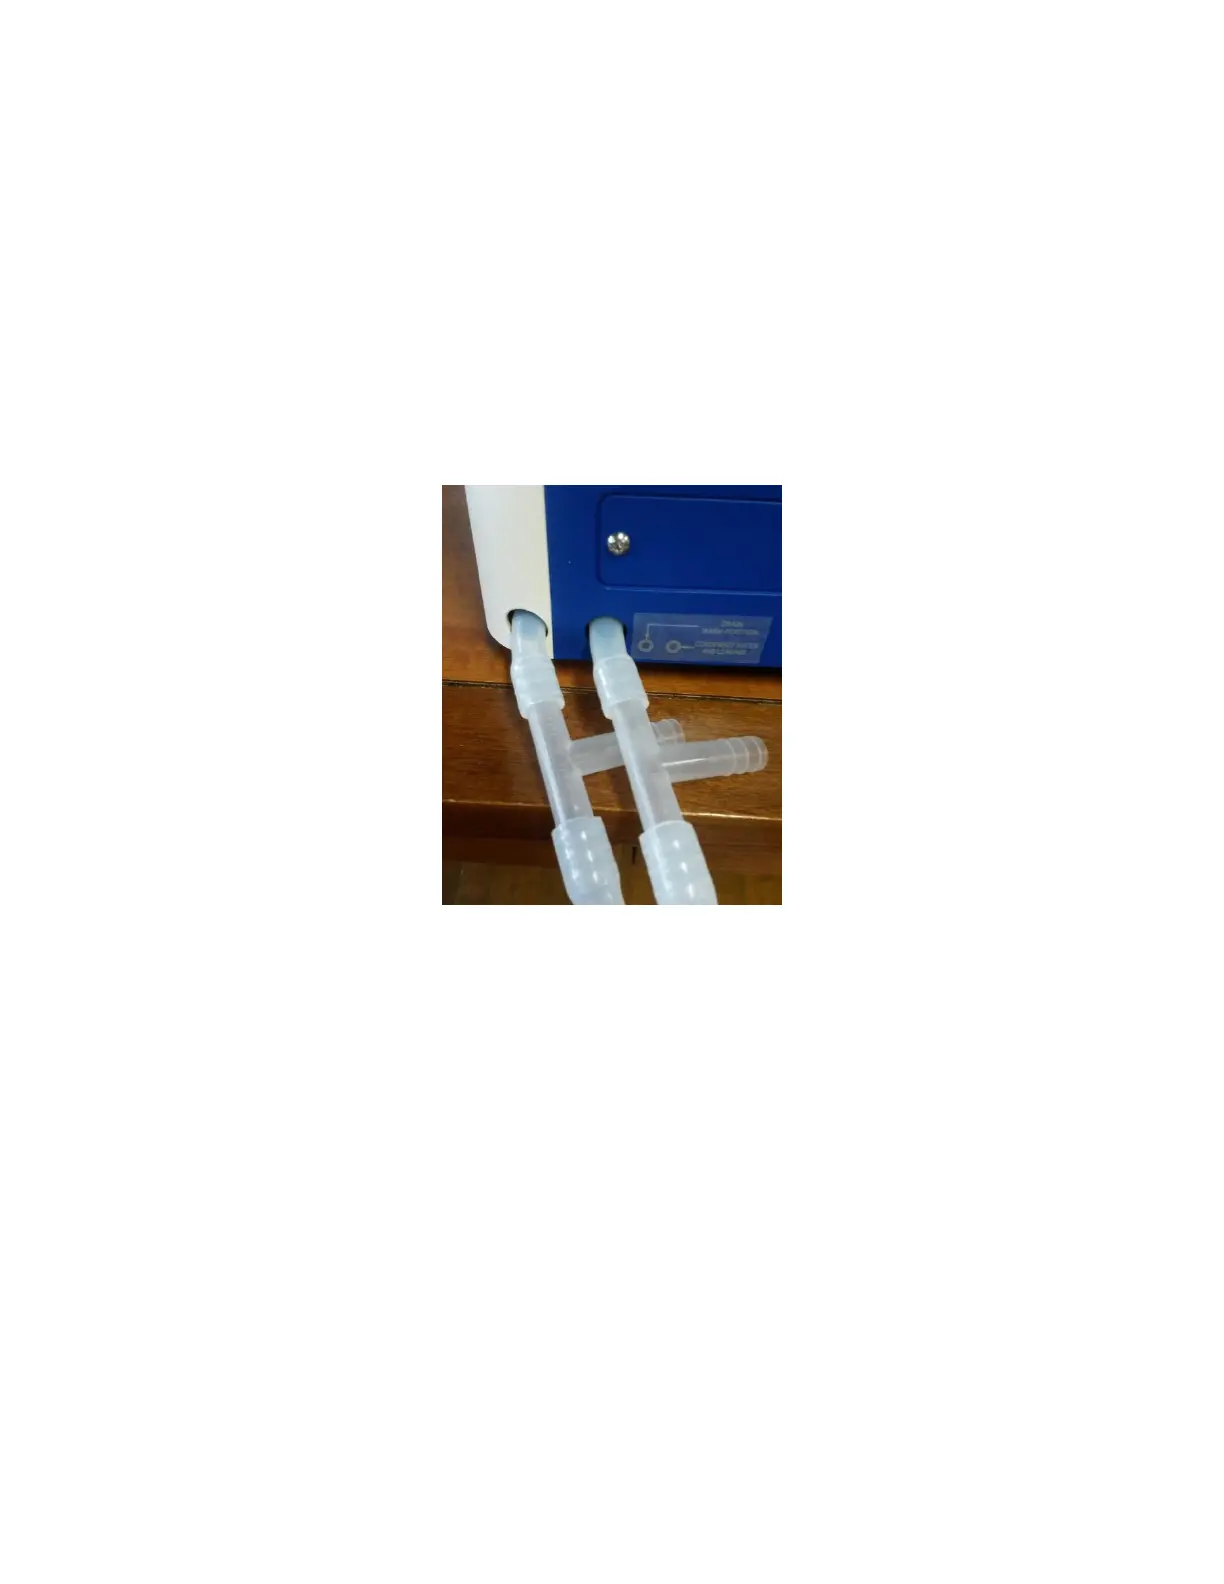
7. Connect the two drain hoses (large semi-opaque tubing) provided to the openings at the front
of the XT autosampler (bottom-left) [Figure 1.11]. To do so, firmly push the end of the tubing
into the holes.
Figure 1.11 Drain hoses installed in XT autosampler.
8. Insert the free ends of the drain hoses into a waste container (not provided) at a level below
the autosampler. The hoses will drain a combination of the 80% isopropanol wash, the running
buffer and water. Ensure to use an appropriate container that is compatible with these
solutions.
9. Connect the Inlet tubing (provided) to the Inlet port located on the left side of the OpenSPR™
[Figure 1.12]. The connector consists of a hex nut and ferrule which are preinstalled in the
fitting detail (the bulkhead), as shown in Figure 1.13. With the hex nut loosened slightly, fully
insert the tubing into the hex nut so it seats firmly against the back of the fitting detail. Then,
tighten the nut fully by hand, ensuring the tubing stays fully seated – this is essential to
maintain zero dead volume. To ensure that the tubing is secured to the port, gently pull back
on the tubing after the fitting has been tightened - the tubing should remain fixed in place. If
it cannot be tightened sufficiently by hand, tighten as much as possible by hand and then use
a wrench to turn the nut an additional ¼ turn past the point at which the ferrule starts to grab
the tubing.