18
2. Connect the power cable to the OpenSPR™ instrument [Figure 1.14] and plug it into an
appropriate power outlet (a surge protected outlet is recommended).
3. Connect the computer to the OpenSPR™ instrument via the USB cable.
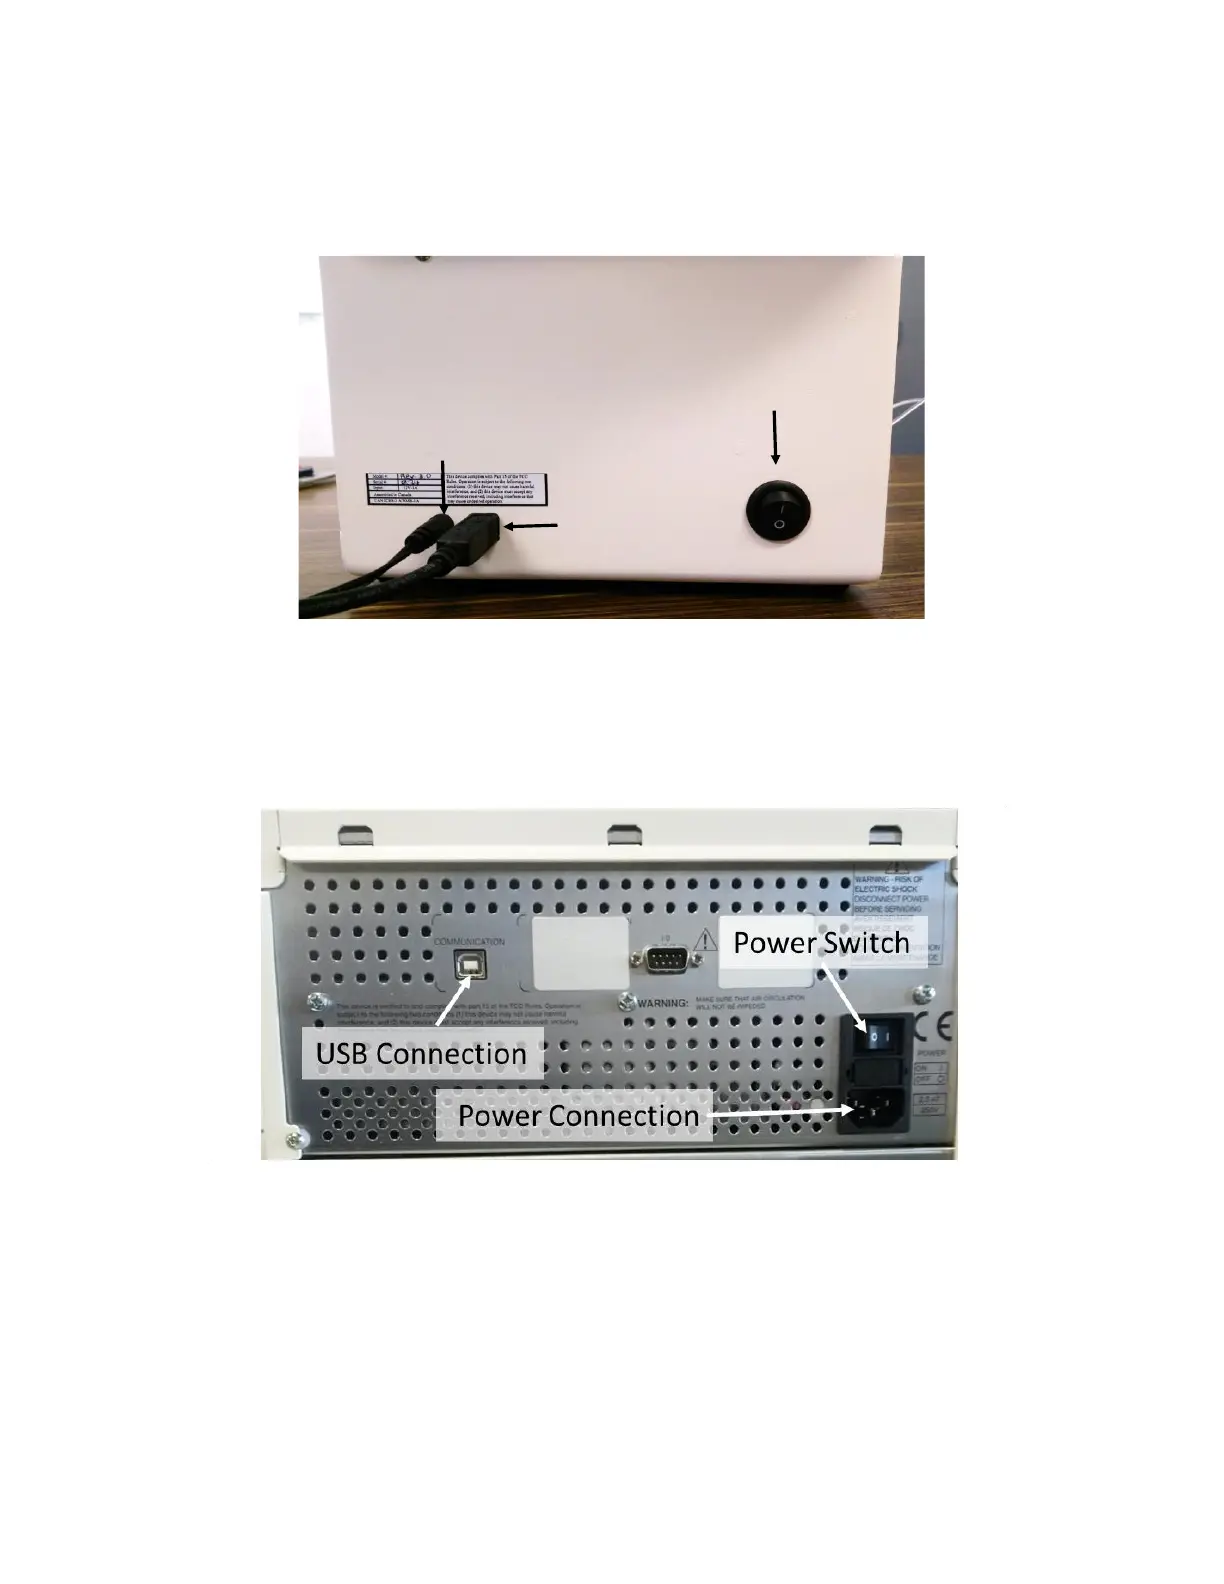
Figure 1.14 - Back of OpenSPR™ instrument contains connections for power and USB cables, and power switch.
4. Connect the power cable to the XT autosampler [Figure 1.15] and plug it into an appropriate
power outlet (a surge protected outlet is recommended).
5. Connect the computer to the XT autosampler via the USB cable.
Figure 1.15 Back of XT autosampler with USB Connection, Power Connection and Power Swtich.
6. Ensure the XT autosampler cover is ON and the sample compartment door is CLOSED before
powering on the instrument.
7. Switch ON the OpenSPR™ power switch located at the back of the instrument [Figure 1.14].
The blue LED on the front of the instrument should turn on [Figure 1.16].
8. Switch ON the XT autosampler power switch located at the back of the instrument [Figure
1.15]. The green LED on the front of the instrument should turn on [Figure 1.16].
Power Switch
Power Cable
USB Cable