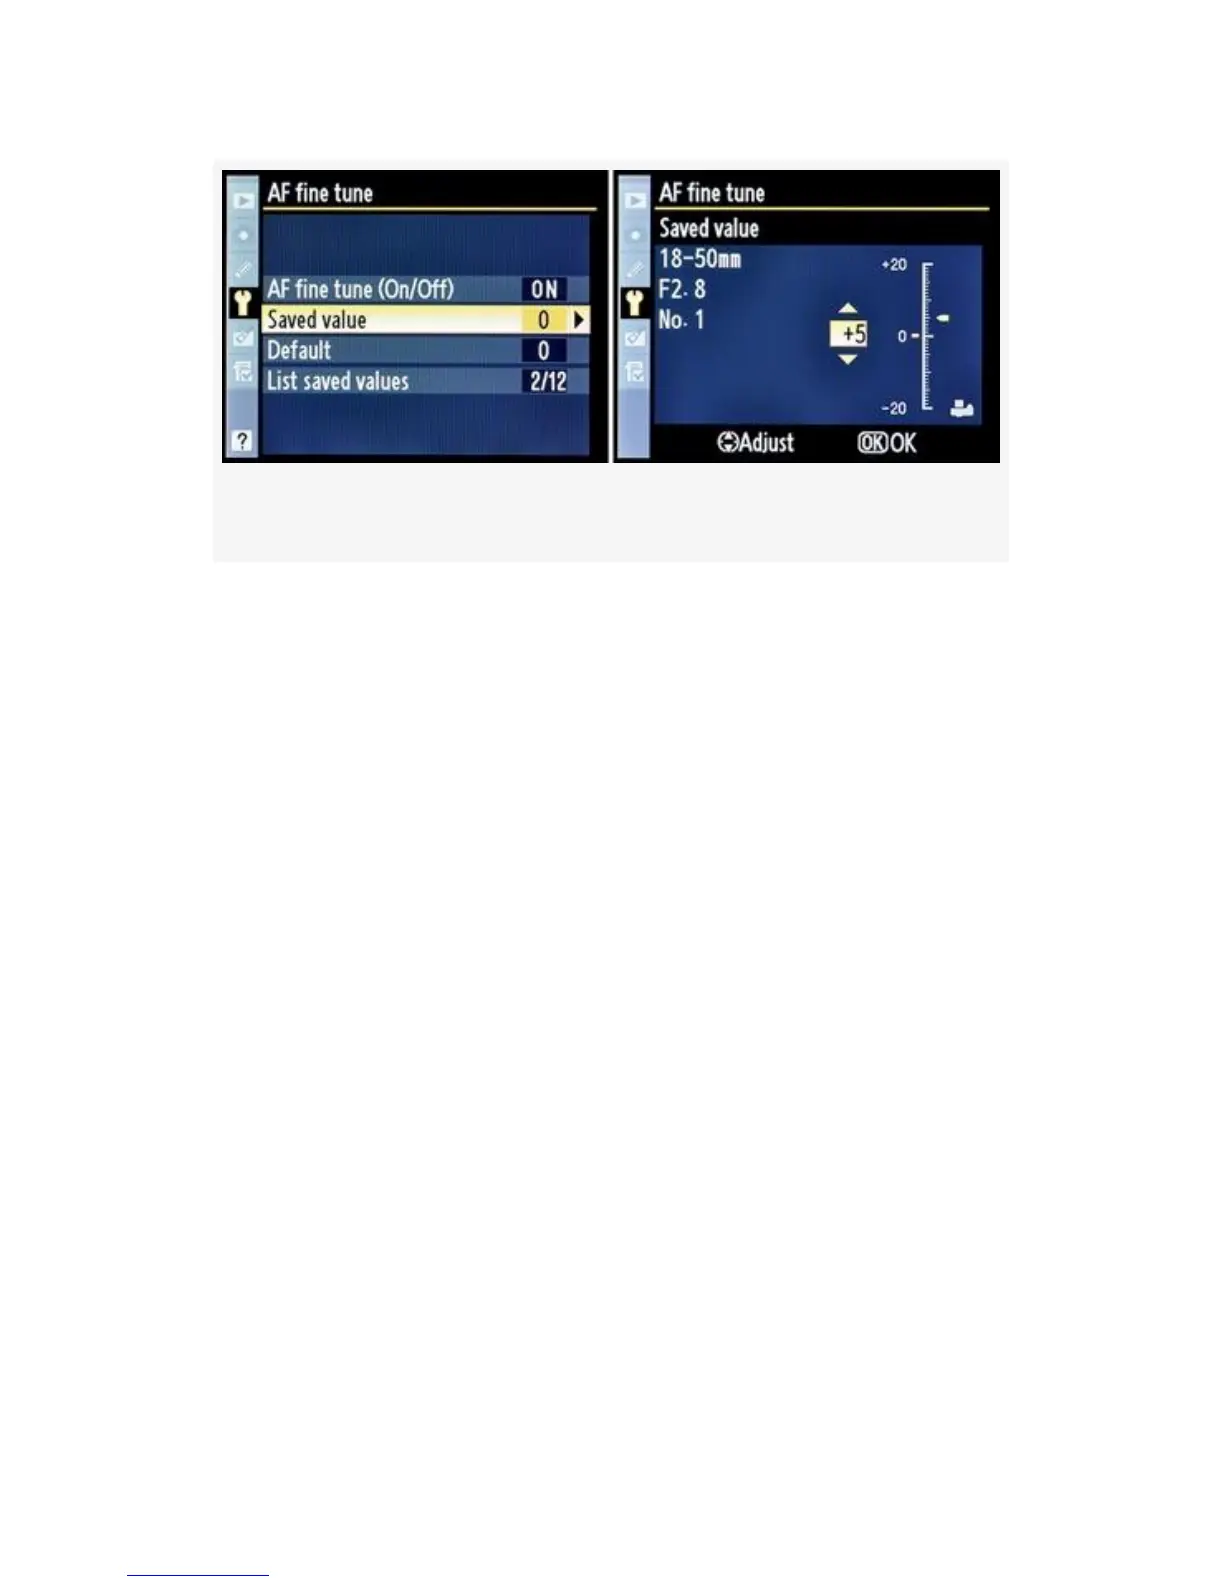
Figure 5-41. Saved value configuration screens
To the right of the lens information is a scale that runs from
+20 on top to -20 on the bottom. The yellow pointer starts out
at o. You can move this yellow pointer up or down to change
the amount of focus fine-tuning you want for this lens.
Moving the pointer up on the scale pushes the focal point
away from the camera, while moving it down pulls the focal
point toward the camera. In Figure 5-41, image 2, I set my
18-50mm lens to +5 front focus. Once you are done, press the
OK button.
Default – The Default configuration screen looks a lot like
the Saved value screen, except there is no lens information
listed. This Default value will be applied to all AF lenses you
mount on your camera. If you are convinced that your
particular camera always has a back or fore focus problem,
and you are not able or ready to ship it off to Nikon for repair,
you can use the Default value to push the auto focus in one
direction or the other until you are satisfied that your camera
is focusing the way you’d like.
As shown in Figure 5-42, to set an AF fine tune > Default
value, use the scale that runs from + 20 on top to -20 on the
515